✨¡Hola amigos amantes de la comida!✨ Espero estén pasando un gran día.
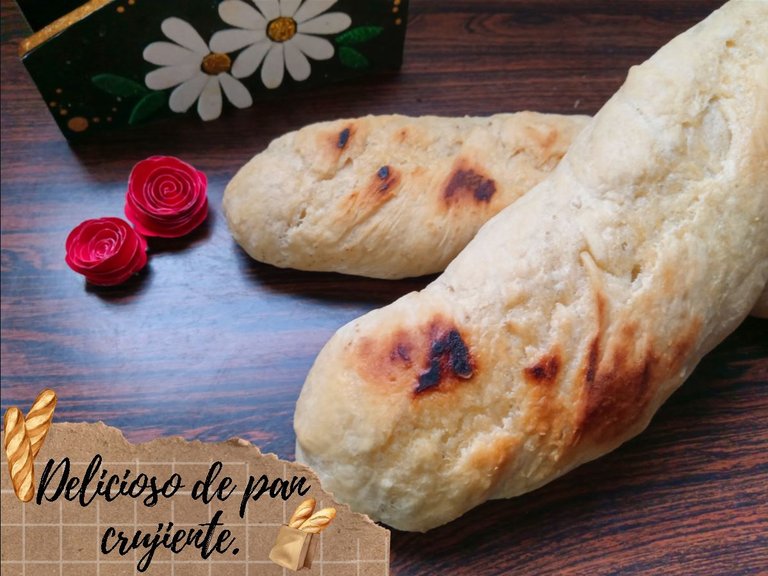
Espero que todos hayan pasado una linda semana y disfruten de un fin de semana bastante descansado. En esta ocasión, les comparto una deliciosa receta de pan crujiente. Este es un pan tipo baguette; lastimosamente, no me quedó tan doradito como quería, pues mi horno no ayudó mucho, pero sí se sentía supercrujiente y sabía a los típicos panes baguette. Además, es una receta bastante sencilla, la cual consta de muy pocos ingredientes y es fácil de preparar.
🔸A continuación, los dejo con el paso a paso:
✨¡Hello food loving friends!✨ I hope you are super well on this day.
I hope everyone had a wonderful week and enjoyed a restful weekend. This time, I'm sharing a delicious recipe for crusty bread. This is a baguette-style bread; unfortunately, it didn't turn out as golden as I wanted because my oven wasn't much help, but it was super crispy and tasted like a typical baguette. It's also a fairly simple recipe, with very few ingredients and easy to prepare.
🔸Next, I leave you with the step by step:
♥️Espero les guste. ¡Comencemos!
♥️I hope you like it. Let's get started!

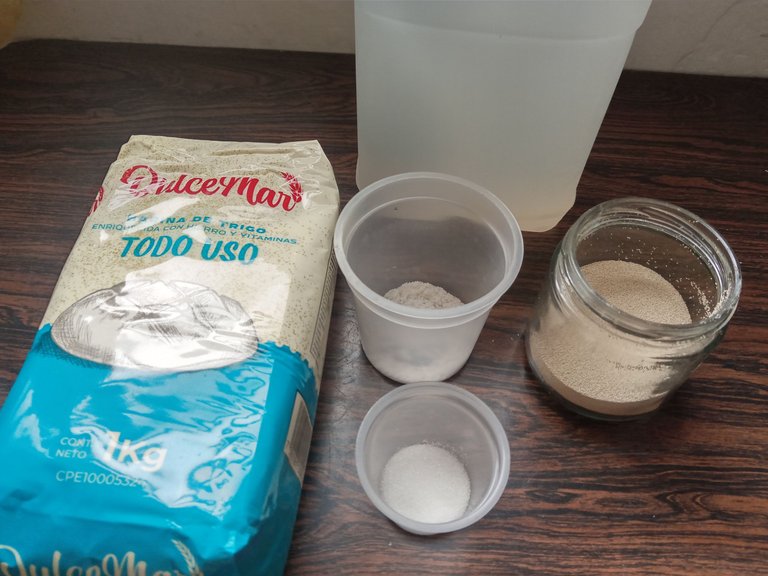
🍶 INGREDIENTES | 🍶 INGREDIENTS
- 500 g de harina de trigo.
- 400 ml de agua.
- 10 g de levadura seca.
- 1 cda de azúcar.
- 2 cdas de sal.
- 500 g wheat flour
- 400 ml water
- 10 g dried yeast
- 1 tbsp sugar
- 2 tbsp salt
✨ PREPARACIÓN | ✨ PREPARATION
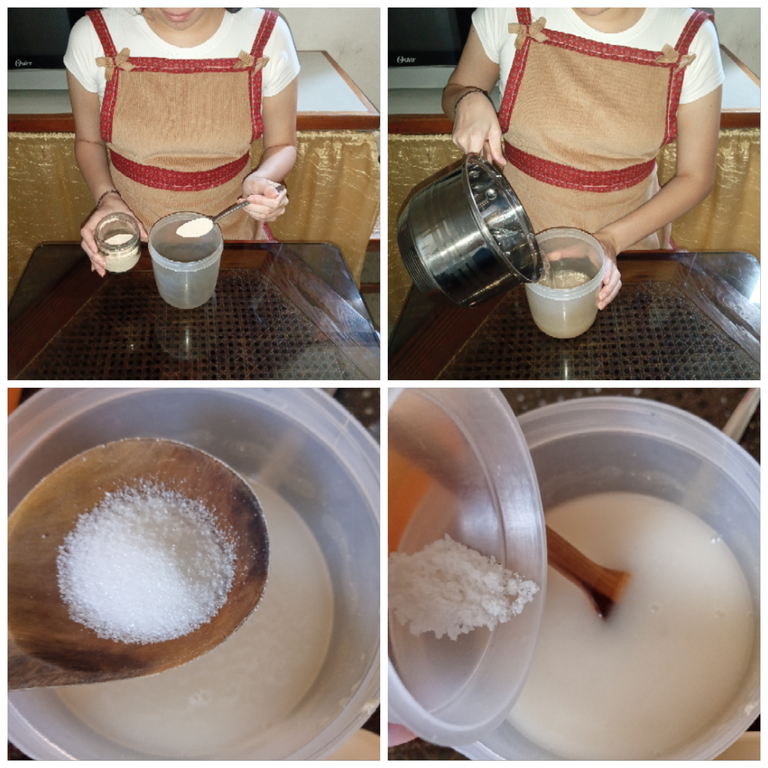
✨PASO 1:
Lo primero que debemos hacer es agregar en un recipiente los 10 g de levadura seca, junto con los 400 ml de agua previamente tibia, y dejamos reposar de 10 min a 15 aproximadamente e incorporamos con ayuda de una cuchara. Pasado el tiempo, incorporamos 1 cucharada de azúcar, mezclamos y repetimos el mismo proceso con las 2 cucharadas de sal.
✨1 STEP:
The first thing we need to do is add the 10 g dried yeast to a bowl, along with the 400 ml of warm water, and let it rest for approximately 10 to 15 minutes, then stir in with a spoon. After the time has elapsed, add 1 tablespoon of sugar, mix, and repeat the same process with the 2 tablespoons of salt.
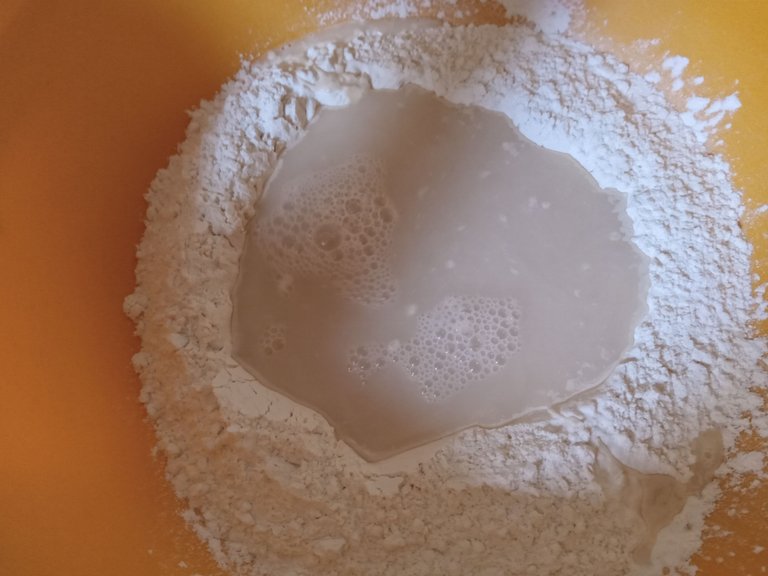
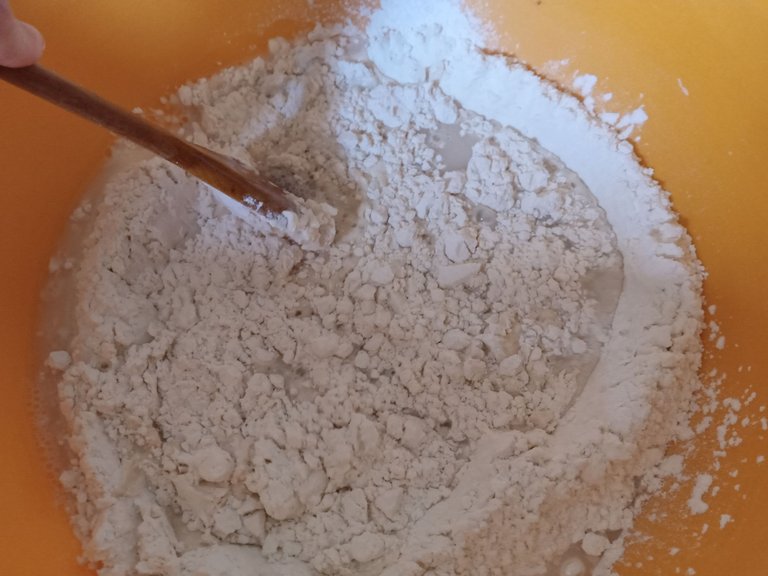
✨PASO 2:
Seguidamente, agregamos a un recipiente hondo los 500 g de harina de trigo, hacemos un agujero en medio y añadimos ahí la preparación del paso anterior con levadura e incorporamos y nos queda una mezcla un tanto pegajosa, pero así mismo la tapamos y dejamos leudar por 1 hora.
✨2 STEP:
Next, add 500g of wheat flour to a deep bowl, make a hole in the middle, and add the yeast mixture from the previous step. Mix until the mixture is somewhat sticky. Cover it and let it rise for 1 hour.

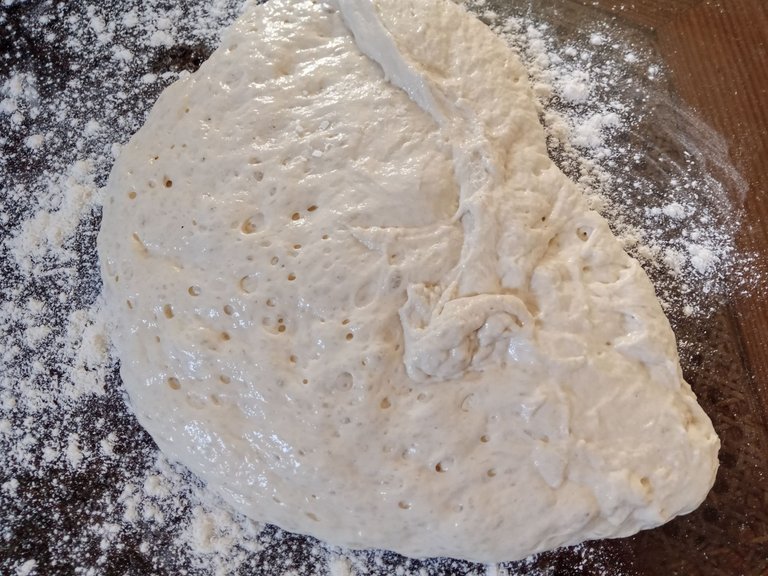
✨PASO 3:
Pasado el tiempo, espolvoreamos harina sobre la mesa y retiramos la masa sin desgasificar para que no pierda las burbujas que se formaron. Una vez que está sobre la mesa, poco a poco vamos cubriendo con la misma harina todos sus lados hasta que esté totalmente cubierta y un poco más fácil de manejar, y cortamos en tres porciones con ayuda de un cuchillo.
✨3 STEP:
After the time has elapsed, sprinkle flour on the counter and remove the dough without deflating it so it doesn't lose the bubbles that formed. Once it's on the counter, gradually cover all sides with the same flour until it's completely covered and a little easier to handle. Cut it into three portions with a knife.
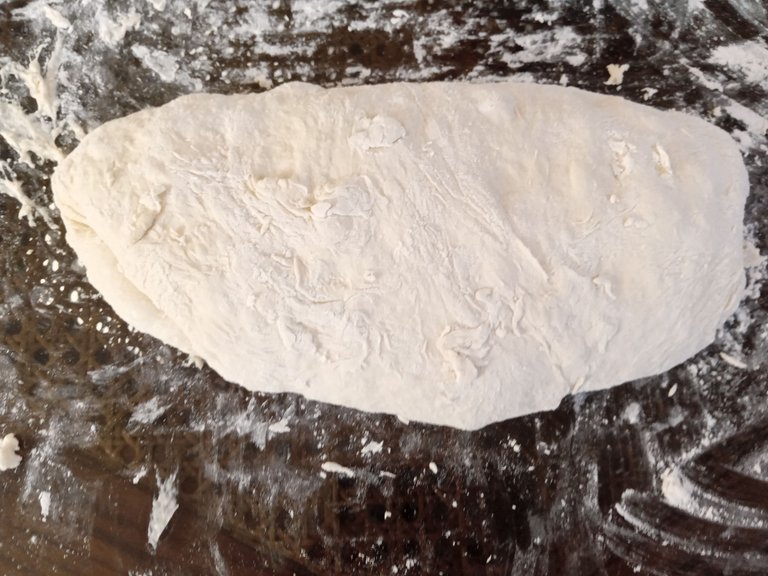
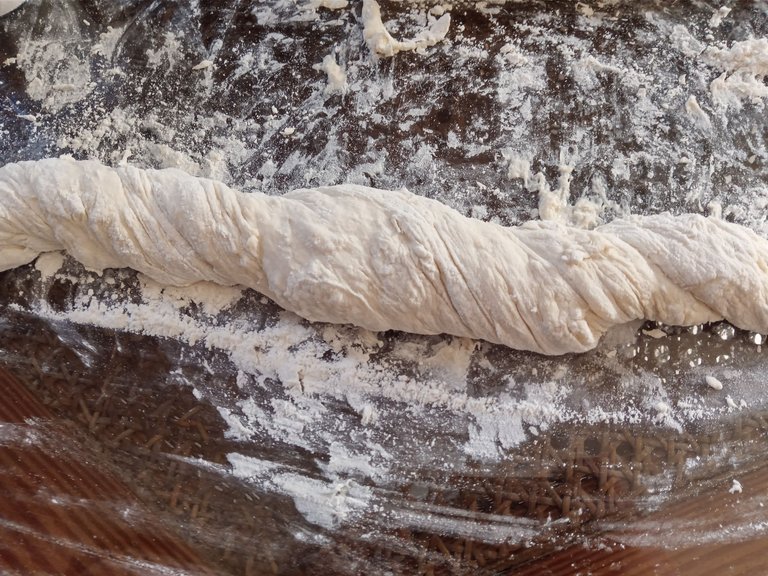
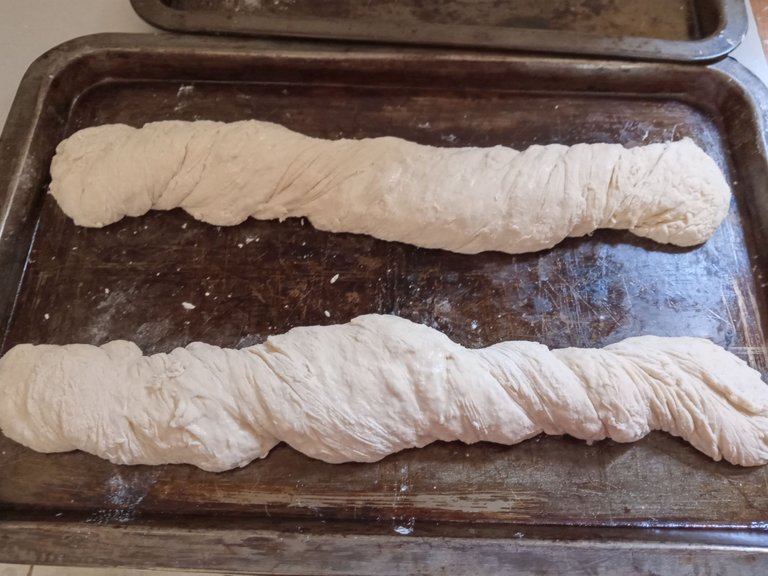
✨PASO 4:
Tomamos una de las porciones, formamos un cilindro y enrollamos el mismo cilindro tomando las dos puntas y girando hacia el lado contrario. Seguidamente, llevamos a una bandeja engrasada y repetimos el mismo proceso con las otras porciones. Al estar listas, hacemos unos 3 cortes por pan y llevamos a horno precalentado a 300 °C de 25 min a 30 min aproximadamente.
✨4 STEP:
Take one of the portions, form a cylinder, and roll the same cylinder, taking the two ends and twisting it to the opposite side. Next, transfer to a greased baking sheet and repeat the same process with the other portions. Once they're ready, make about three slits per loaf and bake in a preheated oven at 300°C for approximately 25 to 30 minutes.
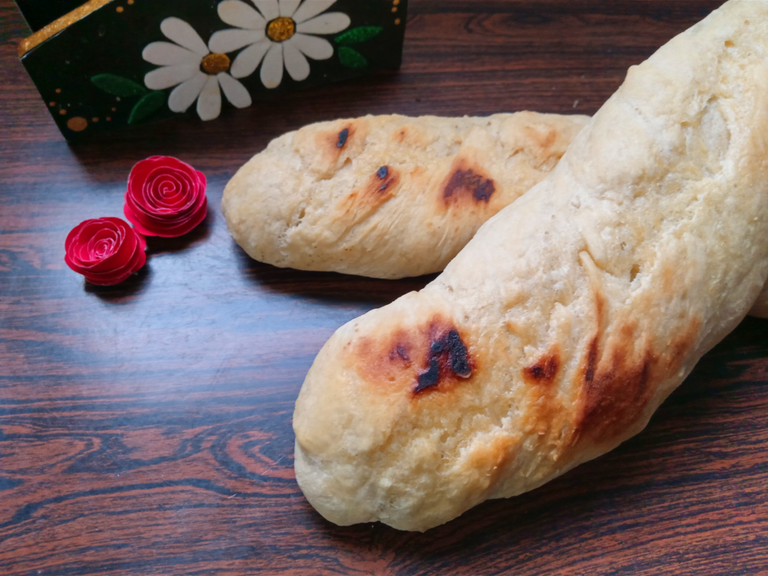
✨ Y listo, amigos, así es como pueden preparar unos ricos y crujientes panes, tipo baguette, perfectos para untar con mantequilla o lo que desees y comer en la merienda junto con una rica taza de café. Lástima que no me quedaron tan dorados como quería, pero si tienen un mejor horno que el mío, les quedarán hermosos. Espero que les haya gustado el paso a paso y se animen a preparar esta deliciosa receta.
❤️Hasta la próxima publicación.
✨ And that's it, friends! This is how you can make delicious and crusty baguette-style bread, perfect for spreading with butter or whatever you like, and eating for a snack with a nice cup of coffee. It's a shame they didn't turn out as golden as I wanted, but if you have a better oven than mine, they'll be beautiful. I hope you enjoyed the step-by-step instructions and are inspired to try this delicious recipe.
❤️Until the next post.
✨RESULTADO: | ✨RESULT:

Todas las fotografías son de mi propiedad.
Separador y Fotos editadas en Canva
All photographs are my property.
Photos edited in Canva
