9 August 2025
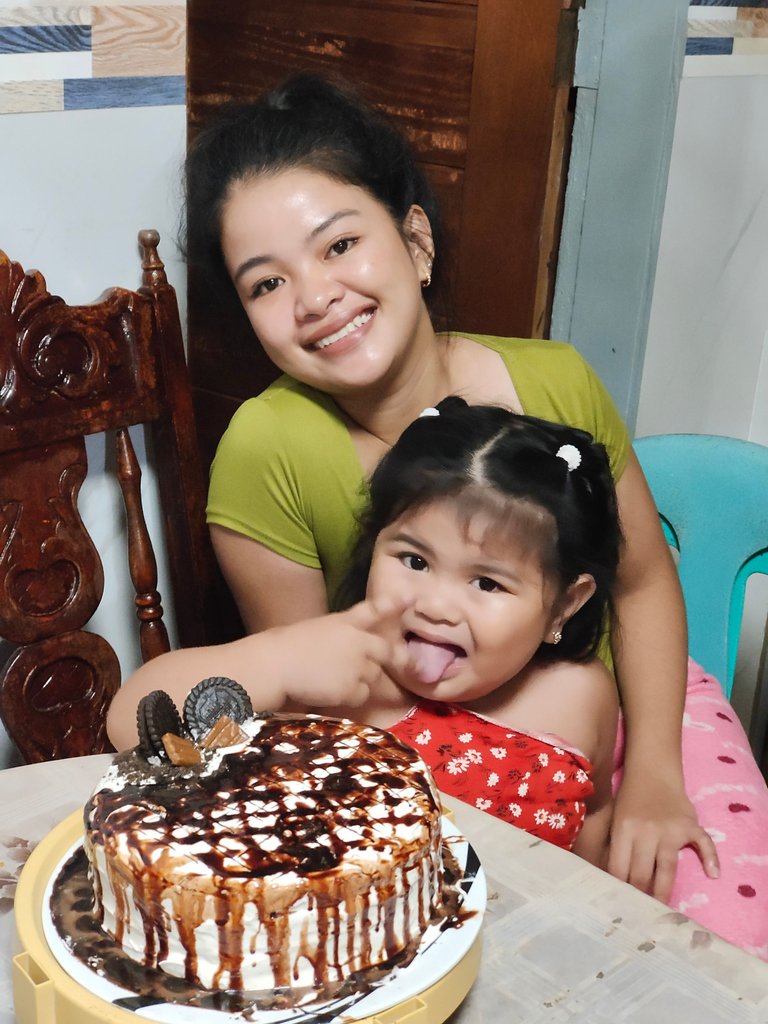
Just a month ago, on July 5, to be exact, my little niece celebrated her 3rd birthday. Fun fact: if she had been born on August 5, she would’ve shared the same birthday as her mom! And speaking of that, yes, we had another birthday celebration this month. It was small and simple, but full of joy.
My sister, Lovely, turned 24 a few days ago. We didn't plan anything as we opted to save money for her daughter's expenses rather than throw a party. But of course, we couldn’t let the day pass without something special, so my mom and I prepared a few dishes for dinner using only the ingredients we had at home. No spending at all!
My mom cooked pansit (vermicelli) and banana cake, while my brother roasted some chicken for our dinner. Meanwhile, since we have no oven, I decided to pan-bake a chocolate cake with cookies and cream fillings and toppings. I had the available ingredients for it.
The ingredients for the chiffon cake are:
| Dry Ingredients: | Wet Ingredients: |
|---|---|
| All-purpose flour | Egg |
| Cocoa Powder | Fresh Milk (or evap milk) |
| Brown sugar | Oil (or melted butter) |
| Baking powder | Vanilla |
| Pinch of salt | - |
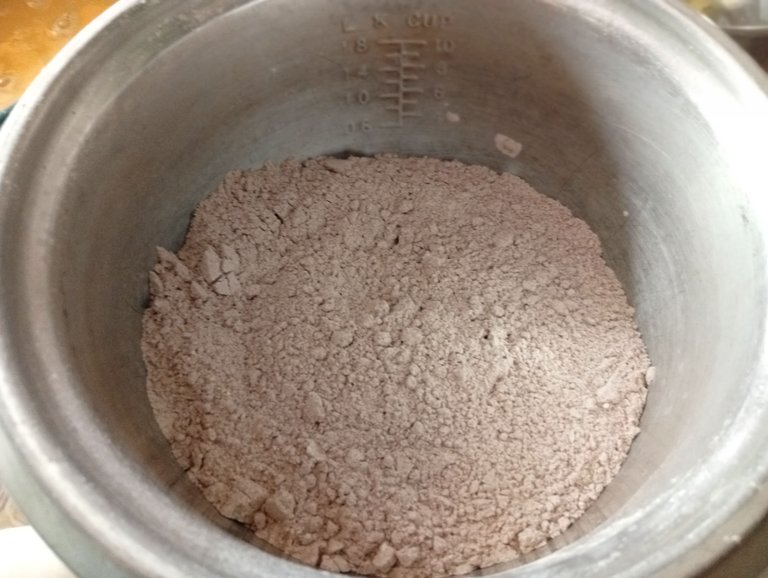
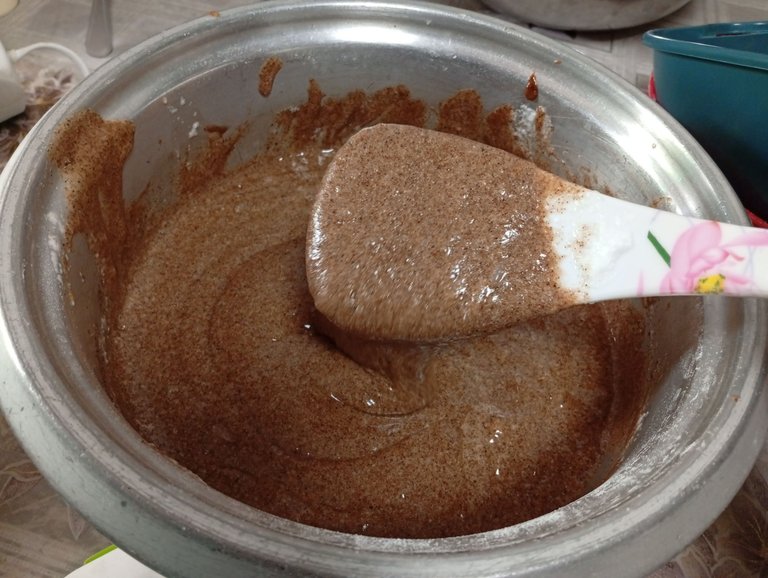
The procedure for making chiffon cake is just simple. The first thing to do is to sift and combine the dry ingredients: All-purpose flour, cocoa powder, baking soda, and a pinch of salt. Then add the brown sugar. The sugar can't be sifted through a fine mesh since it has bigger granules.
Next is to separate the egg yolk from the egg white to make meringue. Set aside the egg white for a while, and combine the remaining wet ingredients: egg yolk, oil, milk, and vanilla.
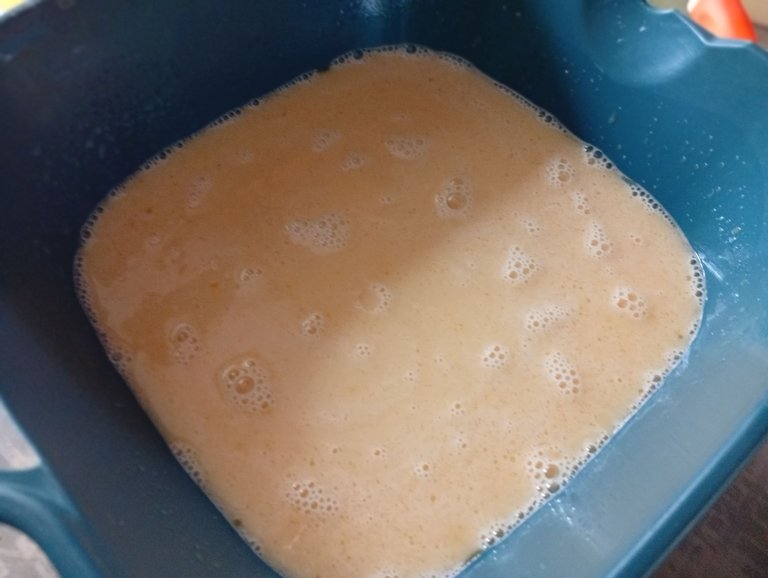
Then add the dry ingredients to the wet ingredients and mix until well combined.
Using a hand mixer, beat the egg whites on a medium speed until they become foamy before adding white sugar and vanilla, and continuing to whip until well done. You can add cream of tartar to make it firmer if you have it.
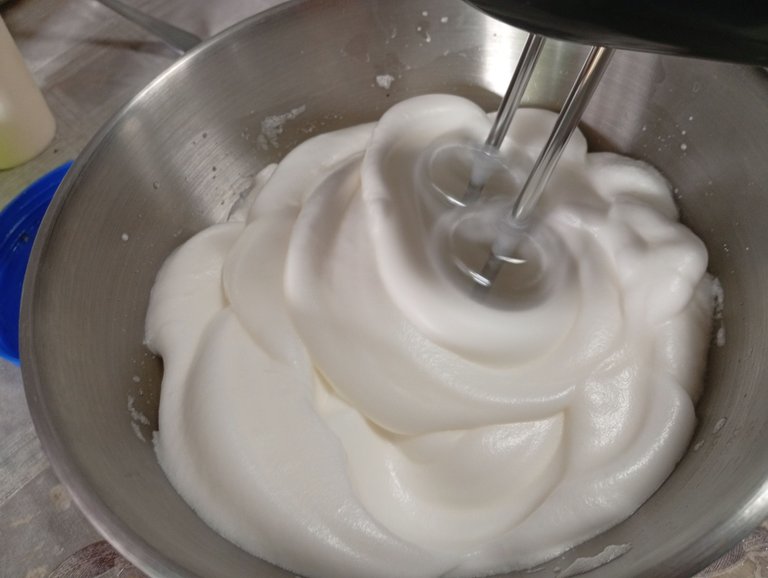
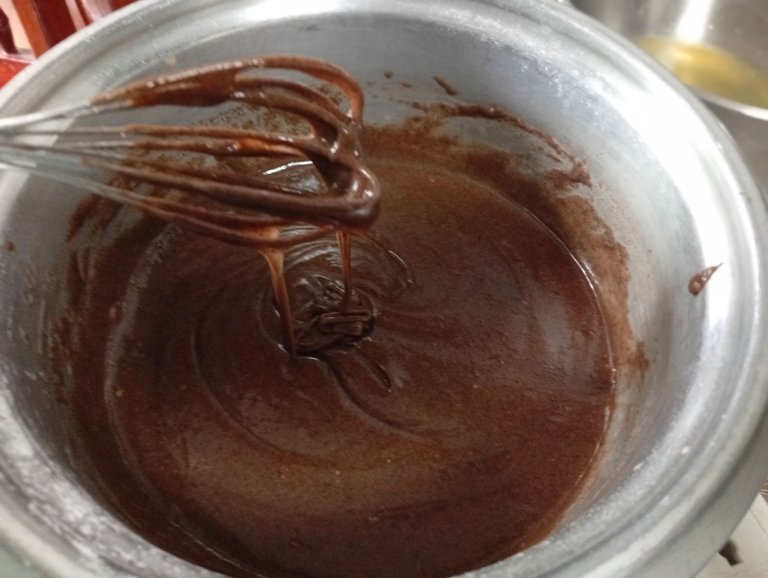
Using the cut and fold method, gradually add the meringue to the combined mixture (cake batter). Just make sure not to overmix, so the cake won't deflate. I didn't like the cocoa texture here.
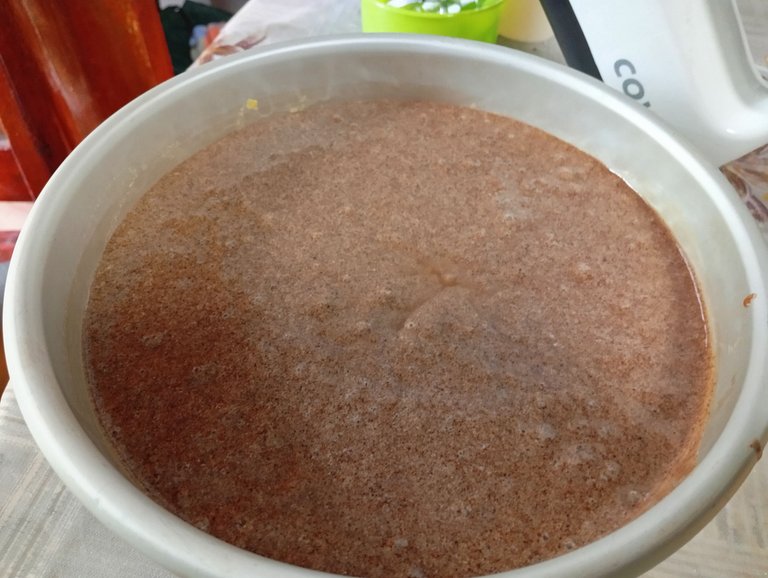
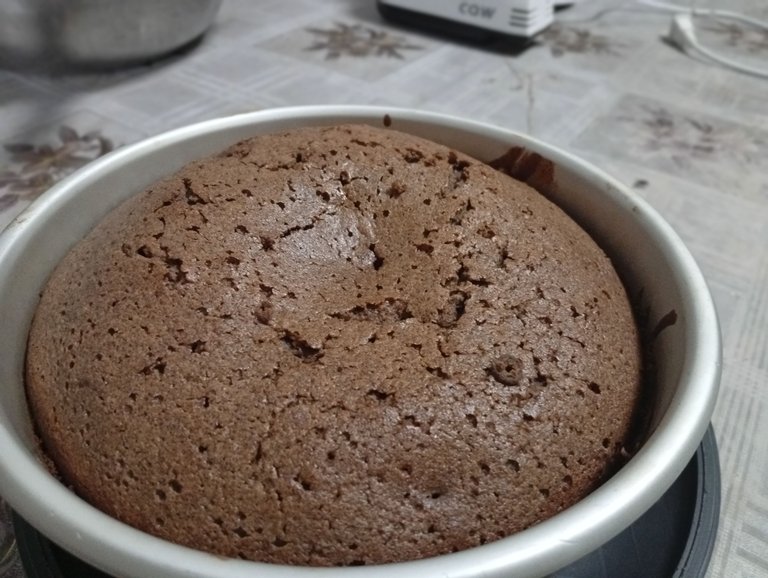
Then pour the cake batter into a cake pan and bake until cooked. I don't really know how long I cooked it, but I guess it was more or less 30 minutes. If you have no oven at home, you can use a pan. Just steam the cake batter in a dry pan, no water. Thus, the time will be a little longer than baking in an oven.
You can use the toothpick test to check if the cake is already cooked well. I guess I did it just fine. I didn't achieve the moist cake I wanted, though, probably because of the cocoa powder I used. It looked dry. So, using quality ingredients is really necessary to achieve a quality cake.
The cake coating
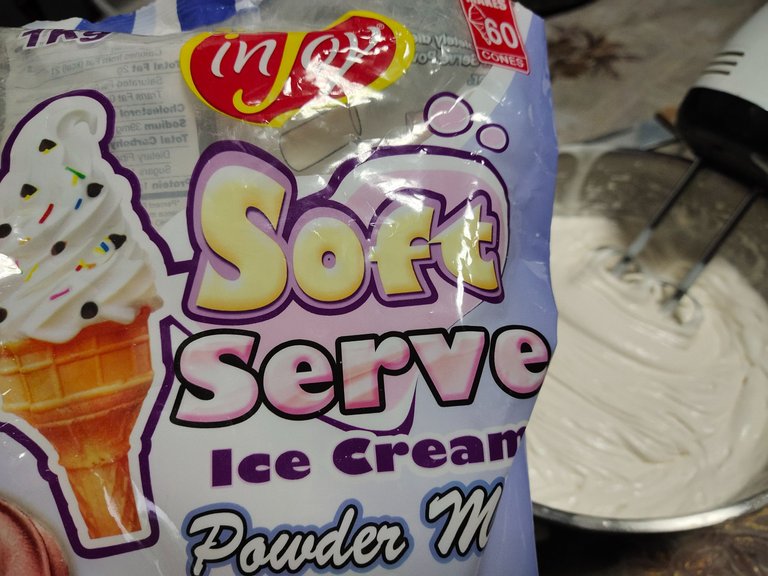
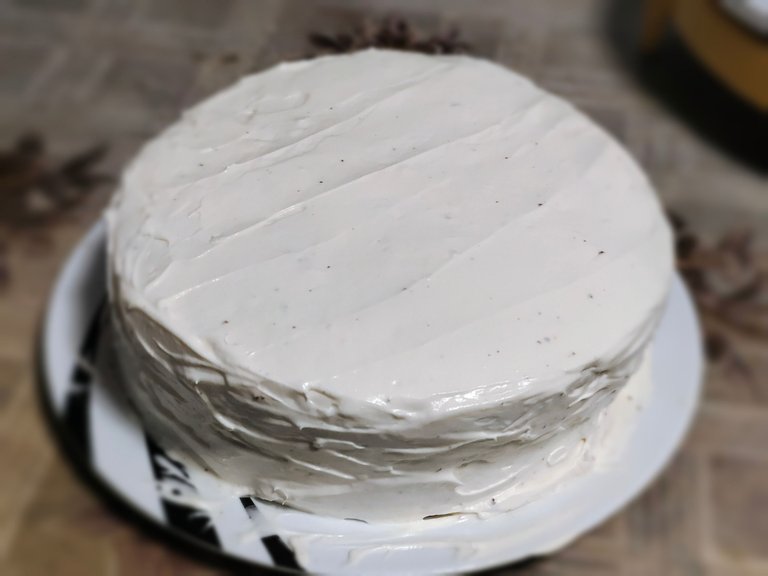
Since we didn’t have whipping cream or icing, I thought to use ice cream as a coating. I only had all-purpose cream and ice cream powder, so I combined them to create an ice cream mixture for coating.
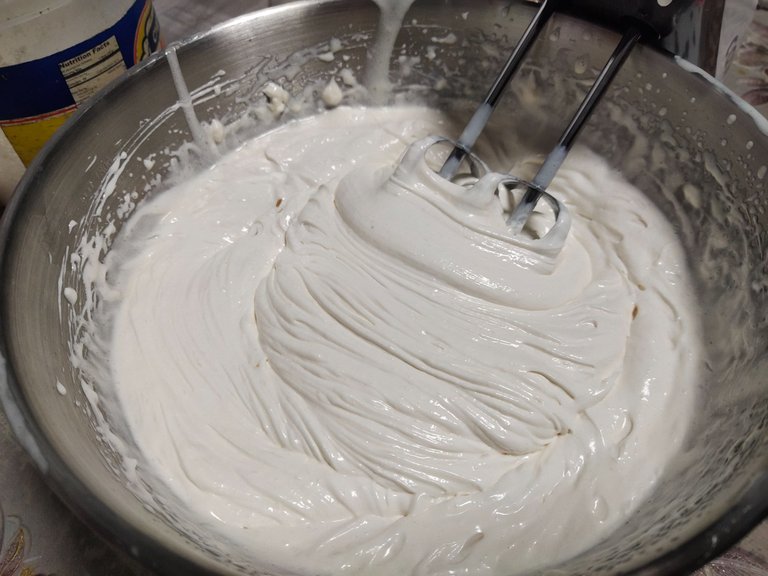 |  |
|---|
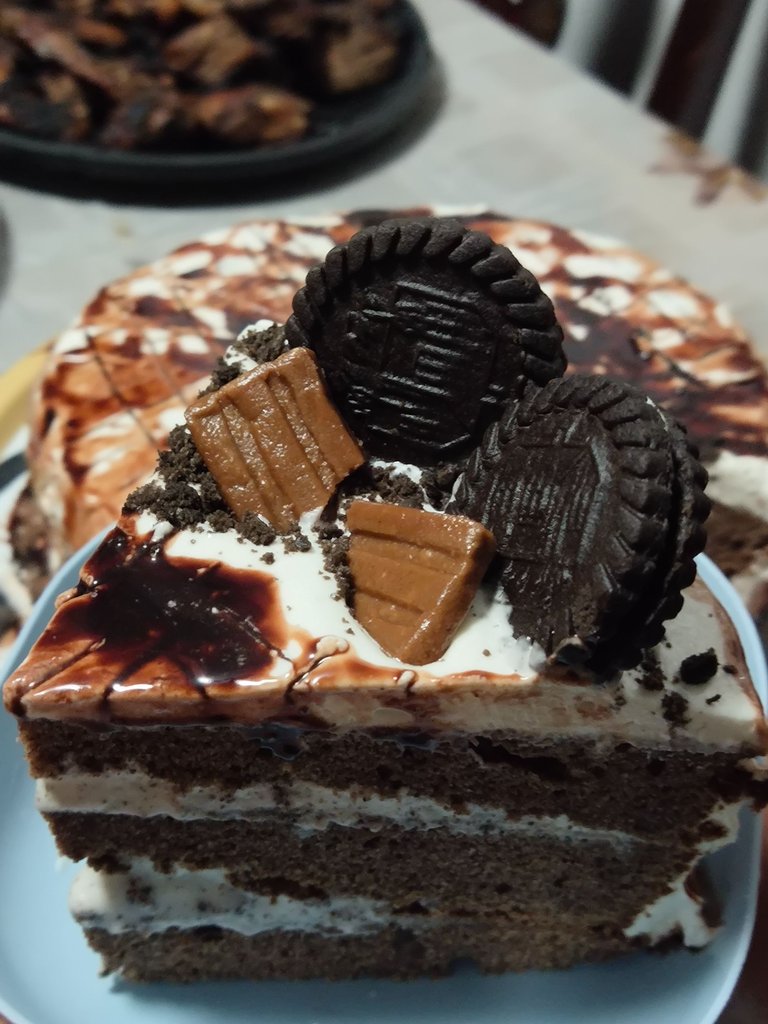
When the chiffon cake had cooled down, I cut it into three because I wanted to fill it with cookies and cream ice cream.
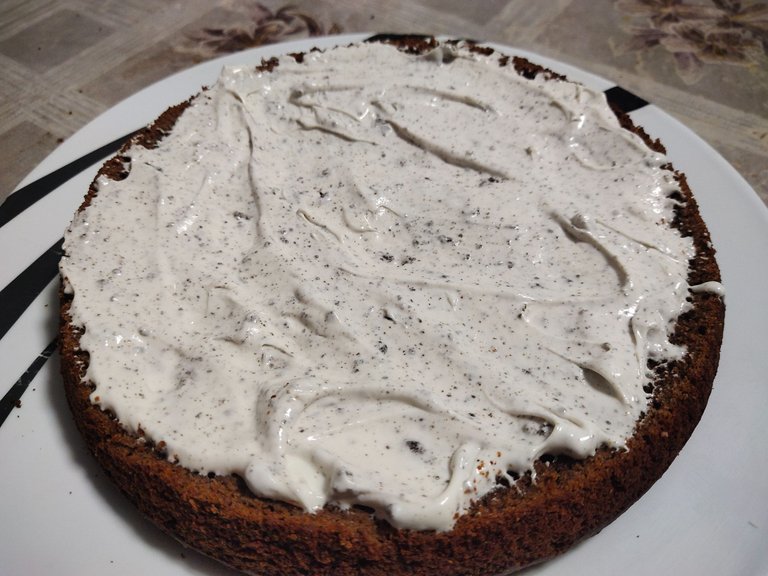
I combined crushed cream-o biscuits with some portion of the ice cream mixture to achieve that flavor.
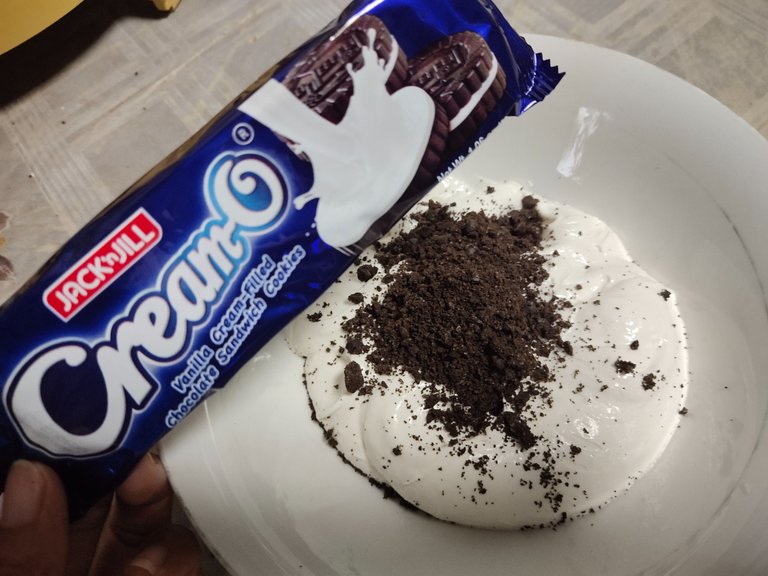
Have you tried this yet? It's unique, but can be challenging!
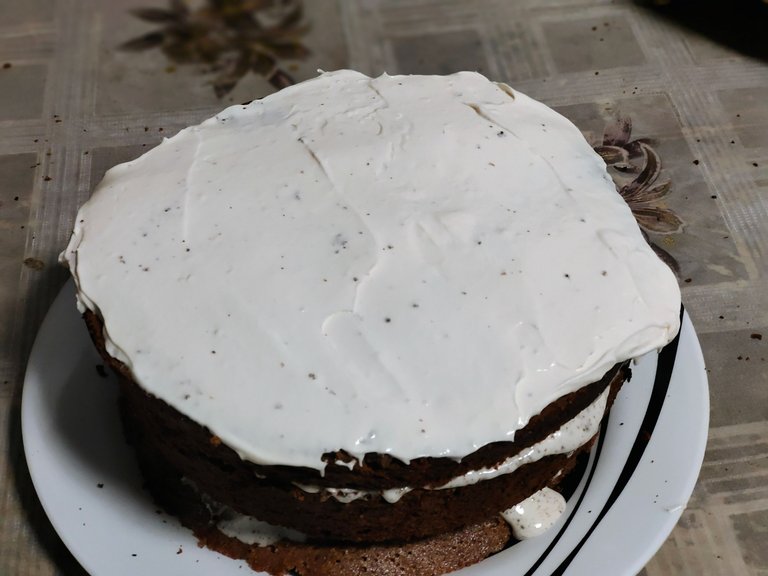
The challenging ice cream coating
After filling the cake with cookies and cream ice cream, it's time to coat it with vanilla ice cream. I thought of using egg whites for icing, but a friend, who is a baker, told me that egg white-based icing isn’t very stable, so I skipped that idea. But later I realized that the ice cream mixture for coating is more challenging as it melts easily at room temperature.
I used the remaining vanilla ice cream to coat the whole cake. That’s when things got messy! The ice cream melted quickly, and some crumbs mixed into the coating. But then, it’s a cookies and cream cake! So, I didn't care at all!
After coating the cake with vanilla ice cream, I drizzled the sides with chocolate syrup. This was another failure because the chocolate syrup had melted long ago, so it became too runny.
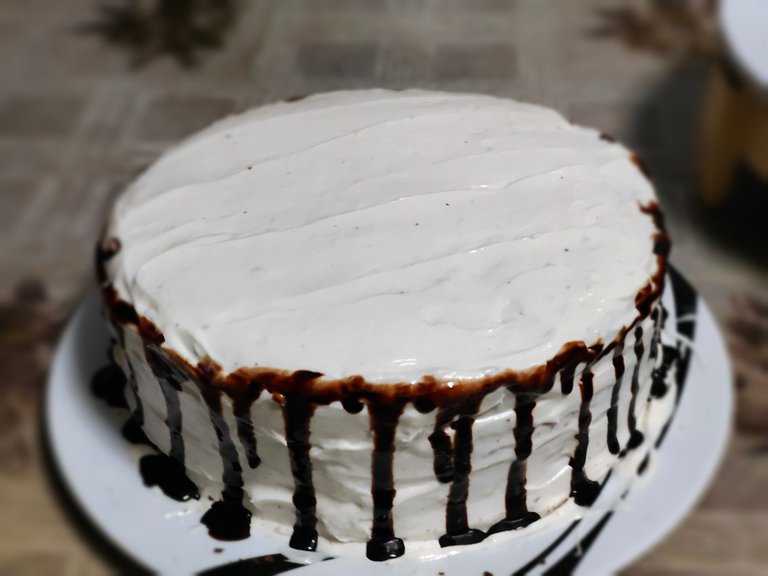
Again, this was just an experiment! 😎
Before decorating the top, I placed the cake inside the freezer for a while to make the ice cream coating firmer because it was already melting. But I forgot to chill the chocolate syrup.
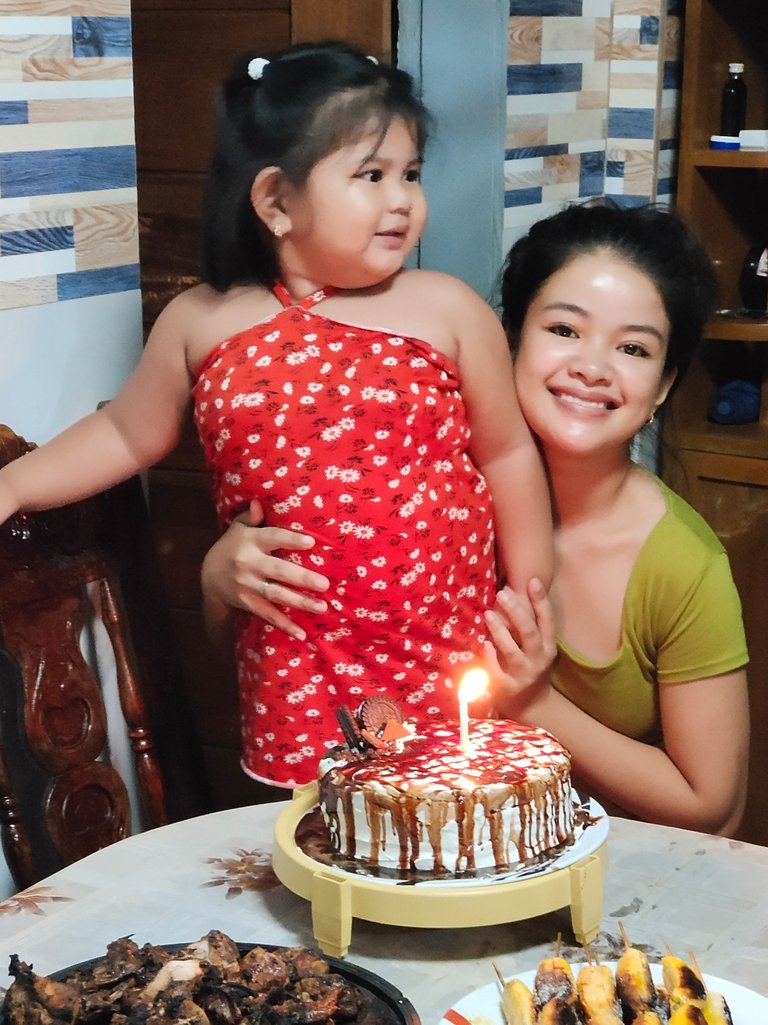
Afterward, I tried to write Happy birthday, Love, on top, using the melted chocolate syrup, but...
The result? 👇
Unreadable Happy birthday, Love! 😂
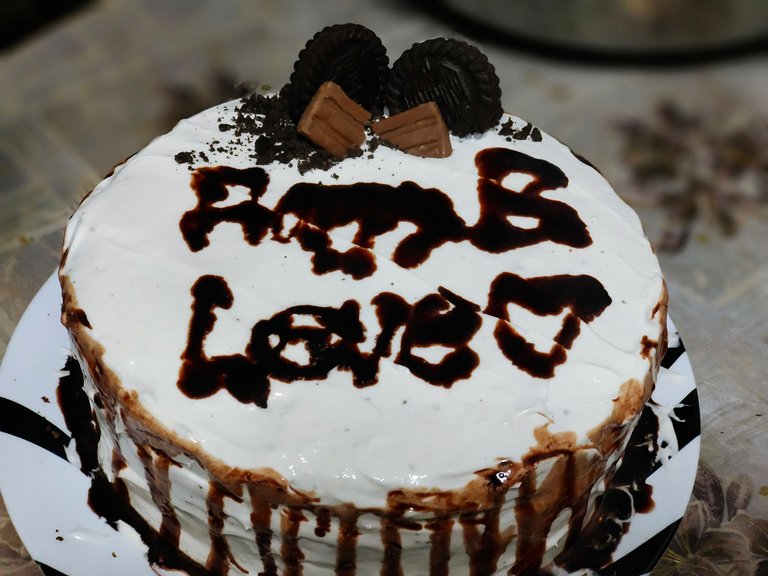
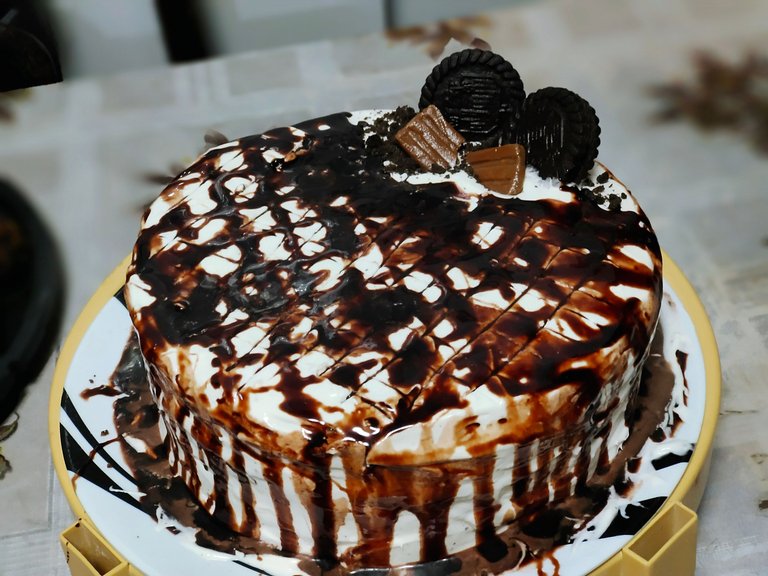
To make it more presentable, what I did was to drizzle the top with more chocolate syrup, and it looked like this 👇.
Viola! A messy cookies and cream ice cream cake!
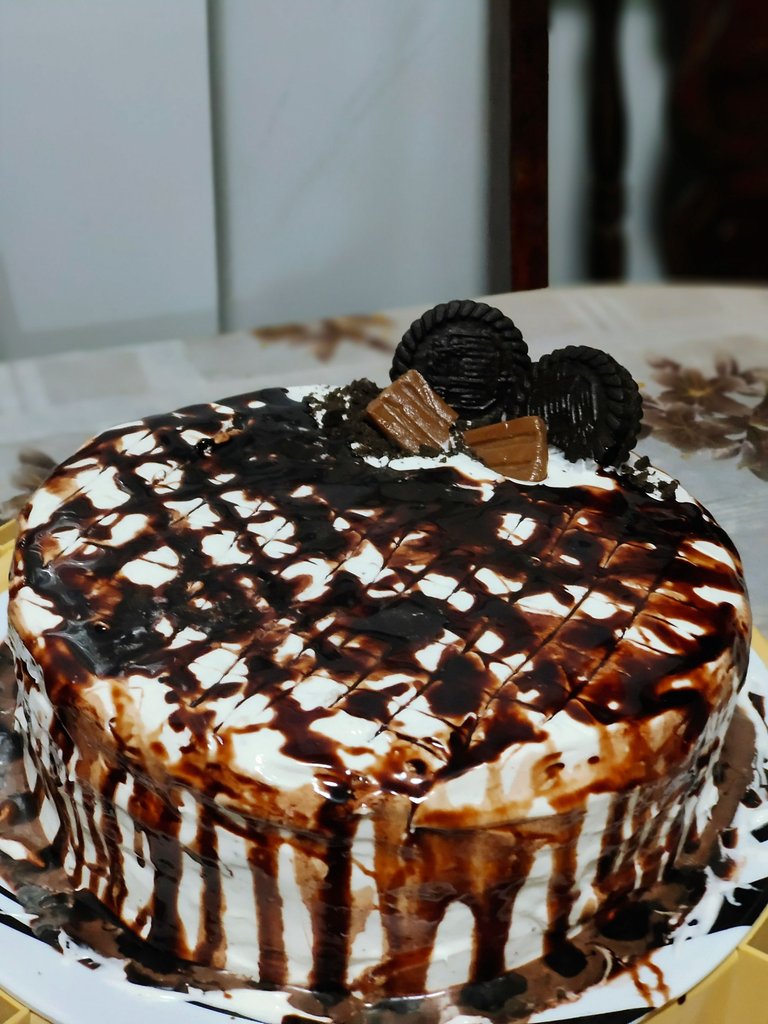
I also added some chocolate biscuits and barnuts. It actually looked quite fine and artsy, right? Messy though.
And look at those layers! Better with thicker fillings, right?
It turned out just fine and, of course, edible, haha.
The kid can't wait to taste it! Ice cream is one of her favorites!
So, happiest birthday to my younger sister. I hope you enjoyed your simple birthday treats that we prepared with love.
It isn't over yet!
I made another flavor of ice cream that night. I might share it in a separate post.
Would you try this too? Good luck if you do! 😄
Thanks for your time.


Jane is a Filipina wanderer in a foreign land who finds comfort in nature and freedom in writing. She loves watching raw picturesque landscapes, listening to the symphony of nature, breathing in drops of sunshine, walking through scenic trails and cityscapes, tasting new culinary flavors, capturing pretty little things, venturing into hidden gems, and dancing with the flow of life.
Her new experiences, adventures, challenges, lessons, small successes, and joys are colorful paints that fill up her canvas of life. She hopes to see it beautifully painted while she can. Join her on her quest for self-discovery and wanderlust. If you like her content, don't hesitate to upvote, drop a comment, reblog, and follow for more wonderful adventures.
©All Rights Reserved 2025
(Unless Otherwise Stated)