A yummy afternoon job
Whenever it is getting dark already in a late afternoon, it might be the right time to start to make your own cookies. So we did it today.
Enjoy a bunch of pictures from the creation of that delicious sweet food. How should I better say from the delicious Sweets.

Hey Hive Family
time for cookies
and let us travel the world again
Prepare the simple recipe
These simple & delightful butter cookies are so easy to make that even the kids can do and they require just three ingredients: butter, eggs, and sugar.
Perfect for a quick treat or a baking project with kids!
Ingredients
•   1 cup (226 grams) unsalted butter, softened
•   1 cup (200 grams) granulated sugar
•   1 large egg
Instructions
Step 1: Preheat the Oven
Preheat your oven to 350°F (175°C). Line a baking sheet with parchment paper to prevent sticking.
Step 2: Cream the Butter and Sugar
In a mixing bowl, combine the softened butter and granulated sugar. Using an electric mixer or a whisk, beat them together until the mixture is light and fluffy. This should take about 2-3 minutes.
Step 3: Add the Egg
Crack the egg into the bowl and mix until fully incorporated. The mixture should be smooth and creamy. Make sure you don’t test to much from raw dough 😃
Step 4: Form the Cookies
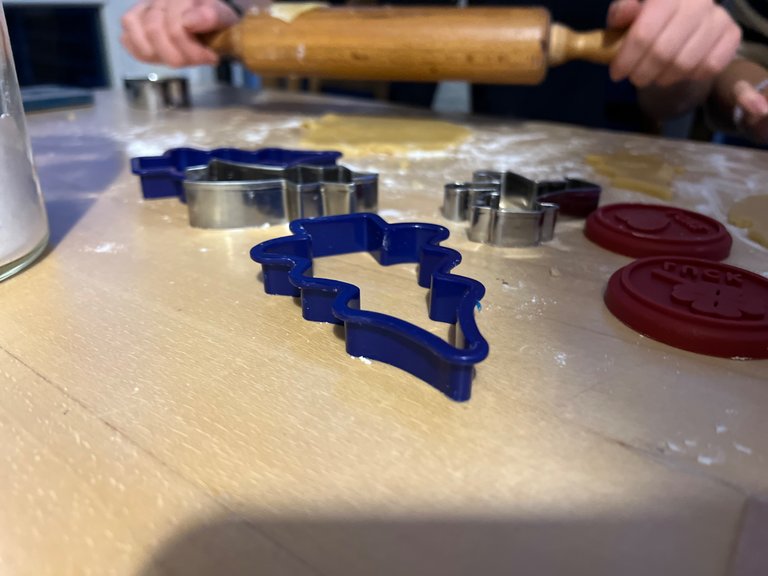
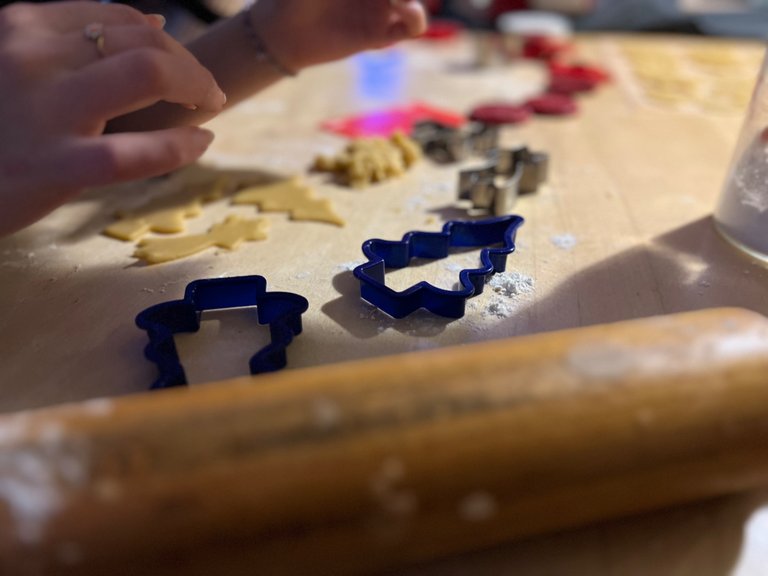
Using a spoon or cookie scoop, drop rounded tablespoons of dough onto the prepared baking sheet, leaving some space between each cookie as they will spread while baking. We used a lot of our cookie cutter with special forms and messages.
Step 5: Bake
Place the baking sheet in the preheated oven and bake for 10-12 minutes, or until the edges are lightly golden. The centers may look slightly underbaked, but they will firm up as they cool.
Step 6: Cool and Enjoy
Remove the cookies from the oven and let them cool on the baking sheet for about 5 minutes before transferring them to a wire rack to cool completely. Enjoy your delicious butter cookies with a cup of tea or coffee! Sadly the cookies don’t go well with beer, but as it was still afternoon another coffee works as well.
Do the Cookie 🍪
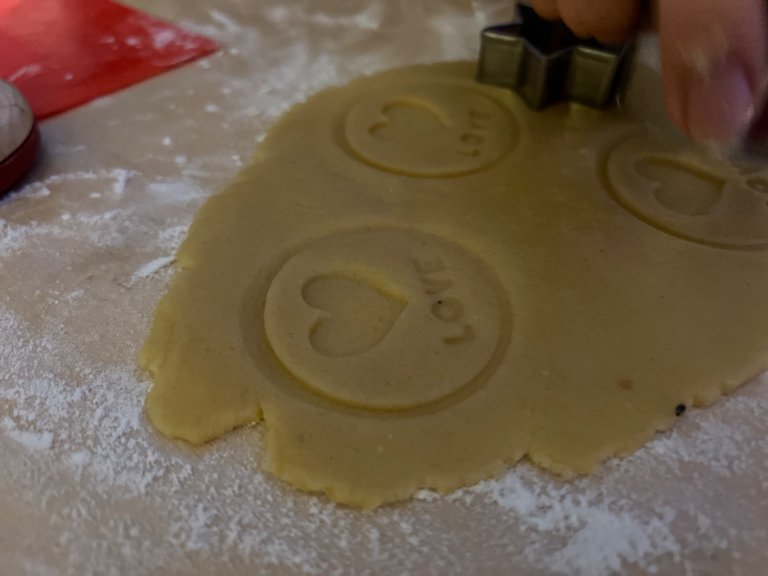
Here we go. As written in step 4 - the dough for the cookies is ready and we roll it out on the table to cut out the cookies. Enjoy the photo documentary.
Roll pin
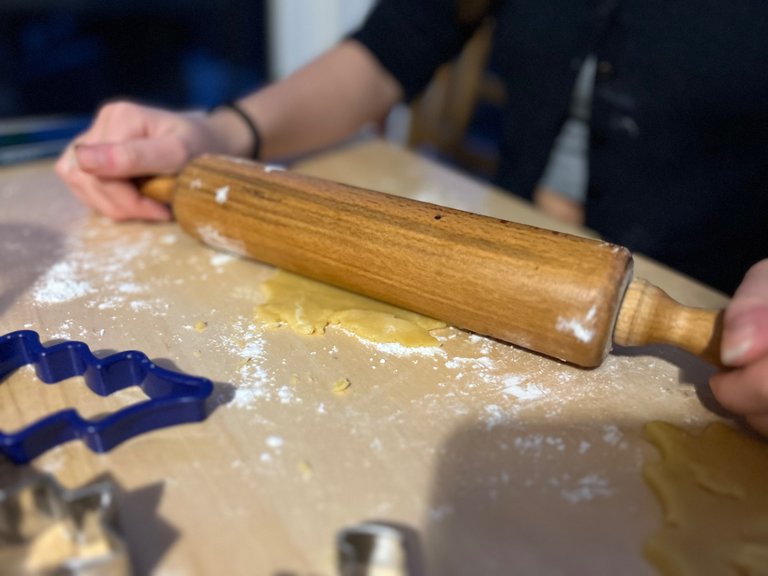
Action
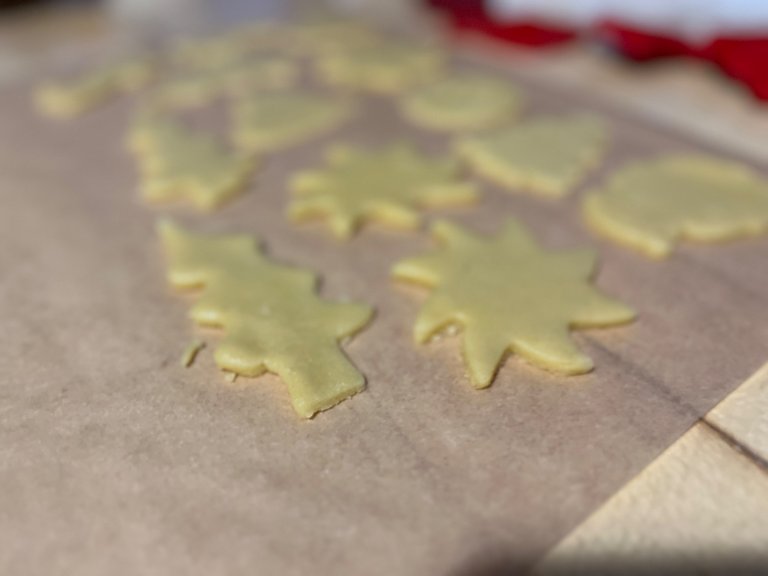
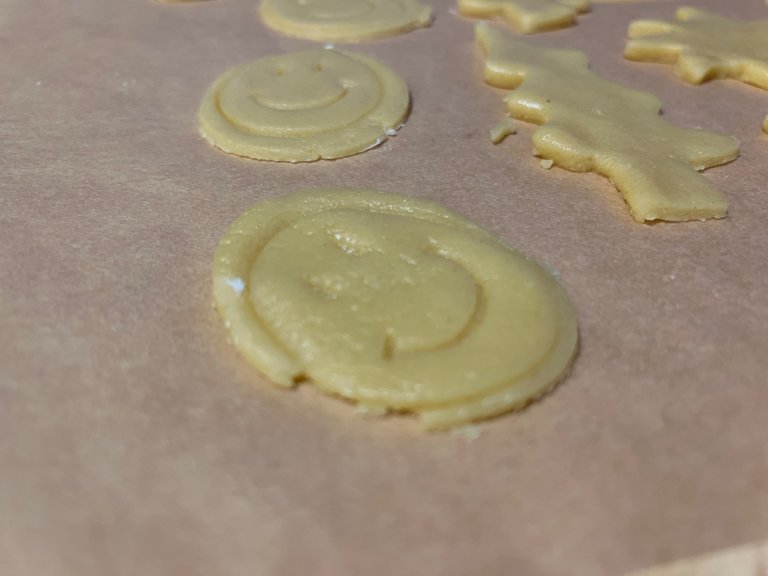
First raw cookies
More Cookies
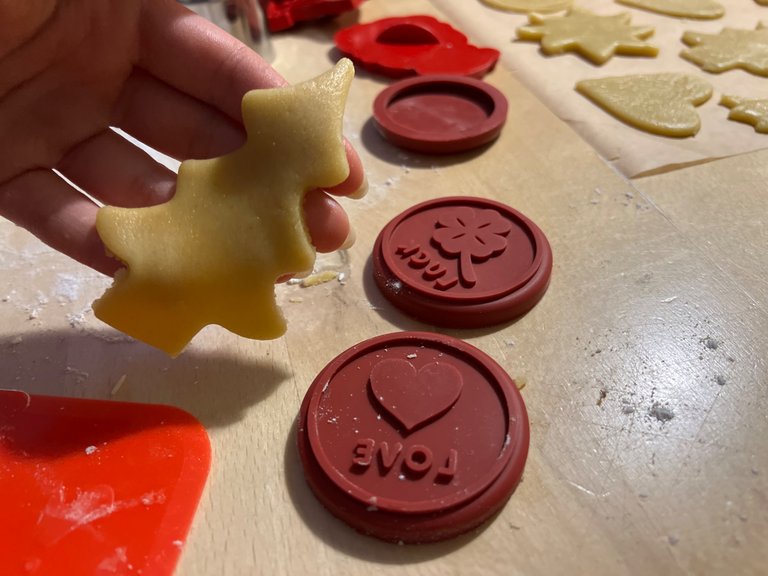
A diy idea for Hive
While looking to this cookie cutter, we have in use I came to the idea that we should try to create one with a high logo on it or with something similar like the world map and pin on it to use this for further cookies
Does anyone can create a 3D model for the 3D Printer?
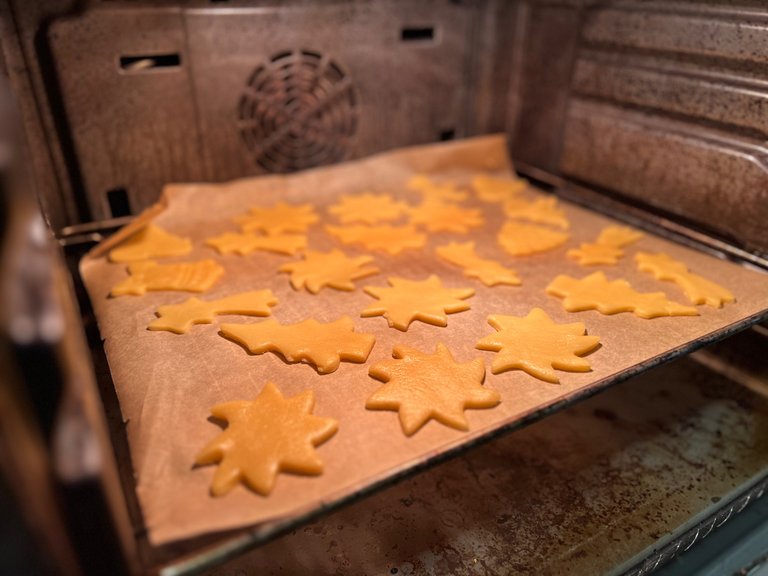
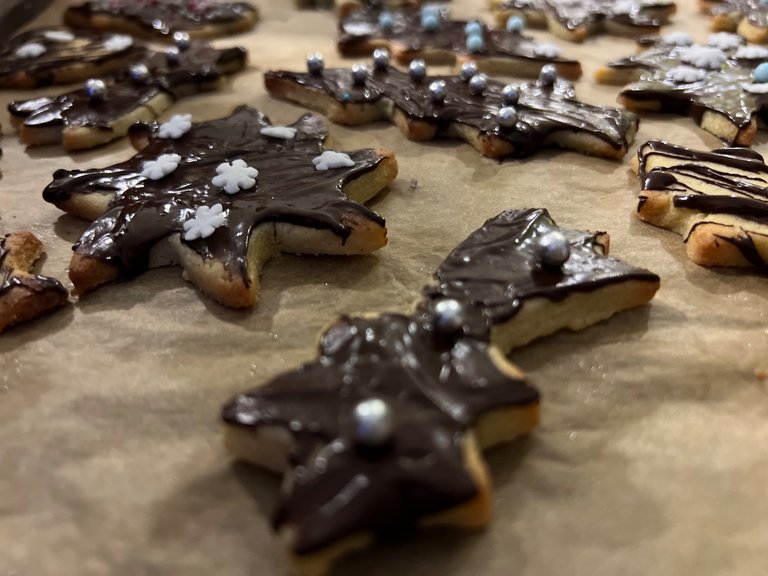
Fresh and warm results
Cookies always taste best whenever they are still a little bit warm. This short life happened as well to the one we just created. A few of them still get some chocolate on top, but to be honest, most of them got eaten by the hungry family right away.
So, we have to create a few more to be able to send them to friends for Christmas presents.
Have a great day everybody
and let us travel the world again

pic by @detlev
Enjoy the #BeerSaturday
have 3 pics and a story
around beer - and go!

@Detlev loves HIVE


