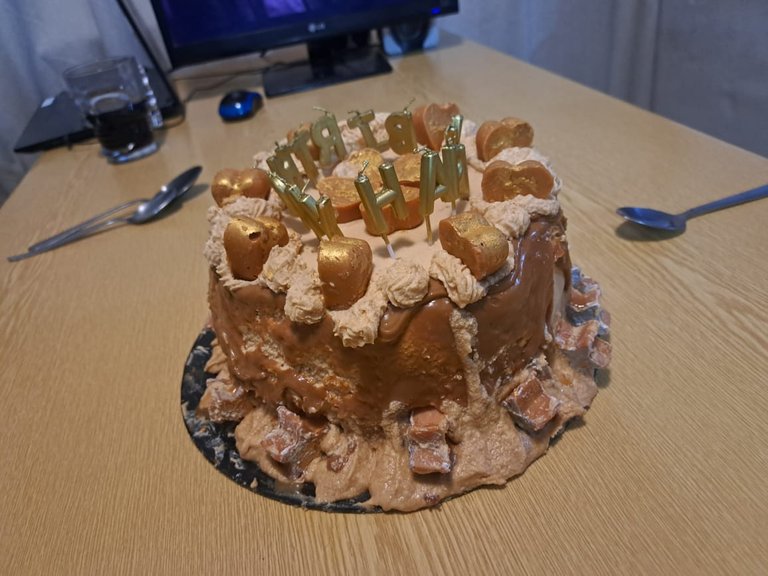
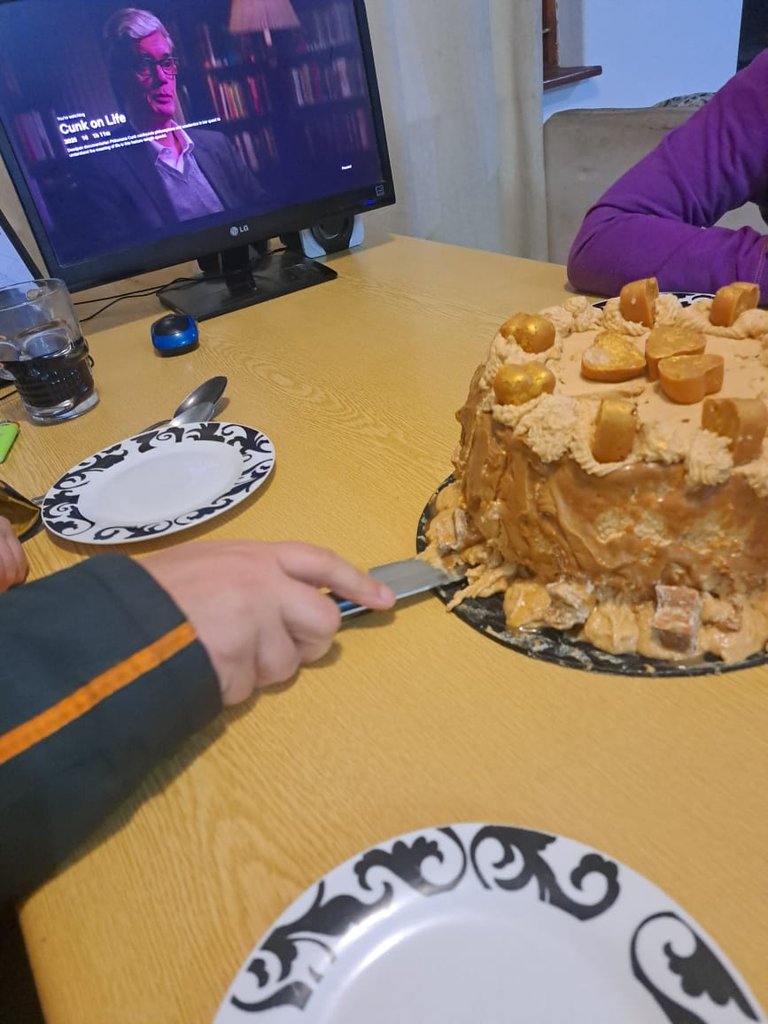
The Caramel Cake

It goes without saying that I don't want to bake another cake for at least a week now after this one and my Mom's Red Velvet hahahaha but I am super proud that I managed my pain and stamina (thanks for the backrubs et al, @zakludick) And look how gorgeously they both turned out!
I put my heart soul and all the body and mind power I have into creating each individual cake - I have discovered it is a love language of sorts, for me!( )
)
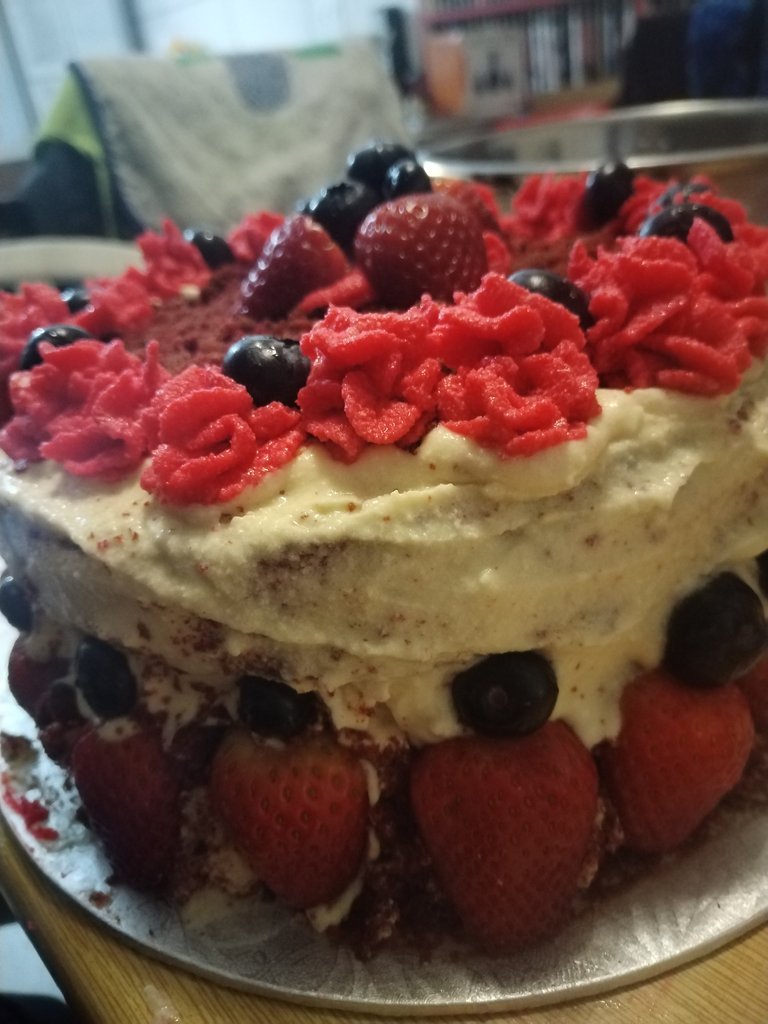
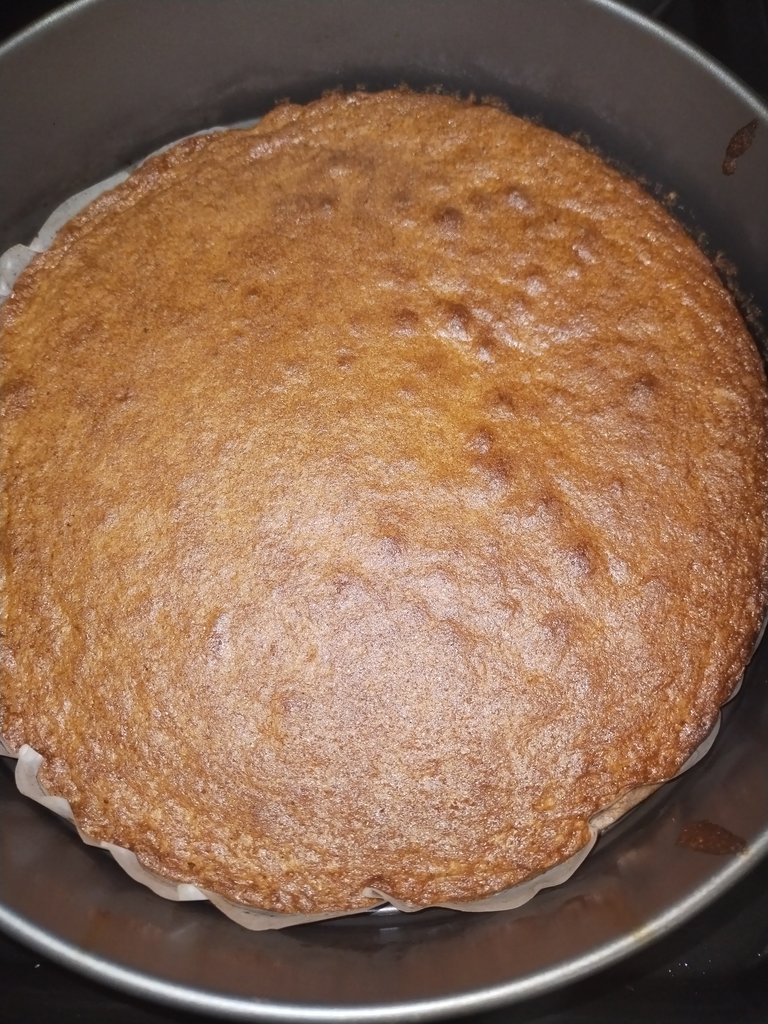
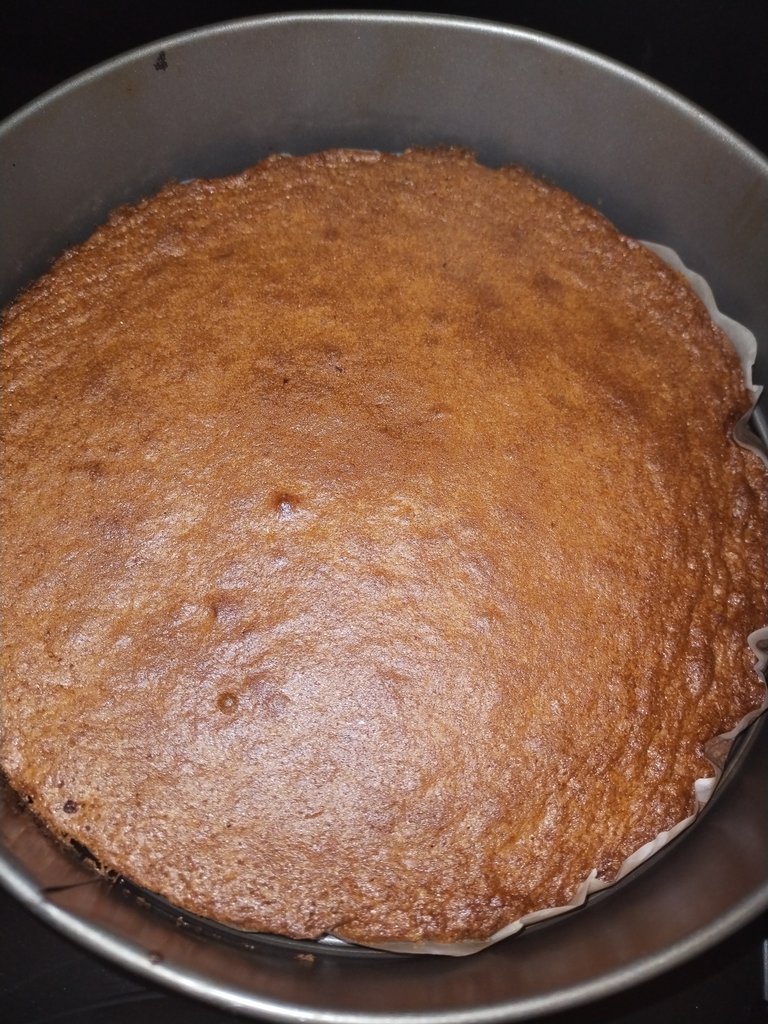
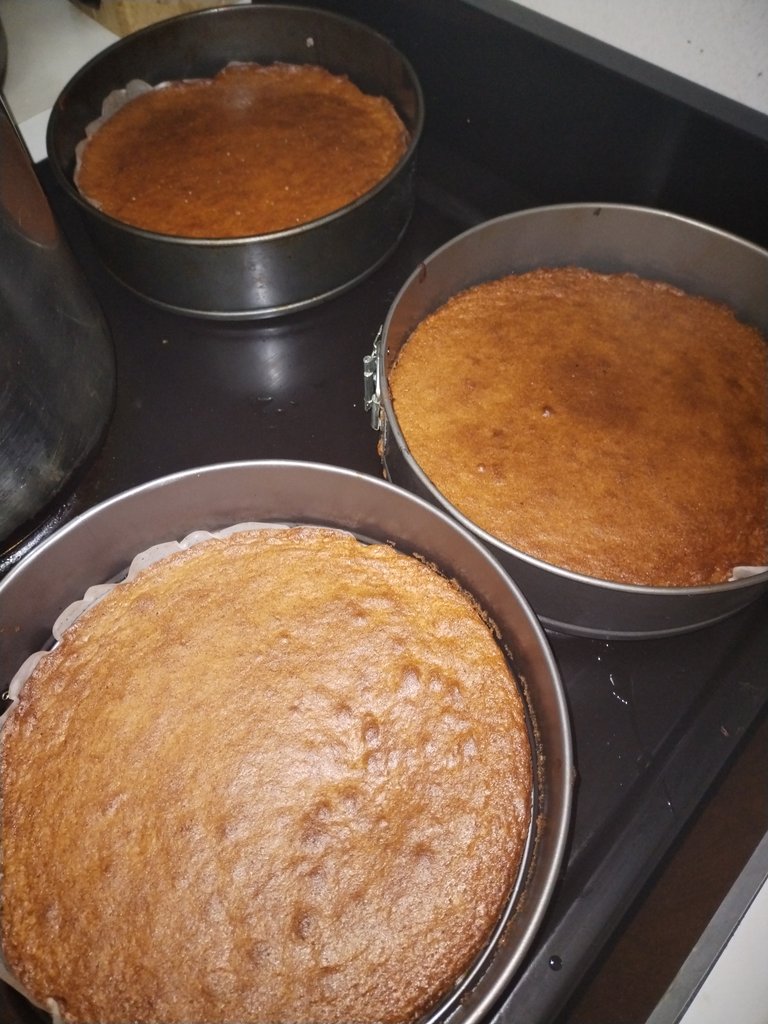
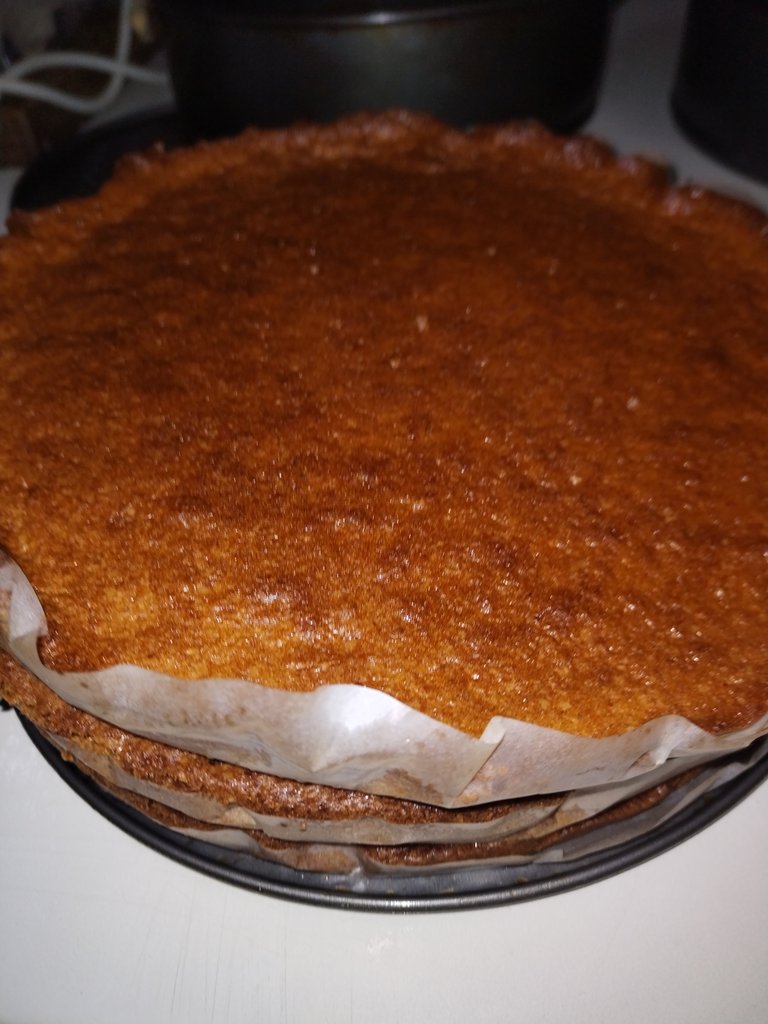
This Caramel Cake was a hell of a feat. I noticed that the first three layers looked a bit... skinny, and I wasn't terribly surprised as the amount of batter the recipe made didn't really spread over three tins, and frankly I was pleasantly surprised that they all spread out and rose, so I baked another three layers which turned out weirdly different to the first batch. It was very strange as I did nothing to change the baking conditions. Nothing significant anyway... Next time, I am going to make a four layer cake, spreading the batter over 2 tins instead of 3 and repeating the process, baking another batch of batter the same way to get 4 layers in total.
I did add a bit more baking powder to help the layers rise and when I baked, and on the second round, I only baked two layers instead of three at a time and then the last one on it's own, at this point I should have shortened the baking time and perhaps even turned the oven down a bit as the result was that the 2nd batch was much harder and the extremely high sugar content showed up by almost burning them to a crisp.


Look at @zakludick being so helpful with the left over, discarded crunchy cake 😜! It went to a good home! Sometimes this leftover cake can be turned into crumbs and used for decoration, but I had SO much going on with this cake, there was no real need and you can only keep so much stuff frozen in tubs😜😜😜🤣🤣🤣🥰🥰🥰🥰
With my serrated knife, I managed to even out the layers, to cut off the bits I didn't want around the sides and on top, and create an evenly layered cake, alternating the two sponges from the two batches.
I lost a lot of sleep over these two cakes that had me up at silly hours of the morning, but such is the life of a baker :p


So, without further ado, here is the recipe for the Caramel Cake!
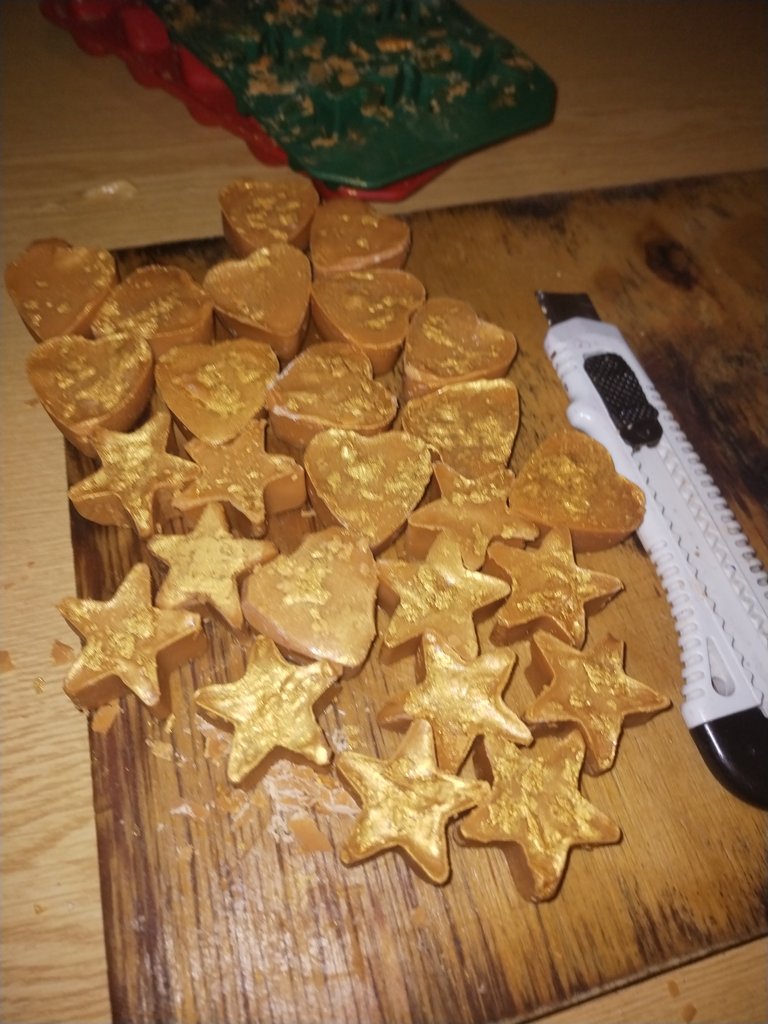
The Chocolate molds
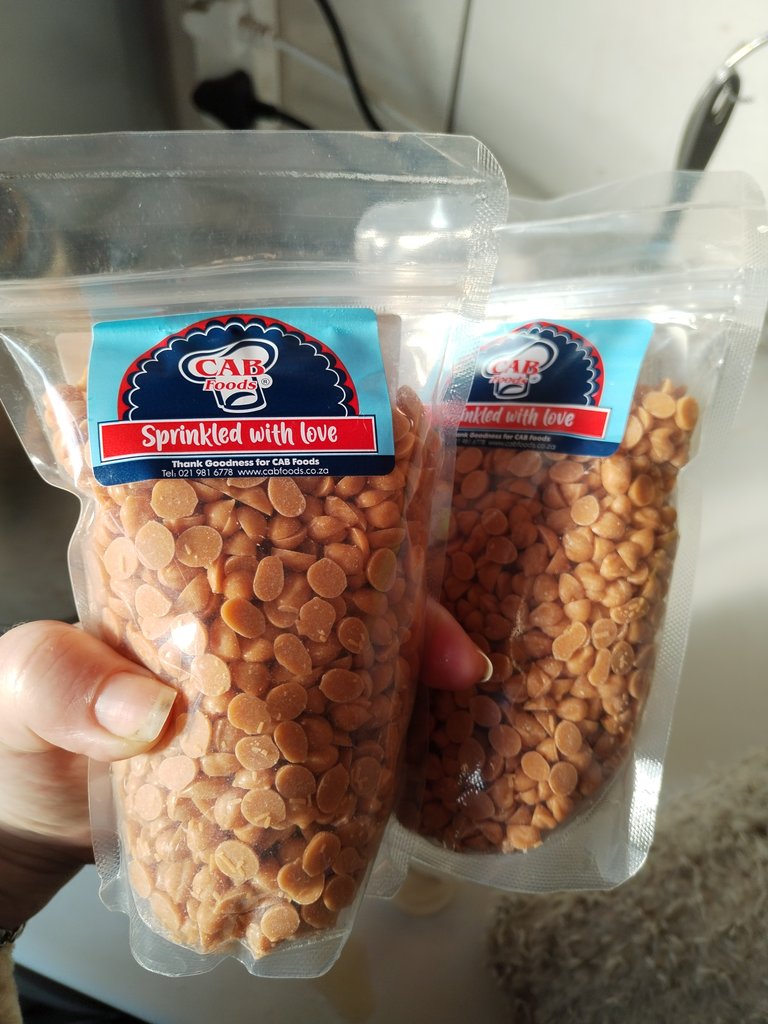
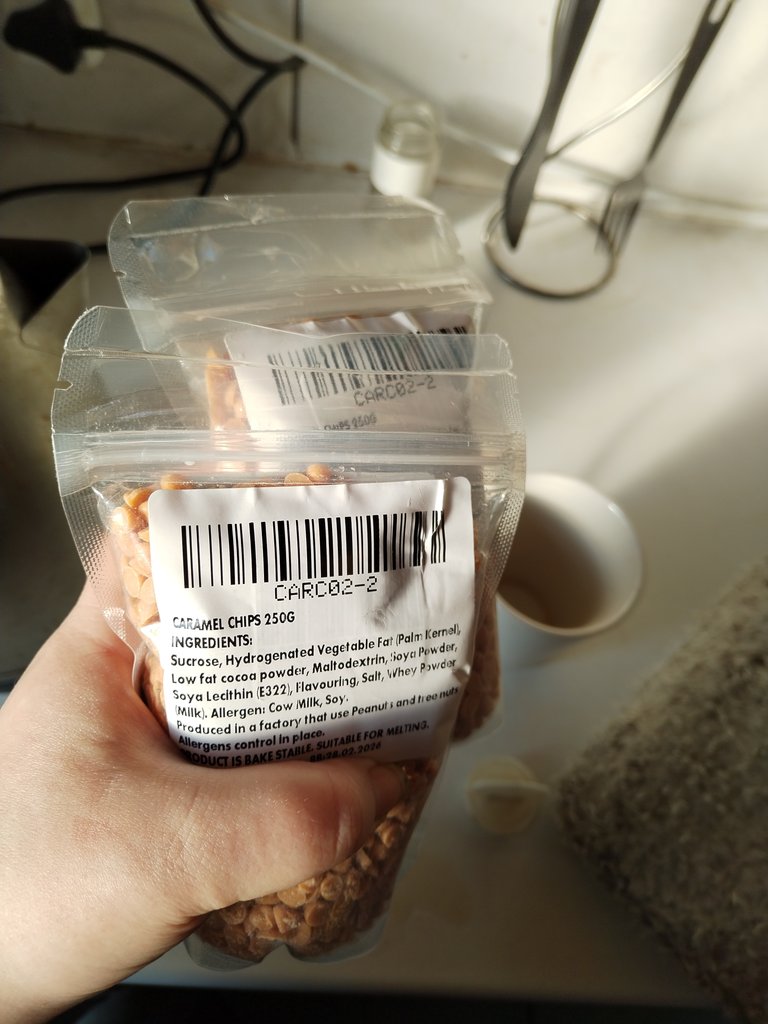
I decided to prep these loooong in advance and covered them with gold glitter. The trays I used are actually ice trays! but because they're made from silicone they are amazing for melted chocolate molds. I have now tried white chocolate for Meren's cake and now caramel chocolate, for the caramel cake in stars and hearts! ⭐⭐⭐💛💛💛
The trick is, to melt chocolate effectively, to use two pots, one quite a bit larger than the other. Fill the larger pot with boiling water and bring to the boil on the stove. You can now use the smaller pot to melt your chocolate. Whether you've bought the smaller nibs or a whole 500g bar that you've chopped up (this stage is important for larger pieces of chocolate because smaller pieces melt easier and more evenly) it is now time to place the chocolate into the smaller pot and put it into the larger pot with the boiling water, which you can actually turn off as this point as the residual heat will do the job just fine. YOU CAN NEVER COME BACK FROM BURNT CHOCOLATE (I mean, you can still eat it with a spoon while you check your bank account and cry, but... that's not going to solve your problems) so don't overheat or place directly onto heat without a water barrier.
Mix gently with a wooden spoon every 5 to ten minutes as a time to ensure even melting. If you are struggling to see your chocolate melt properly, you can add in a teaspoon or two of fresh cream. But be careful not to add too much cream. You aren't making ganache! plus your melted chocolate needs to set in the molds, so limit the cream you add. It's just a hack. I do find white and caramel chocolate need this a lot more than milk or dark chocolate, but sometimes they need a bit too.
Once your chocolate is pourable (but not too hot) you can pour it into the molds. at this point I added gold dust to the bottom of the trays before pouring in the chocolate and then sprinkled some on top. The dust is very difficult to work with as it never seems to go where you want it to, even if you use your fingers!
Once the chocolates were set and I was ready to add them to the cake, I spread out the gold with my fingers and this achieved what I wanted, although I am certain there is a better way? Also, please note that this is edible gold dust and not full of microplastics (hopefully?)! Lol!🤦♀️😱😋


It's a good idea to do this first as you can get so much else done while the chocolate is setting. I put mine in the freezer, but honestly, the ambient temperature would have been enough, or even the fridge, but I do have 3 children with sticky fingers for chocolate! 🙄🙄😜😜Hahahaha. So they were safer in the freezer!
When I needed them, I popped them out of the silicone molds, super easy, and then added a bit more gold dust to try to even things our as much as possible, but I ran out of gold dust at 3am 🤦♀️
I placed the hearts at the top and the stars at the bottom, although there were quite a few options/ variations I could think of, the arrangement I chose worked the best! I also did not use sticks or spaghetti (like I did with @merenludick 's cake 👽👾🚀🌌💫🌟⭐Claire's Crazy Cakes, Bakes and Kitchen Hacks - Chapter 76 - How To Make a Space Cake👽👾🚀🌌💫🌟⭐ ) and placed the stars and hearts directly onto the cake.
The Caramel Cake Sponge
Remember, if you want four layers' you'll need to repeat this process again, but it's a super easy recipe and fast to bake.
Tools:
- Two large plastic bowls, one for dry ingredients and the other for wet
- Teaspoons, forks, tablespoons, and a large wooden spoon
- A bowl small ceramic bowl for gently beating the eggs
- An electric hand mixer
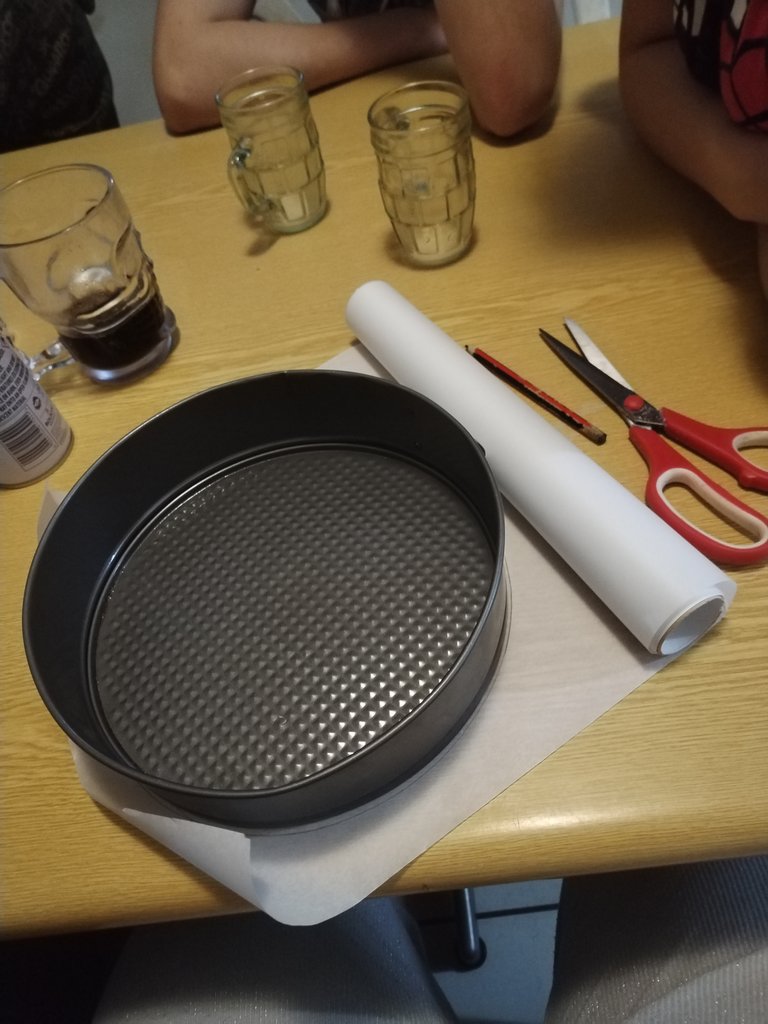
- 2 x 24 cm spring form tins
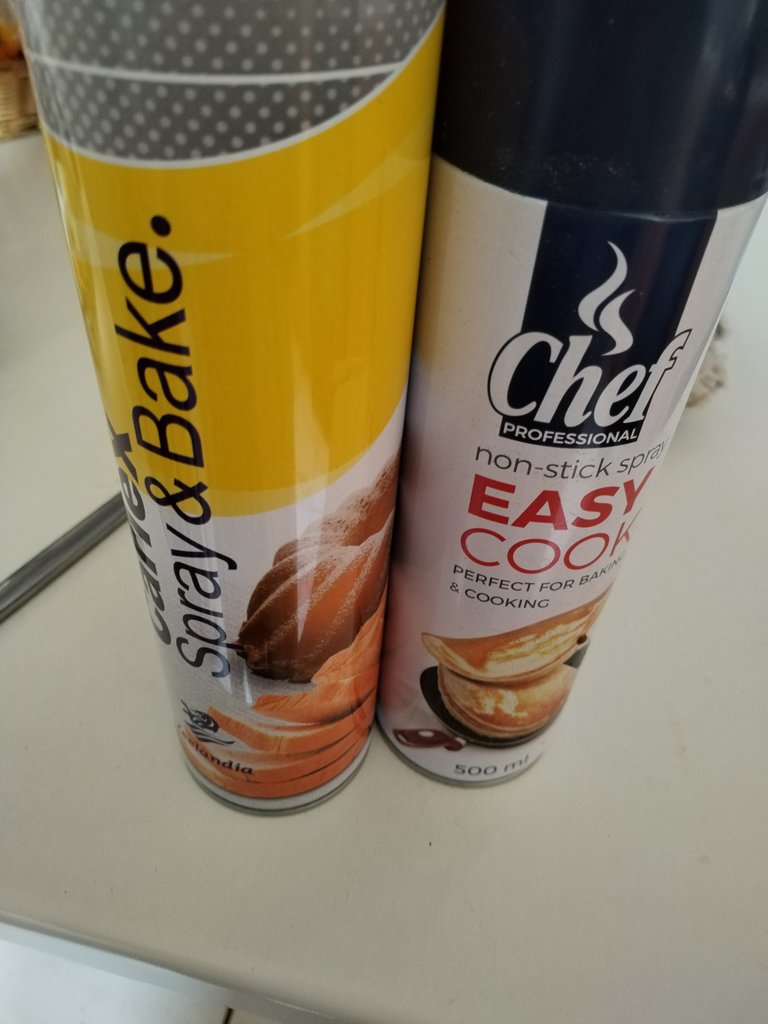
- Spray and Cook
- Baking paper
Ingredients
Now I cheated here a bit. I know using butter instead of oil means a dry cake, but perhaps I should of only replaced half instead of the whole lot, but I was also concerned with the large amount of eggs - which tend to dry cakes out even more so to solve this, I will only use two next time around.
I also buy cake flour in bulk so I roll my eyes 🙄when a recipe calls for self raising flour. You can substitute by adding extra baking powder, but I think it might be a good idea to keep some self raising flour around
Anyway, these are the ingredients I used (including my tweaks that I will be adding next time around) This cake still turned out great but something I love about baking is that you are constantly learning:

- 125 ml oil (I used a baking blend)
- 125 ml butter
- 100g castor sugar
- 125g dark brown sugar
- 225g self raising flour
- 1 teaspoons of baking powder
- 2 eggs
- 2 teaspoons of Vanilla essence (I don't measure this I just pour it :p let your ancestors guide you!)
- One Tablespoon of Maple syrup, once again, (I don't measure this I just pour it :p let your ancestors guide you!).
Method
Preheat oven to 170° Celsius
Spray tins generously with spray and cook and make sure your bases are secure
Trace the tins onto the baking paper (don't try to write/ draw in the shiny side), for a general size of the tin and cut it out about 1.5 cm bigger all around for each baking paper cutout. This makes absolutely sure that the sides don't stick either. Then make sure you line the tins with baking paper, shiny side out! Press into the sides and the bottom to prevent leaks and to ensure you've covered as much even surface area as possible.
- Gently beat eggs in the ceramic bowl
- Then add the eggs and all the other wet ingredients together and use the hand mixer on it's highest setting, to blend together until light and fluffy.
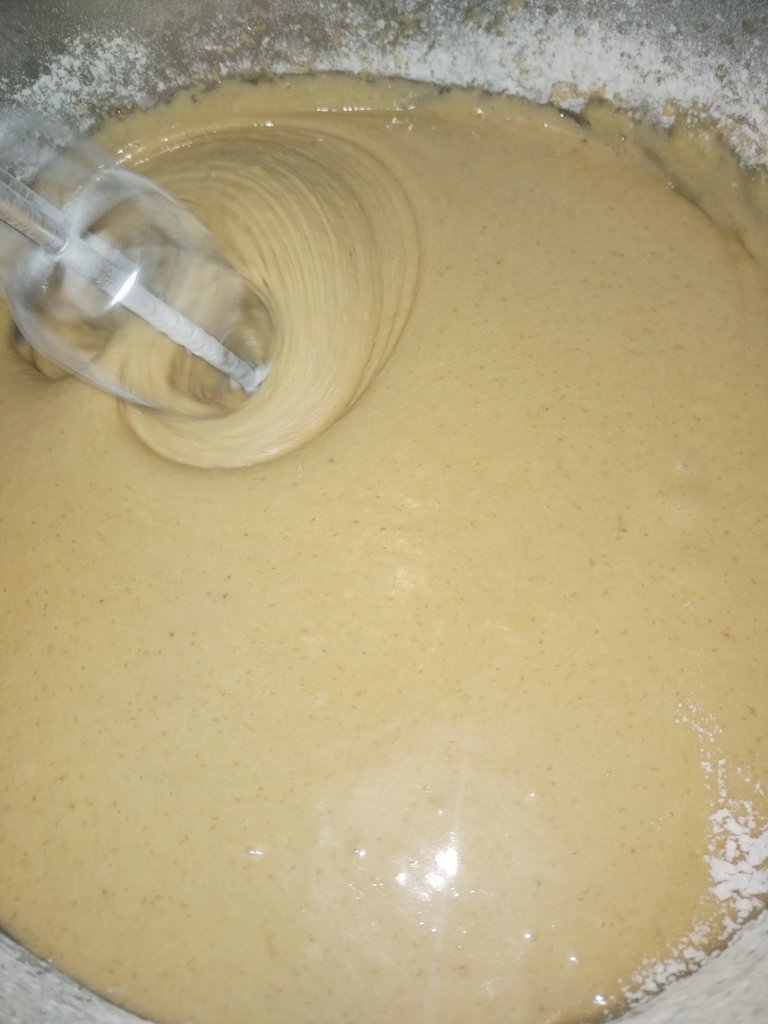
- Add dry ingredients slowly using the slowest setting on your hand mixer. Just mix until adequately incorporated. DO NOT overmix!
- Bake for between 30 and 40 minutes. Check that it's cooked through by inserting a toothpick. If it comes out clean, you're good to go, if not, and there is still batter clinging to the toothpick, place them back in the oven for another 10 minutes or so. Avoid opening and closing the oven door as this can cause your cake to flop. Only open it when absolutely necessary, i.e. when your timer goes off and you need to test if your cake is done.
- Once baked, remove from the oven and allow to cool completely in the tins.


- Once cooled, put the layers into the fridge (Don't remove the baking paper yet. This helps keeps the cakes separated and moist for assembly. Putting the cake layers into the fridge makes trimming etc. easier when assembling the cake.
They need to cool for at least an hour, but longer, if you can - like overnight is fine.
Caramel Buttercream Icing
I fought with this, surprisingly enough, but the weather is getting much hotter as we head towards summer. That means buttercream melts fast if you don't keep an eye on it and you may even need to pop it into the freezer for faster, emergency cooling.
Ingredients:
- 500g butter
- 1 x tin caramel treat
- 1kg icing sugar
- Vanilla essence


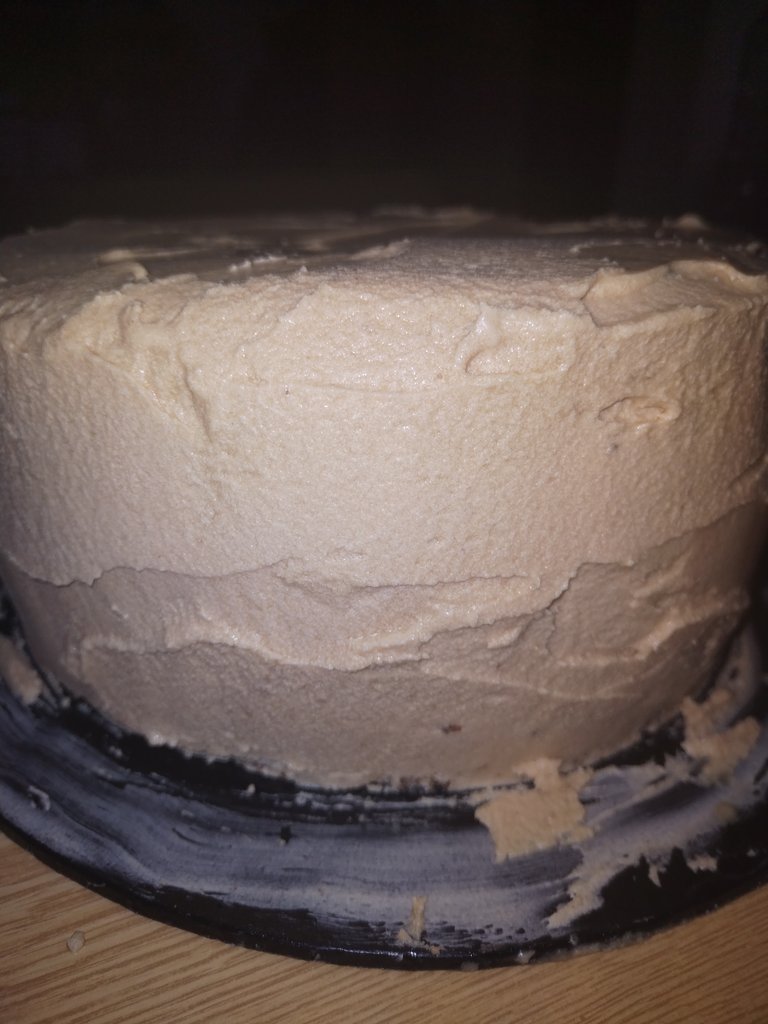

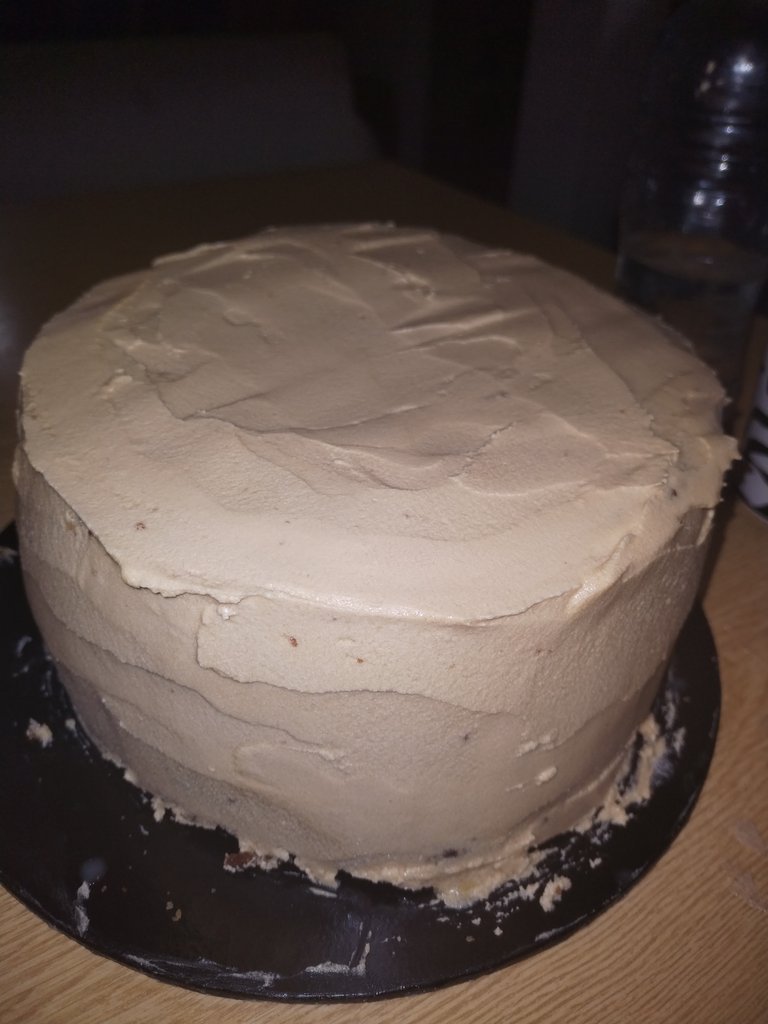
So I did a crumb coat which went well, and the subsequent finishing and smoothing touches were great.

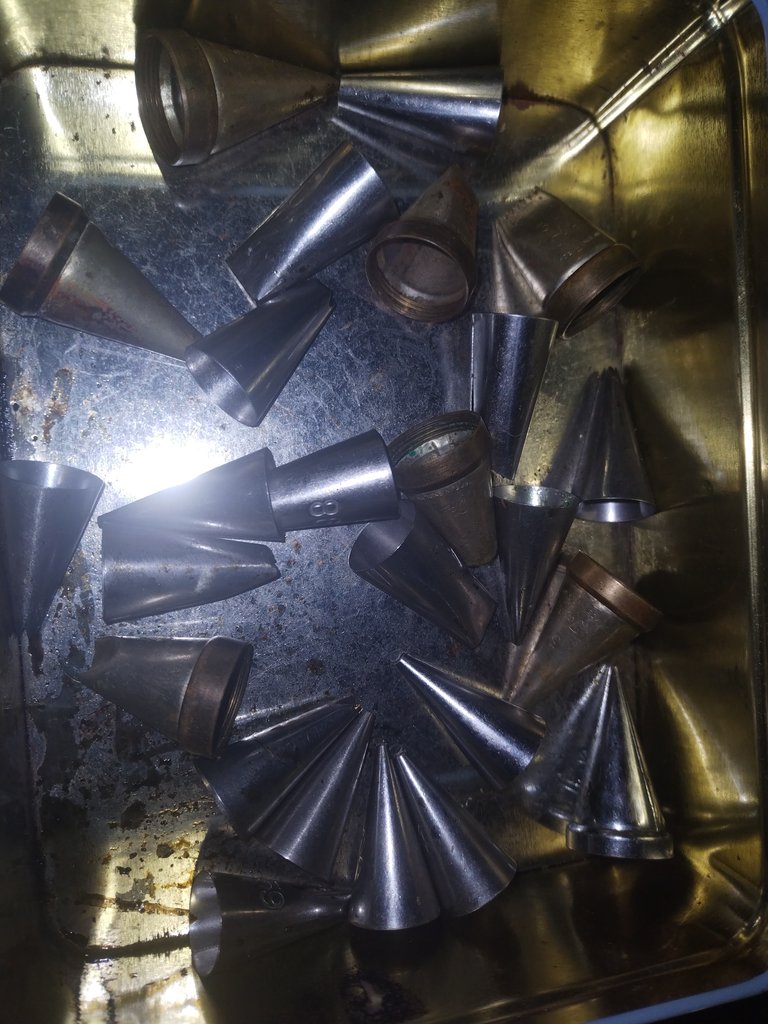

When it came to what is supposed to be the fun part, ALL of my piping apparatus failed me though😭😭😭😭. The nozzles spit two plastic piping bags, even with double bagging.


My trusty old fashioned piping bag also failed me as the only nozzle I had that would fit was to thin to let any icing out unless I let it warm up and soften too much and then the rosettes just well, melted. So after running to the freezer and then keeping myself occupied for 10 minutes, and then running back to the freezer and repeating this process over and over, I gave up. So what next?
Once again, I resorted to the stupid piping gun which also gave me hell, with its piping mechanism failing and needing cleaning and reconstruction after each rosette. Urhg.
I need to find a better solution for this going forward, including some professional cake decorating classes when I can afford it.
**The caramel drizzle. **

What it is supposed to look like, (although I think this photo is a lie!).
How it turned out:


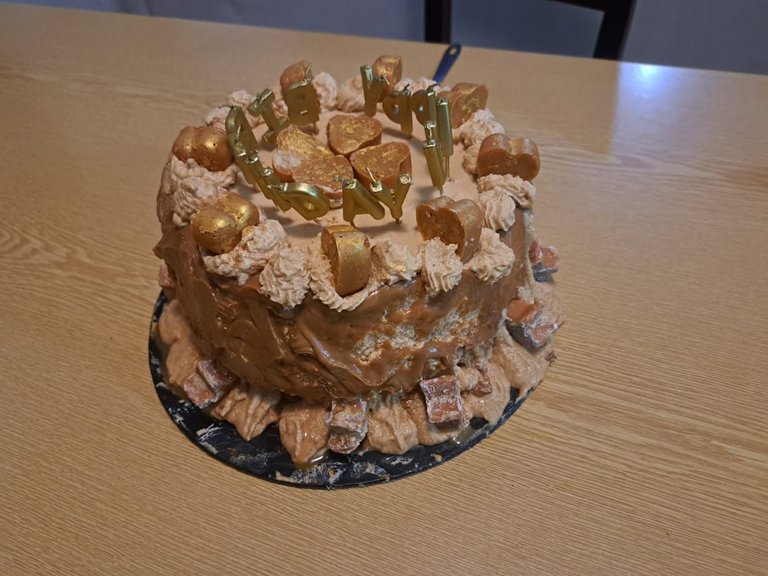


Looks much better with all the trimmings 😜
Ok, this WAS my first attempt at the vertical drizzle effect. It definitely needs practice. The tough part is that you don't want to melt the buttercream underneath but whatever you are using to drizzle: chocolate ganache, berry compote, or caramel, it needs to be runny enough to drip effectively but cool enough to actually stick to the buttercream and not melt it. I think this part will take practice for perfection!
This cake was made with so much love though and it turned out well. At least I know where I can improve next time around!!