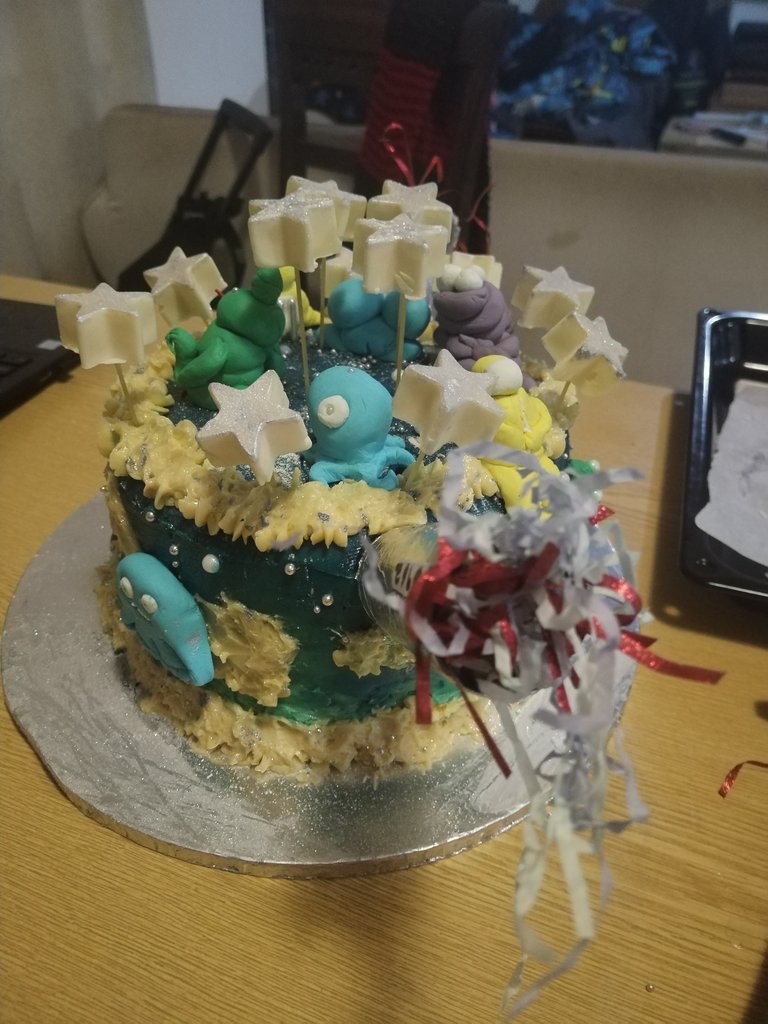
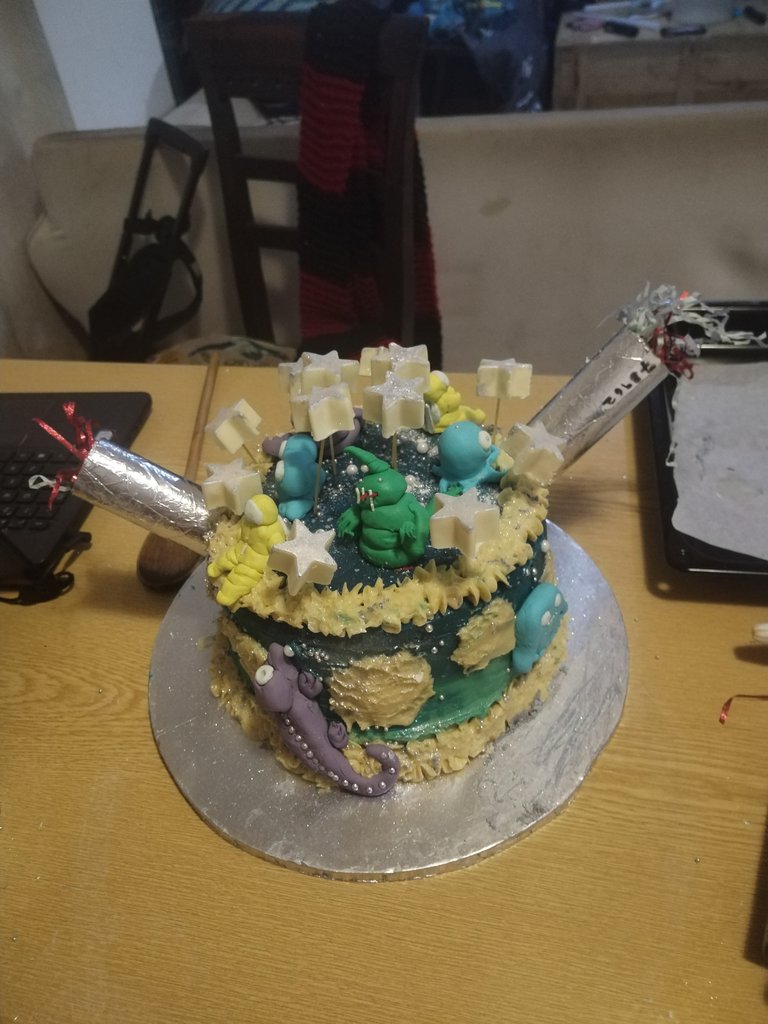
This might be the most ambitious cake I have ever made, but I can't believe that everything turned out just as I had hoped/ imagined, or even better! We were celebrating @merenludicks 's 15th birthday with a Star Wars Marathon and since we have been watching Star Trek as week, like good parents (lol) I thought a pace cake was in order. I was also inspired by another page with a purple ombre effect and figured I could surely make the sky of the planet this way?
There are so many steps to how I got this right, so let me start with the sponge.
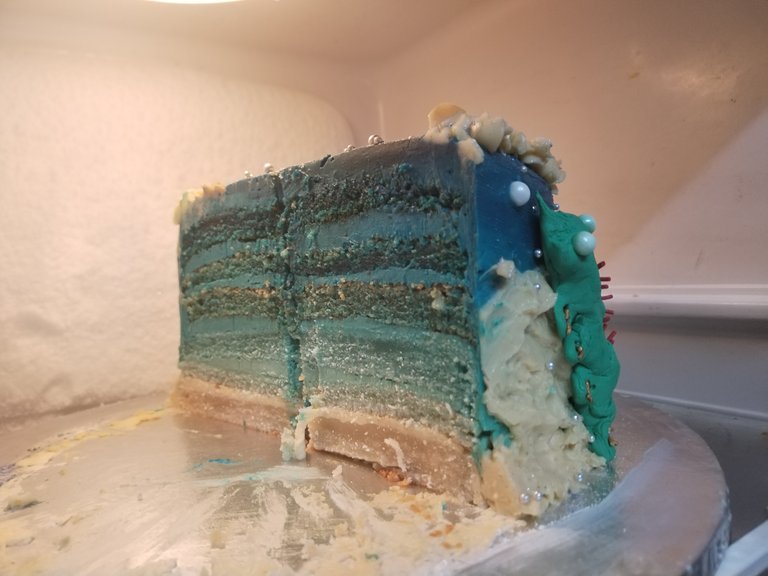
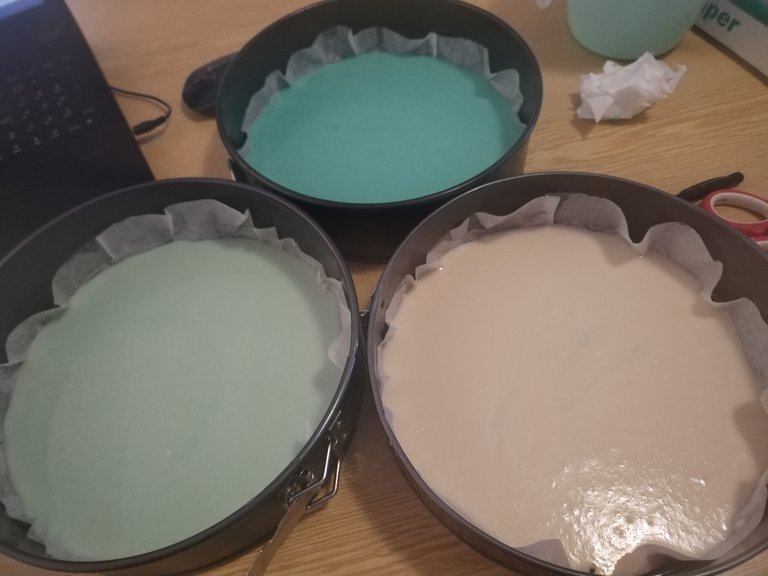
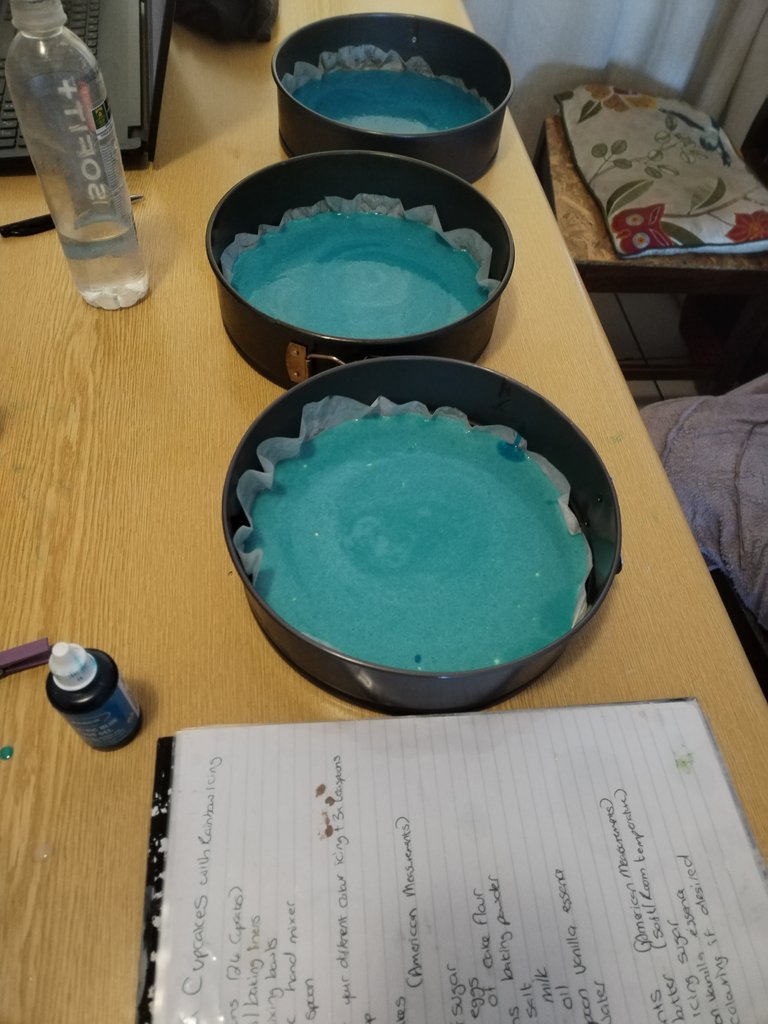
I used my vanilla cake/ cupcake recipe and made two lost of batter which I divided into 3 pans per batch which gave me six layers of cake. I had to keep careful count of the amount of Gel Colour that I used for each layer to ensure I got the ombre effect I was looking for.

Vanilla Cake: The batter will seem a little runny. This is normal. I used castor sugar as this is supposed to be a very light batter.
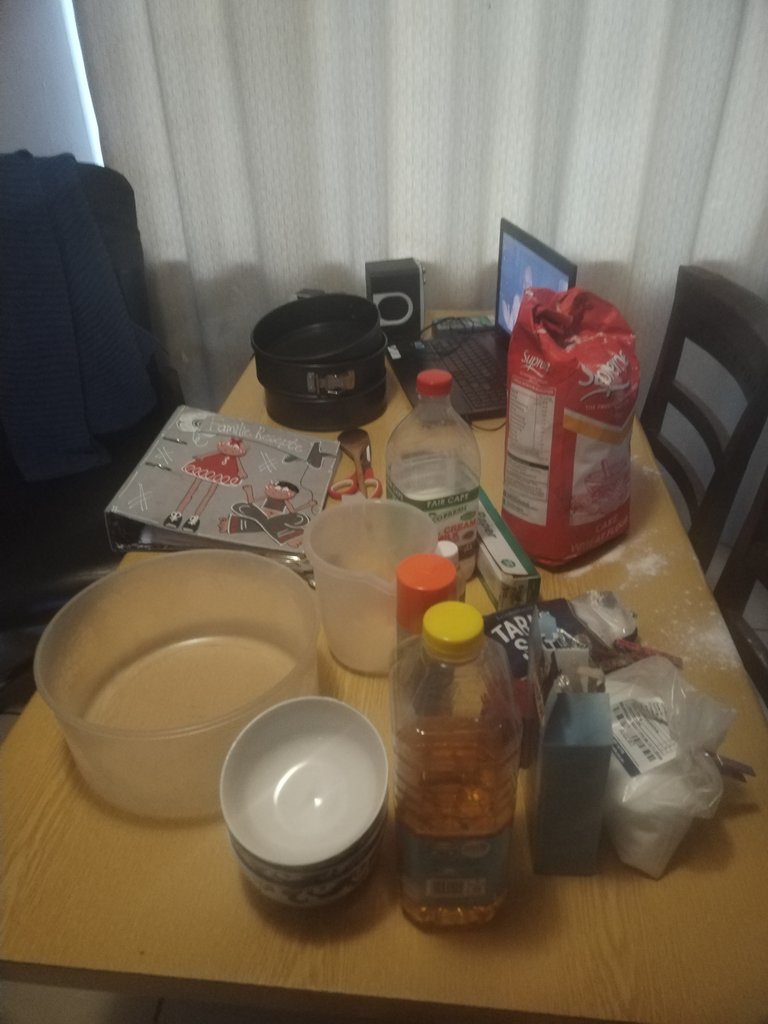
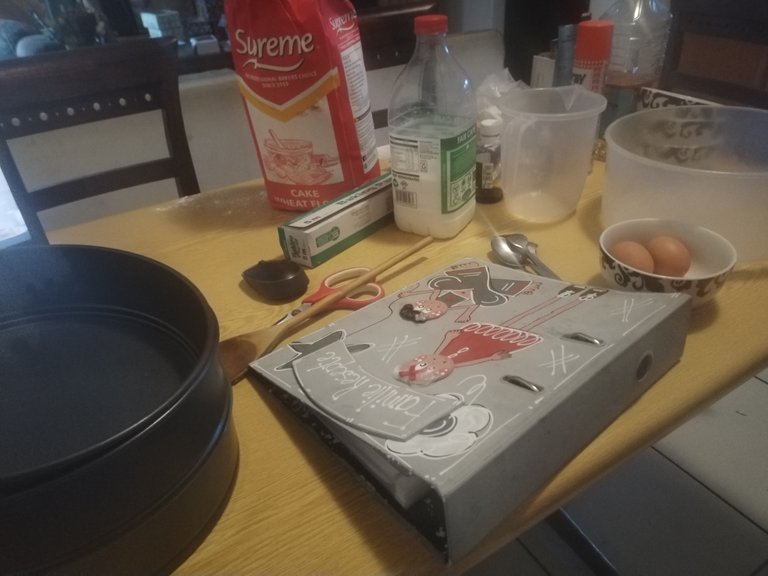
Tools
Big wooden spoon
4 x table spoons (one for each colour and an extra)
1 x teaspoon
1 x fork (to lightly beat eggs before adding to the mixture)
Scissors
Baking paper
Spray and cook
3 x 26 cm baking tins
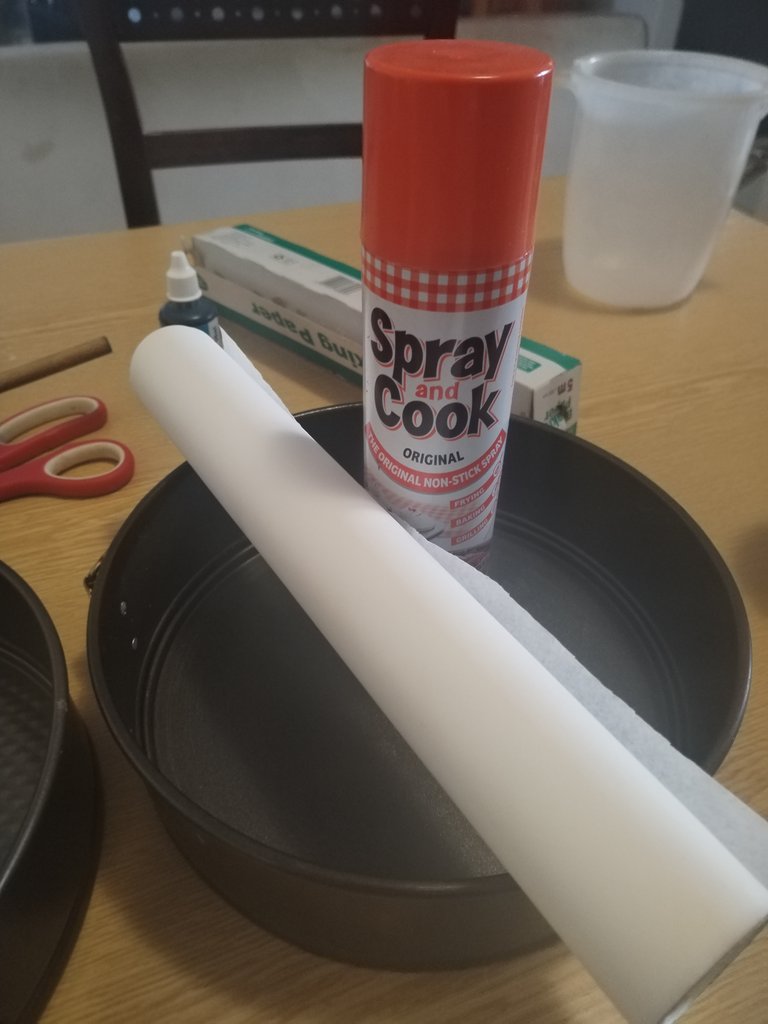

I cannot say his enough but the baking paper and the spray and cook are basically non negotiable! They made it SUPER easy to just lift the cake layers out. No sticking what so ever. This meant I could use the pans twice without needing to wash them out. Before adding batter, measure and pencil your tins onto the baking paper and always ct a bit bigger than the tin so that you can cover the sides as well. Spray the tins generously with spray and cook and then place your stenciled baking paper into the pans, shiny side up!
Ingredients - American Measurements
2 x Eggs
2.5 Cups flour
120ml Oil
3 teaspoons of baking powder
2 x cups castor sugar
1 cup milk
1 cup water
Vanilla essence 2 to 3 teaspoons
Salt x 1 teaspoon
Method
Blend sugar, vanilla essence, oil and eggs together until fluffy. Then add flour, baking powder , and salt. Keep blending wile slowly adding the milk and then lastly the water.
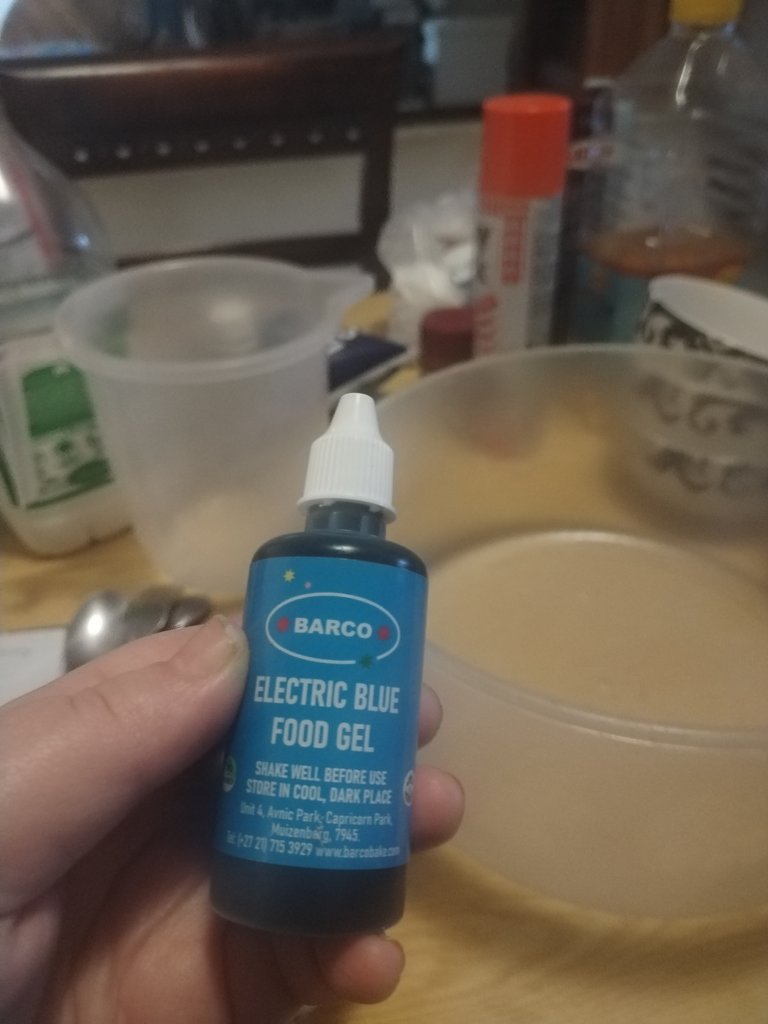
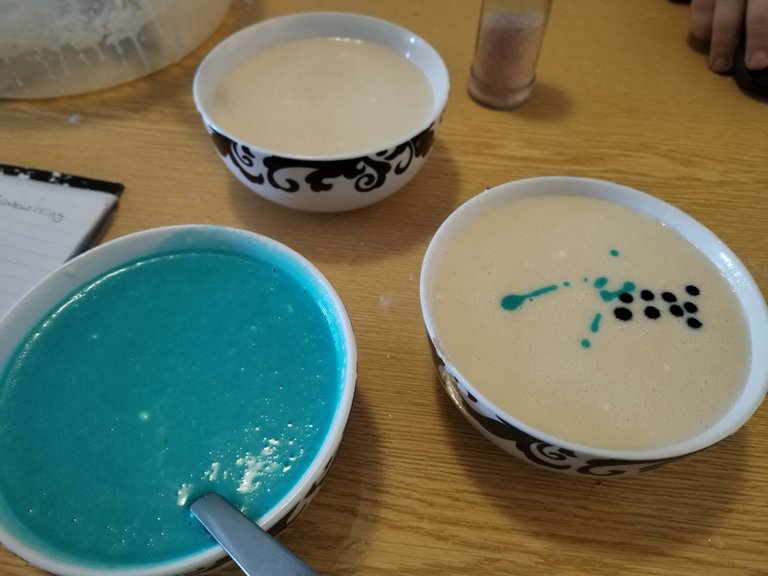
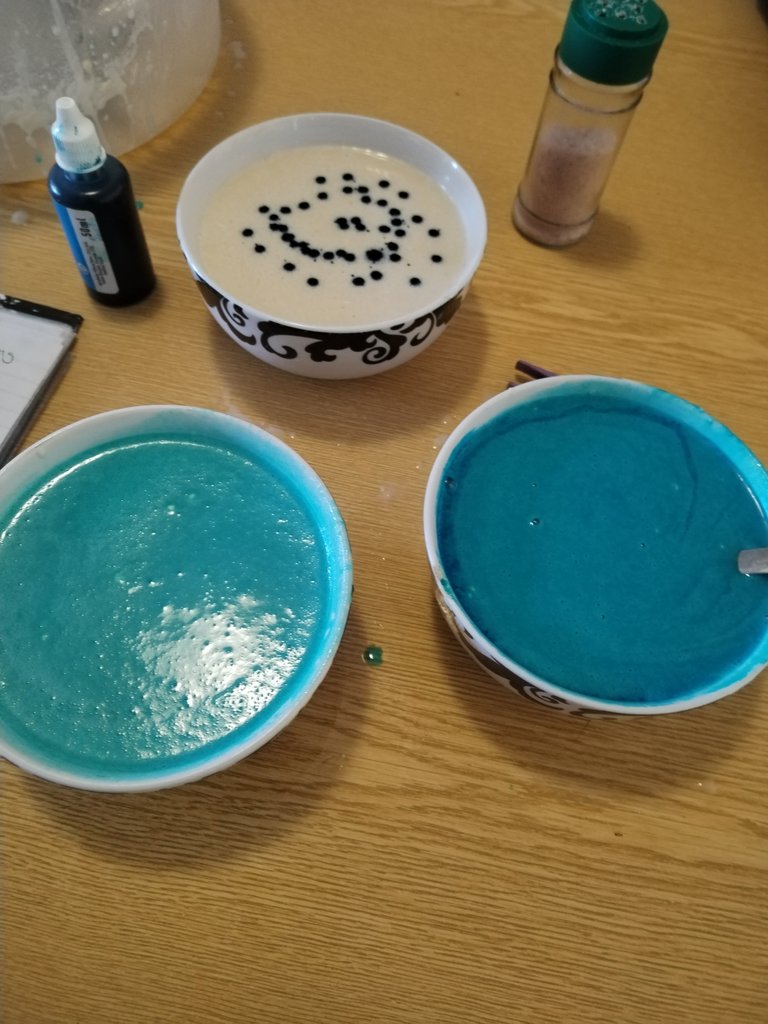
I divided the batter into three bowls and added colouring as needed. As I said, I made two batches like this. Keep note on your cellphone or on a notepad of how much colouring you used for each layer, so you know what to add for the subsequent layers.

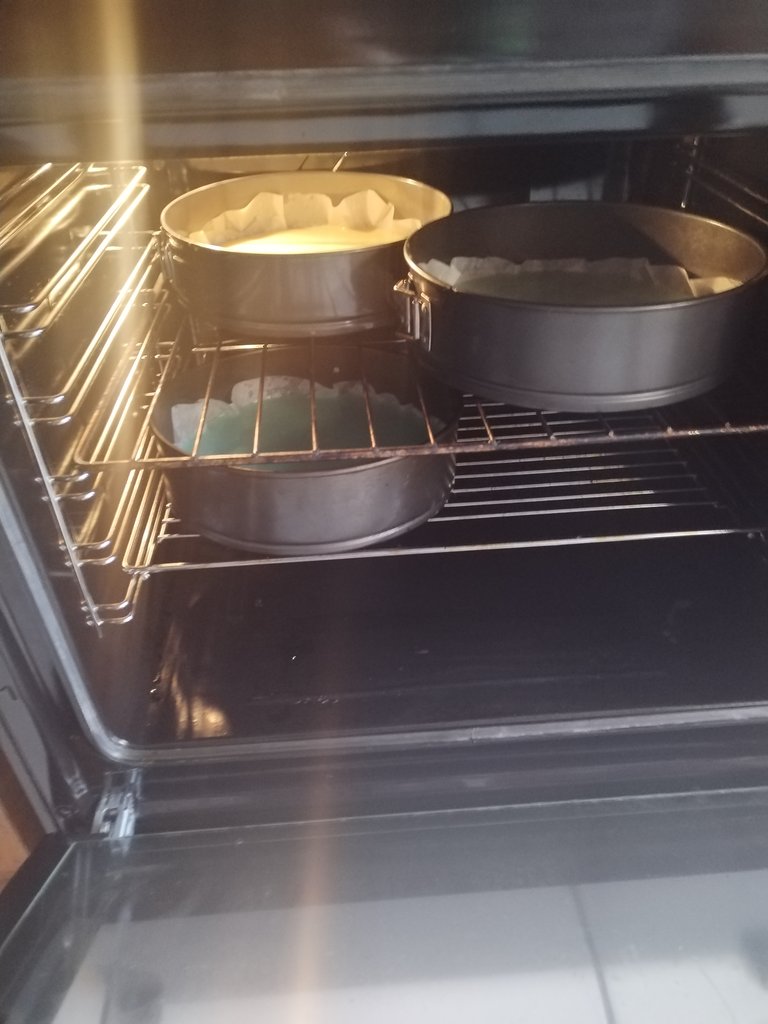

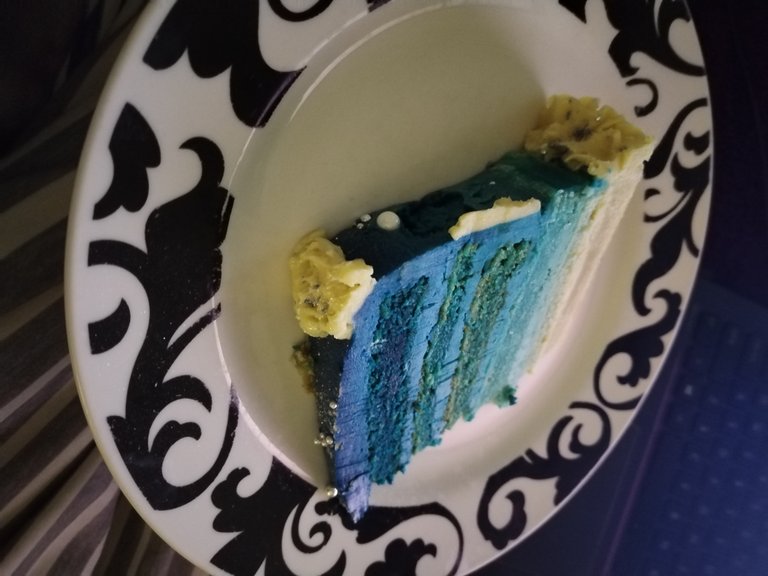
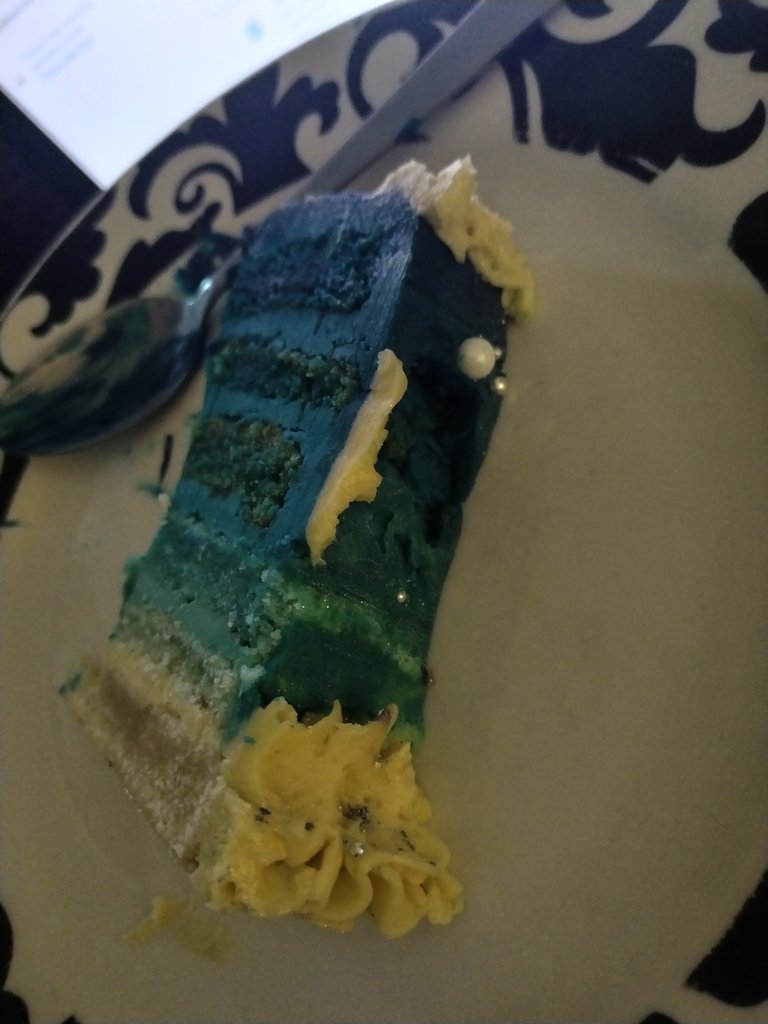
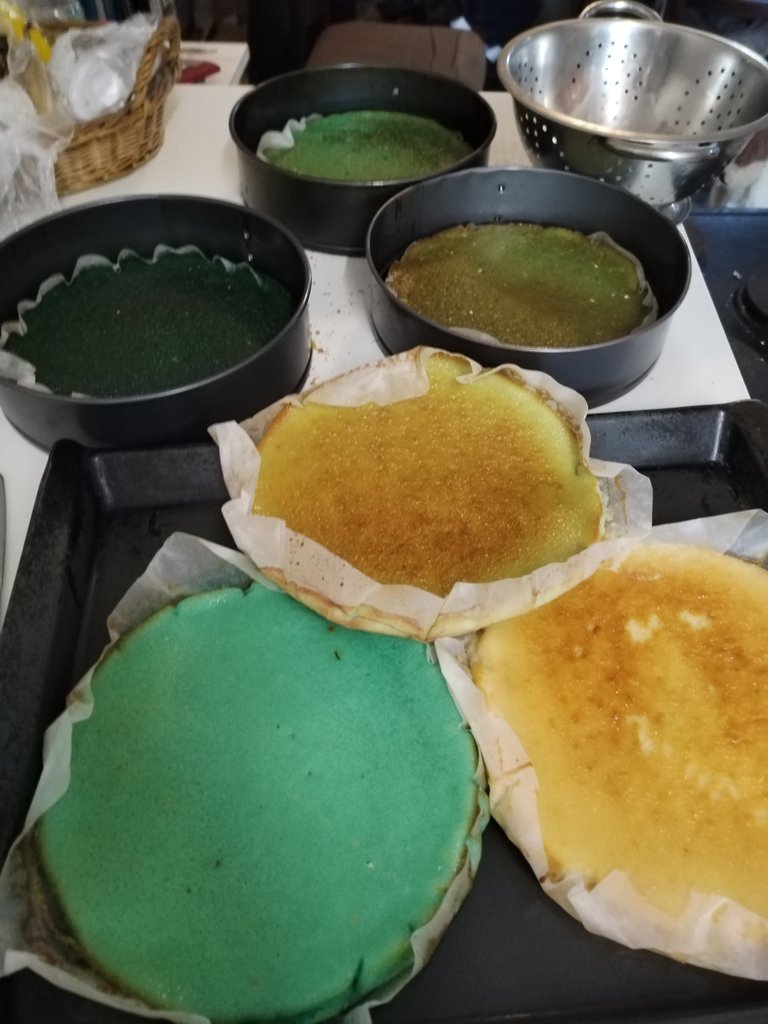
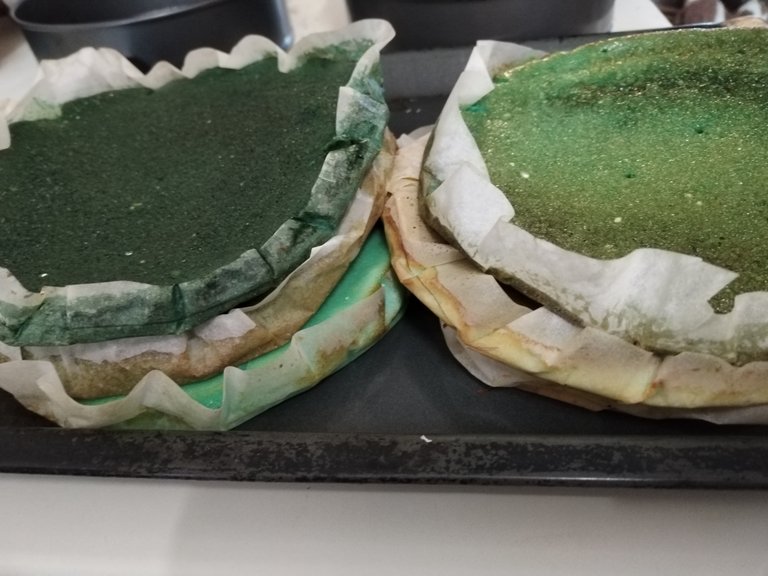
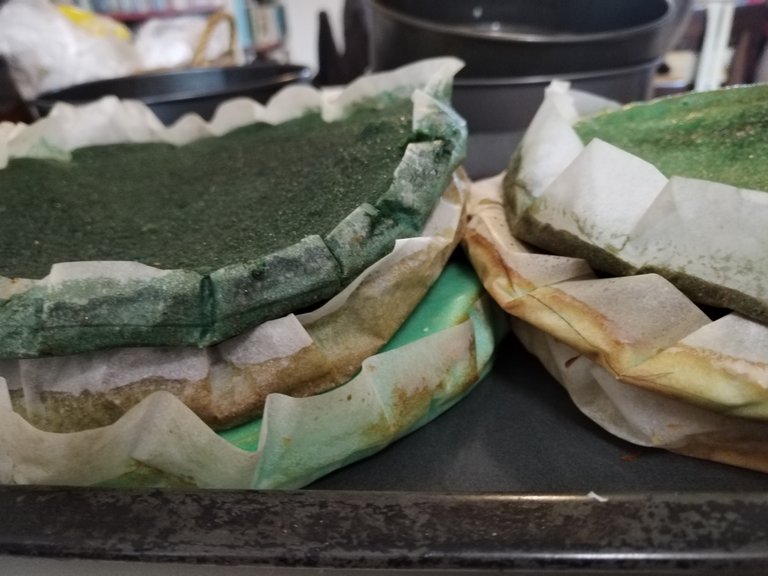
Remember that the colour you see when you remove the cake layers from the oven is not an indicator of what is going on underneath! Once the cakes have cooled, you can gently and slowly remove a section from the top of each layer to ensure they are all flat and then the colour will be exposed. You will also need to trim the sides to ensure uniformity. You ultimately want your cake to be as neat and professional as possible.

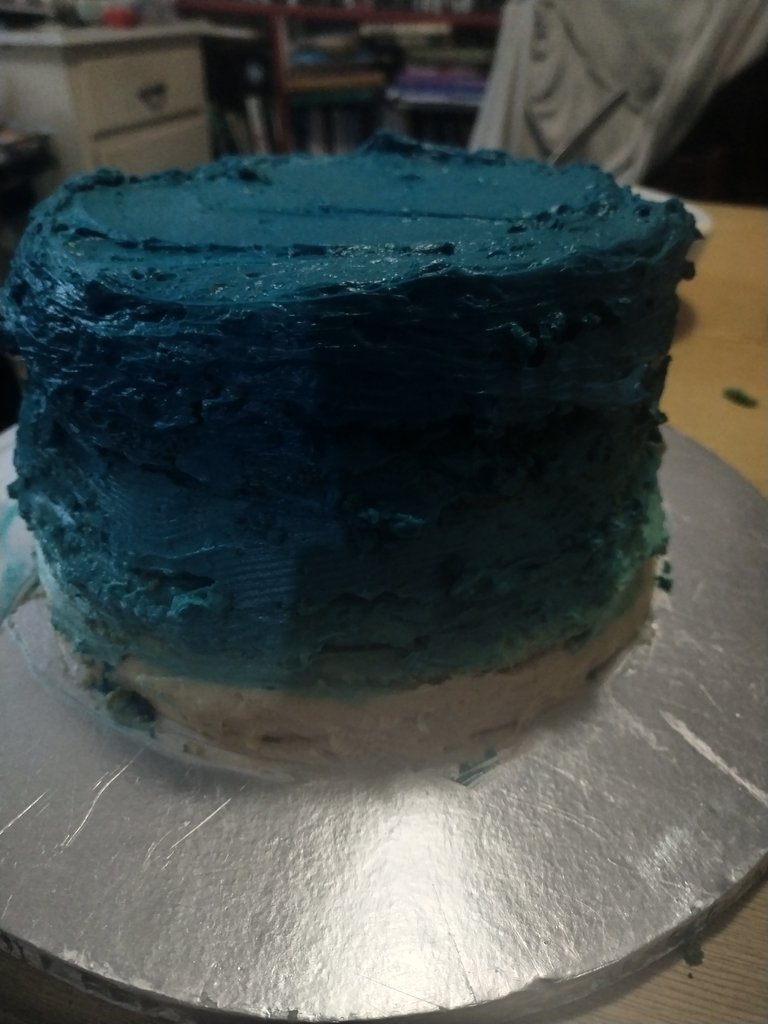
I placed the layers from lightest to darkest, trimming and evening out as I welt along. I now see the value of a cake leveler and I need to scratch in my mom's baking boy. I know I have one... somewhere. I used a large serrated knife as a substitute. I also had little gobblers ready to eat whatever fell off the cake! It's an important job, you know! Thanks @zakludick for helping with this :p
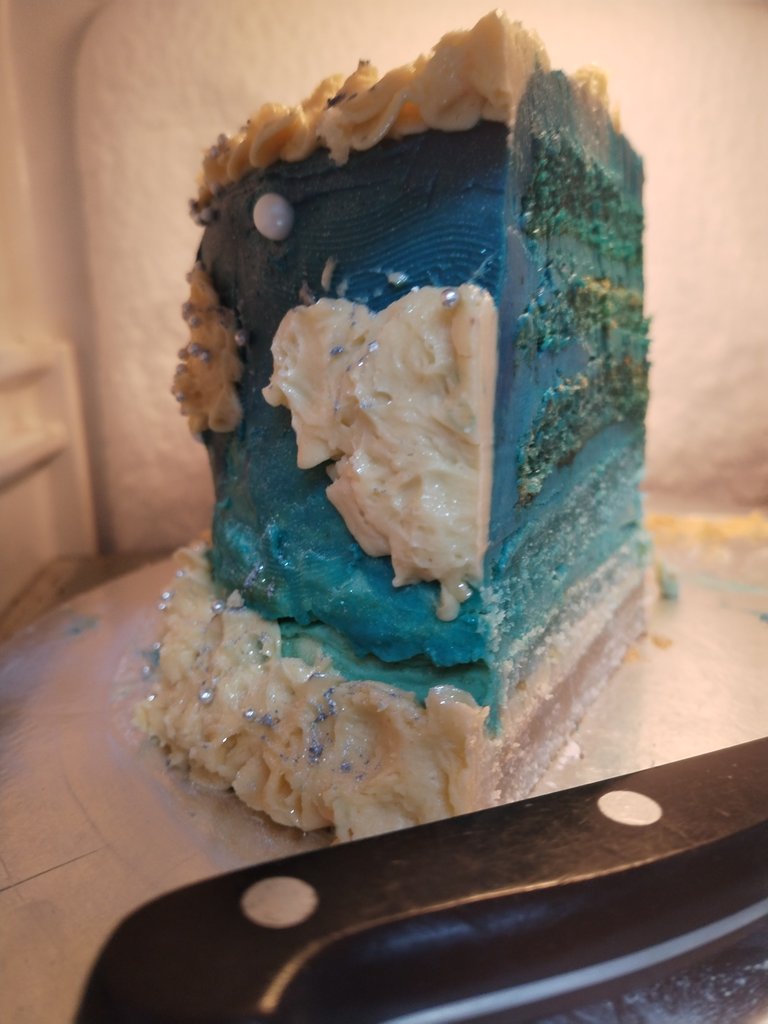
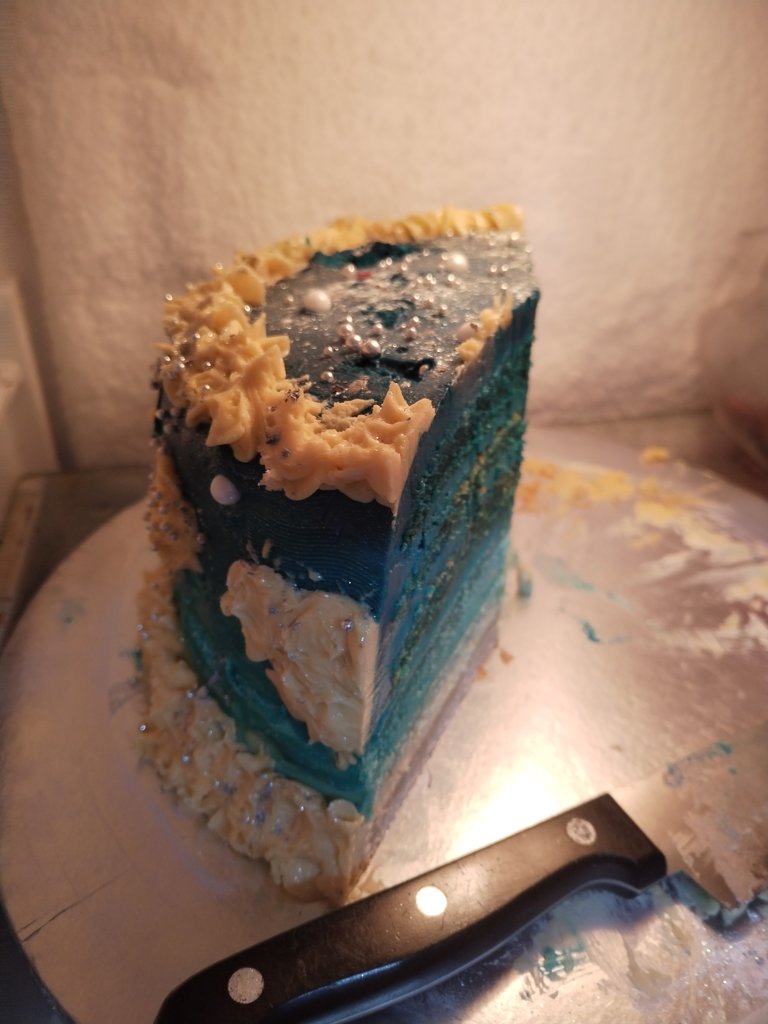
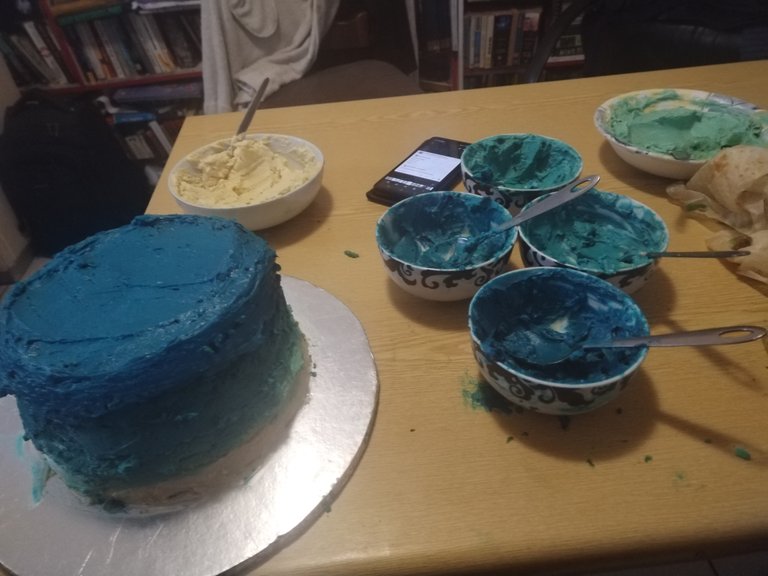
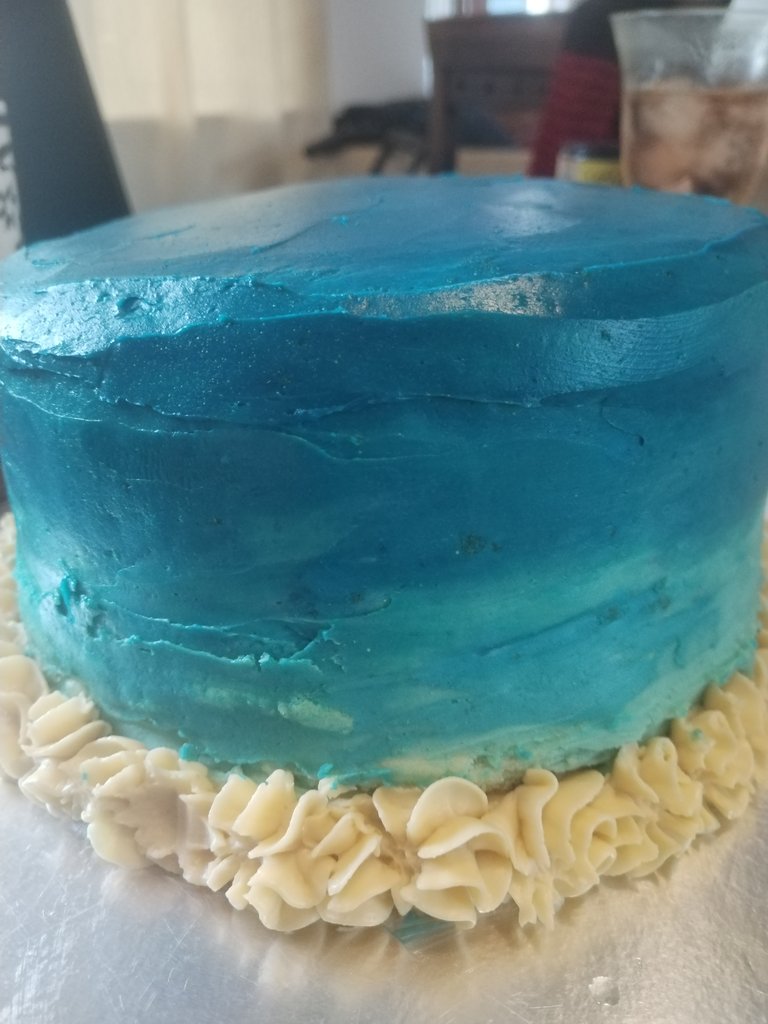
I "glued" the layers together with my carefully coloured buttercream icing, which I had also separated into 6 bowls so that it would match and cascade with the cake sponges. I had to add a little and take some away by adding more white icing in order to match the sponge as it changes colour during the baking process. I freaked out at first because it all looked a bit green, but as soon as I cut away unnecessary pieces of cake, their true colour shone through as beautiful blues!
Buttercream Icing
I of course made a double batch of icing because I was essentially making two cakes, as one. I made sure that I had more white icing than the other colours because I wanted to add clouds, and I knew I'd need a bit here and there for the coloured icing as mentioned above. I could now use the sponges as a guide to help me get the right colours for the icing.
I don't think I can ever go back to ordinary food colouring after using the gel colours. yes, it's a bit more pricey, but you need to use so little, so its totally worth it. Also, one could never achieve the bright and deep colours with ordinary food colouring.
Ingredients:
This recipe makes a double batch of icing!
1kg icing sugar
1kg butter
Vanilla essence (as I always say, let your ancestors guide you. You will know when you've added enough).
Gel Colour as needed
Throw everything in a bowl and blend. use a tiny bit of cream (if you have any this s awesome) or milk if your icing is to dry. Blend until the consistency is smooth. Divide into the bowls and colour as necessary. Before even attempting to ice anything, put the icing back into the fridge for 30. minutes so that it can firm up.
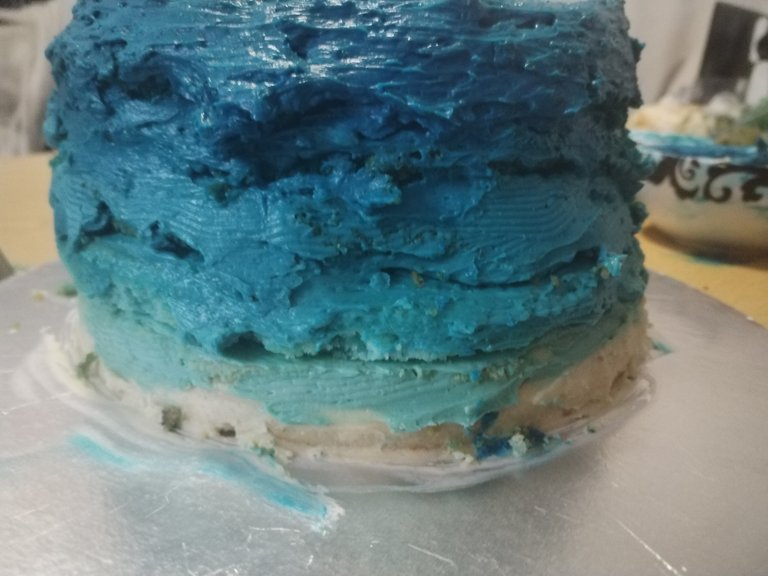
You will apply to coats so don't freak out if buts of cake come out in your icing or if it looks untidy. You will fix it later, filling gaps with the help of a piping gun.
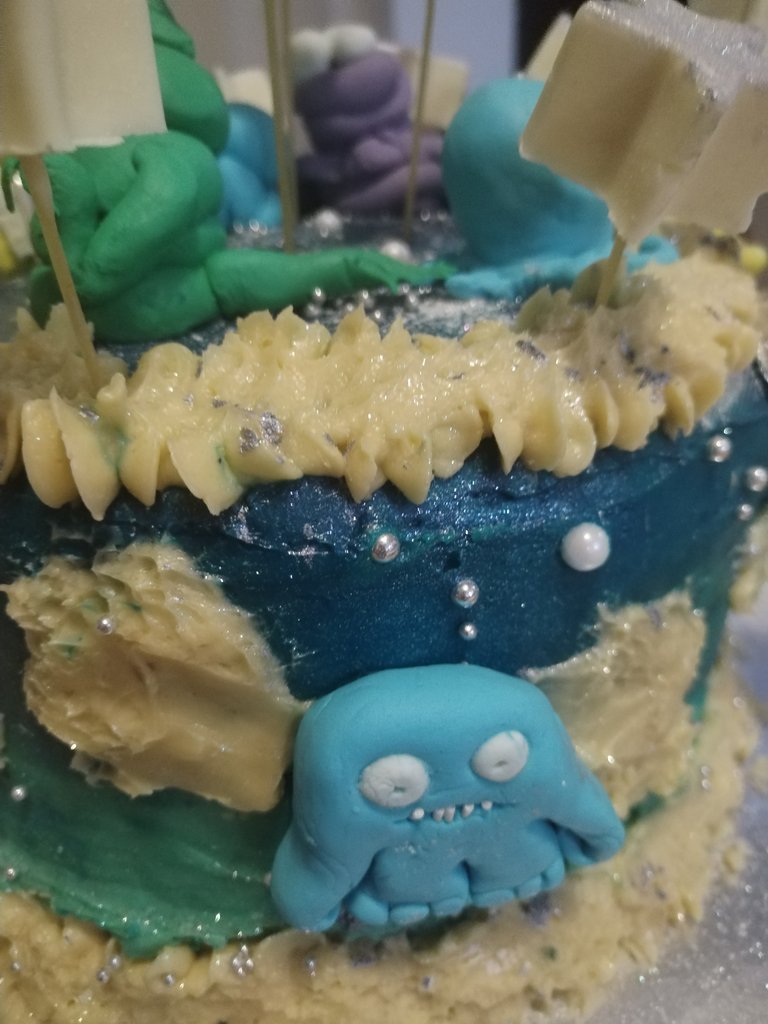
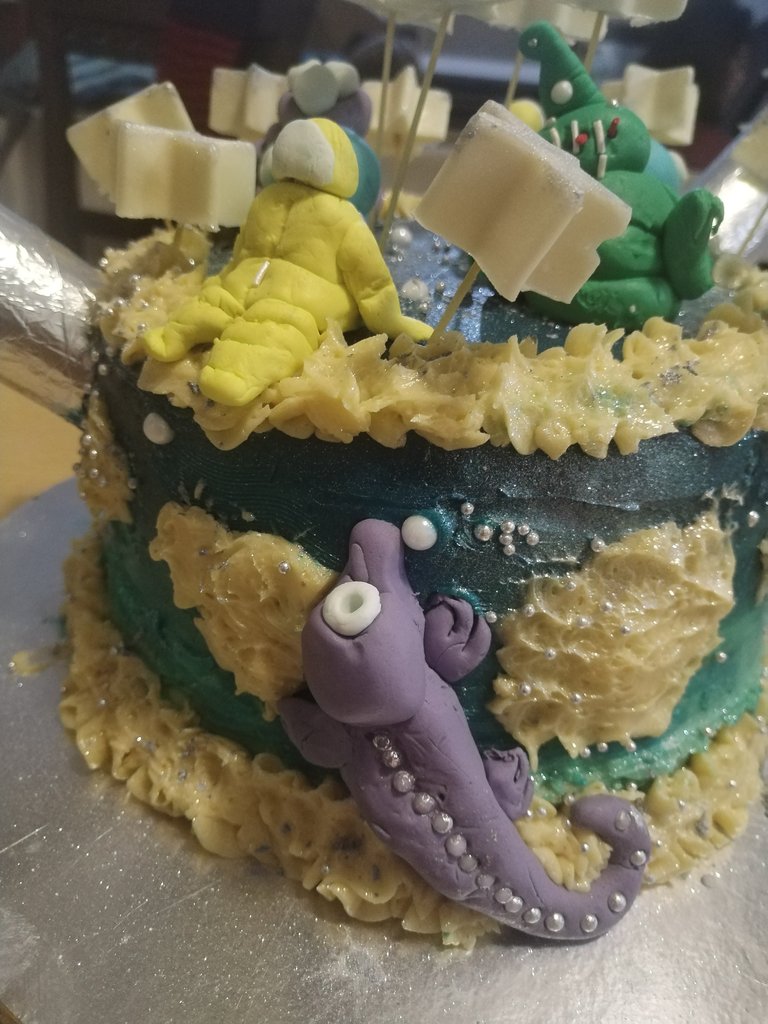
Put the entire cake into the fridge and (since I got to this stage at 11pm at night, I let it rest in the fridge overnight. In the morning, I had a clearer view of what I needed to do. I simplified things by reducing my icing to three colours to fill gaps and neaten the outside. I also wanted to create louds. Originally, I was going to do this with fondant, but the buttercream worked out so beautifully and achieved a far more "natural" Look.


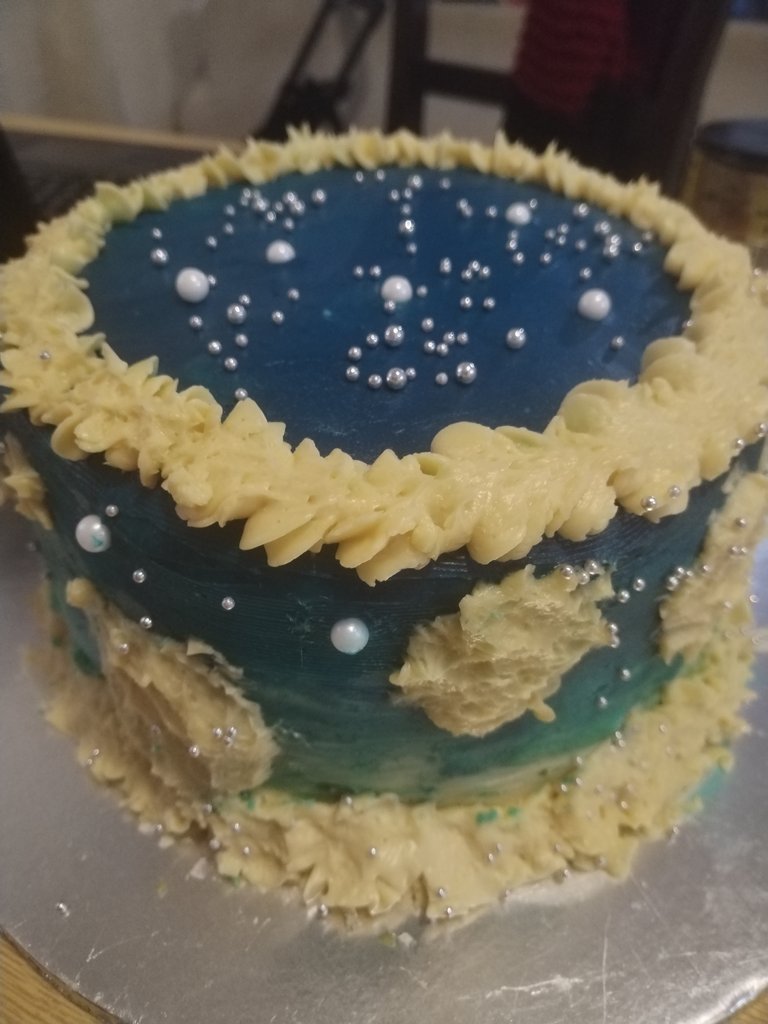

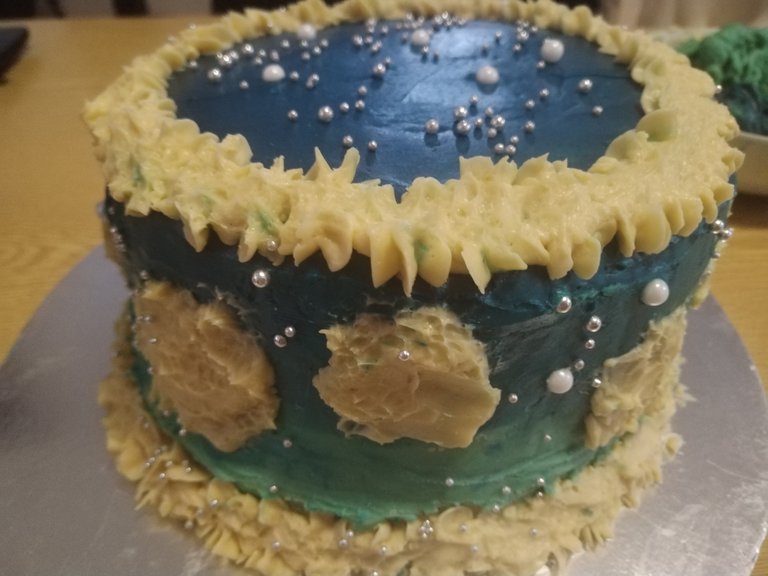
The next trick, is to have a large mug of boiling water, a drying cloth and of course, a pallet knife or butter knife to smooth out the icing. The final effect was magical!
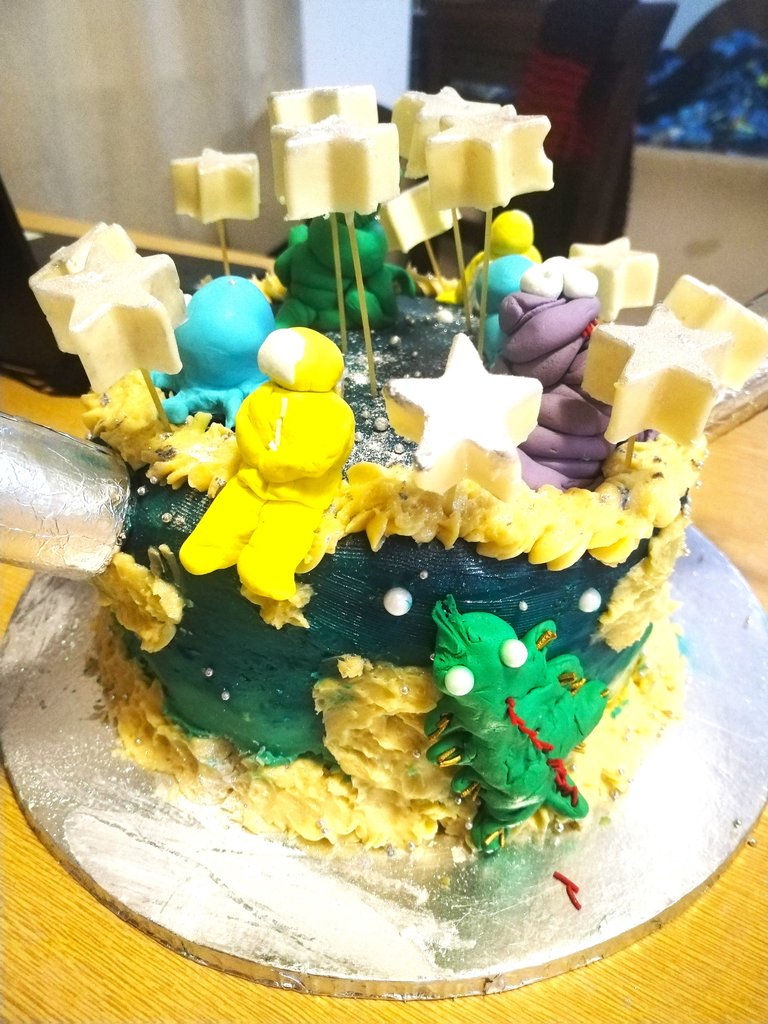
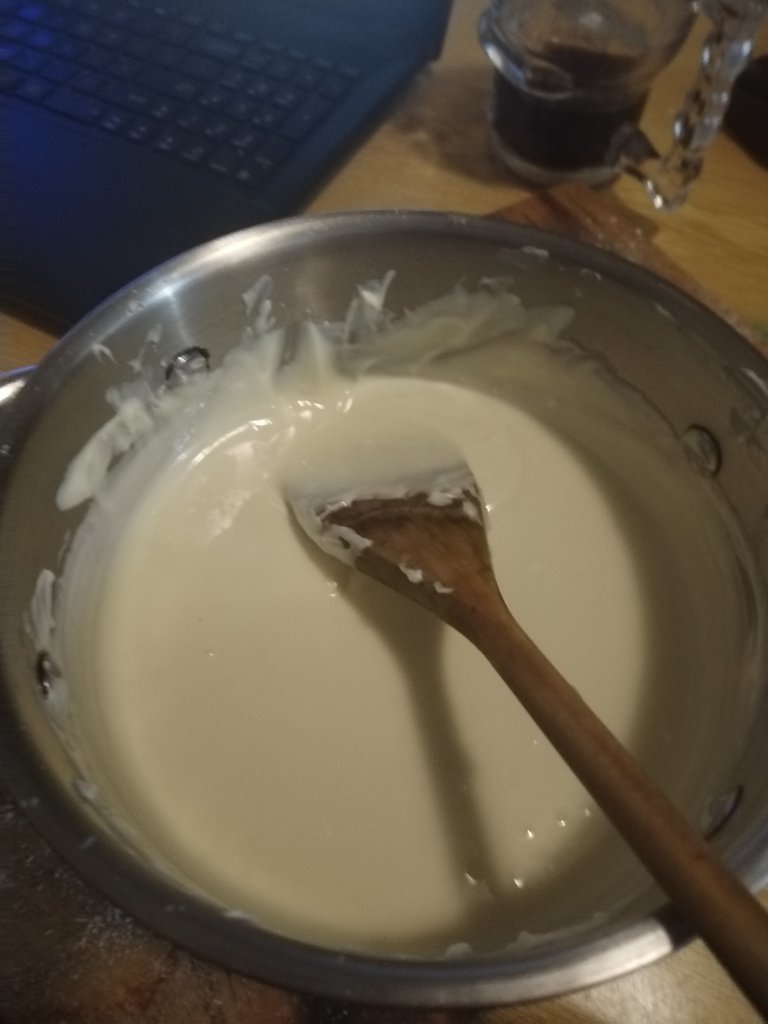
The next crazy idea had was the white chocolate stars. I knew I had a silicone ice tray somewhere, and thanks to @aimeludick, we were able to locate it. I learned so much about melting chocolate when I was doing the mother's day cookies, like: don't overheat. Once chocolate is burnt, there is no coming back. Only warm to the exact consistency and then let it cool naturally. You can always reheat and melt the chocolate again as long as you keep the temperature as low as possible. No matter what chocolate you are using, chop it up as finely as you can to ensure an even consistency when melting.

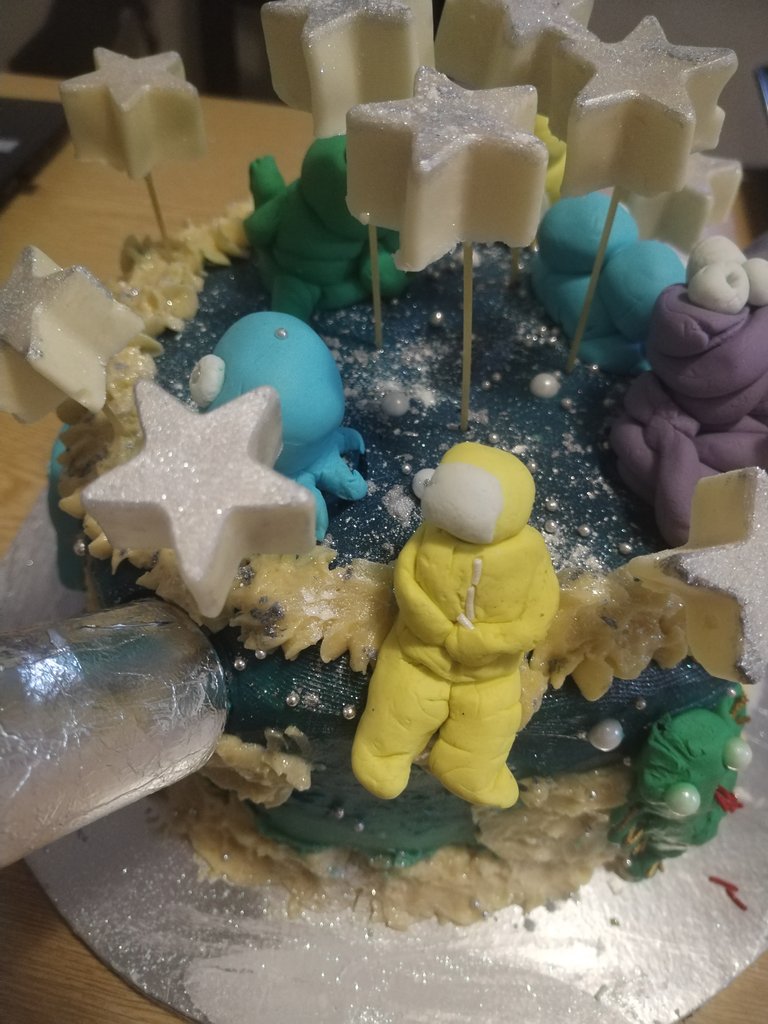
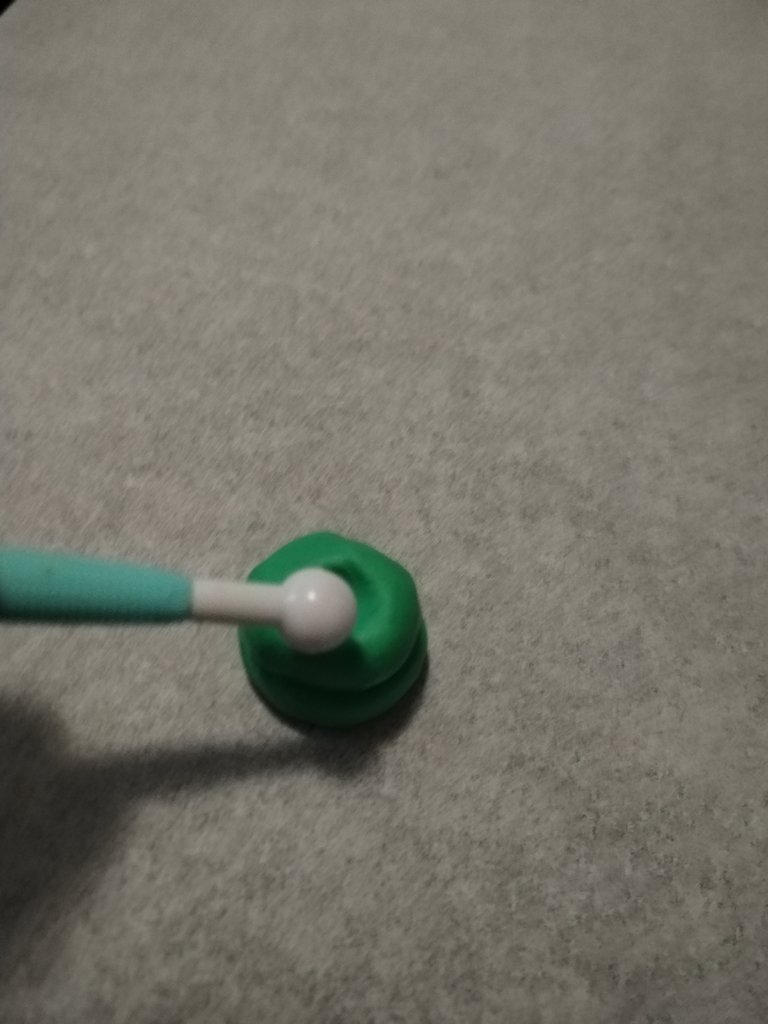
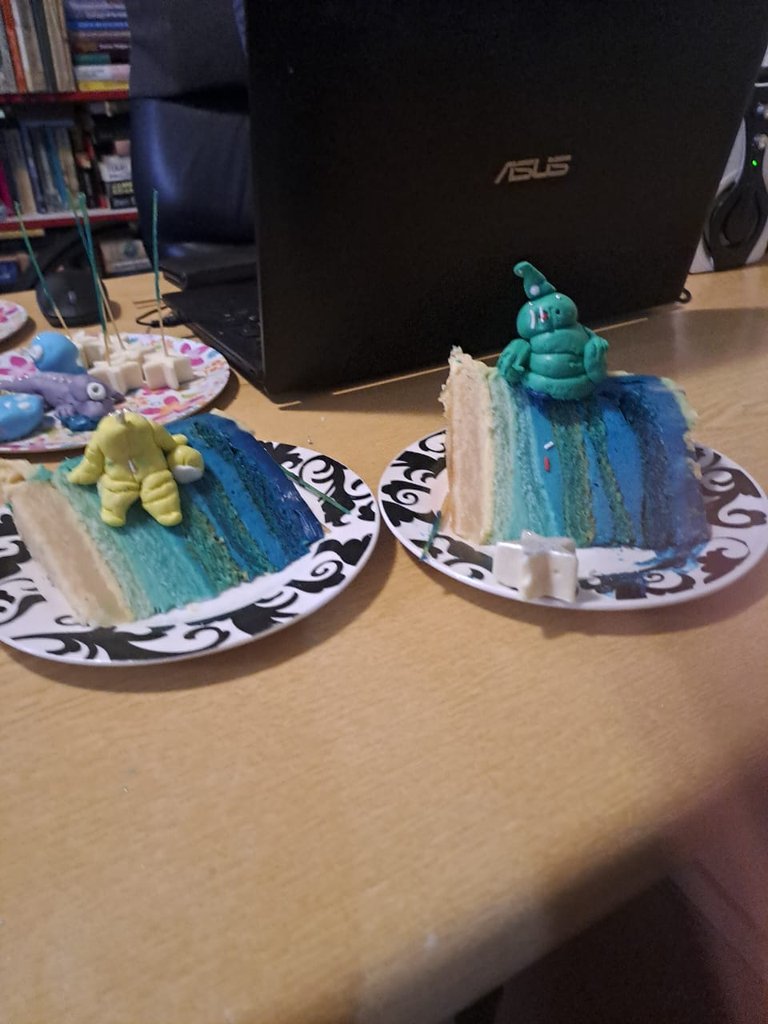
The star silicone ice tray worked absolutely beautifully! About half way through setting, I added spaghetti so that I would be able to place them onto the cake with the illusion that the stars were floating.
I made to batches of 12 each, but realized I was going to run out of space if I needed any more, and my reliable munching team was there to help with the leftovers 🤣🤣


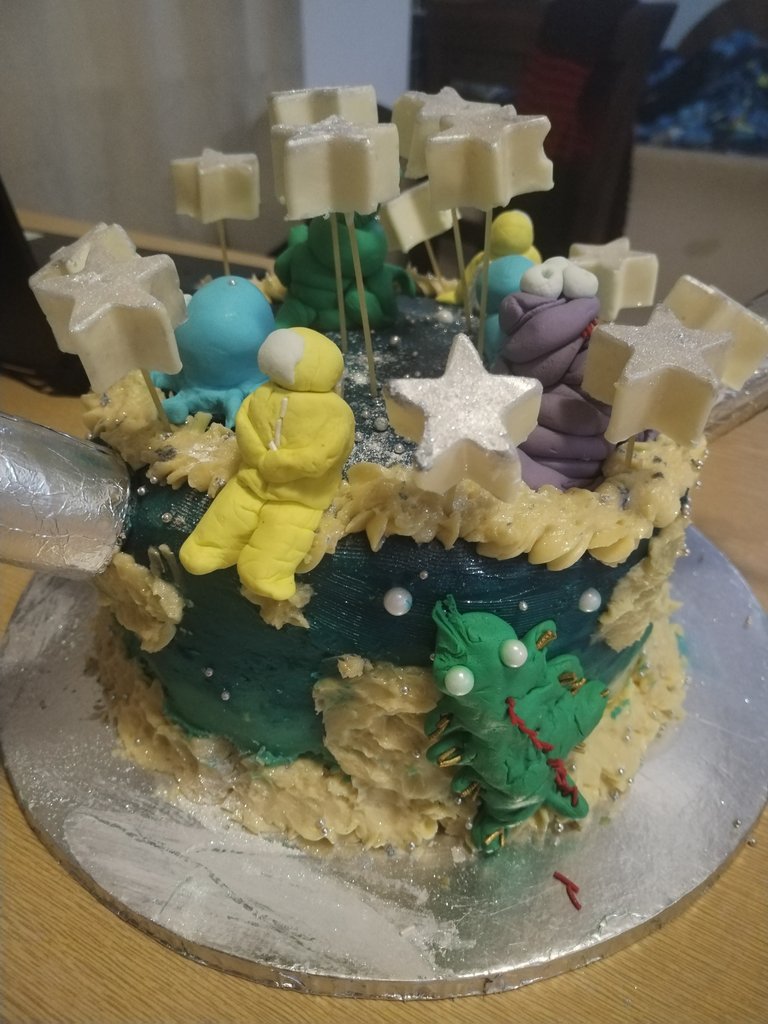
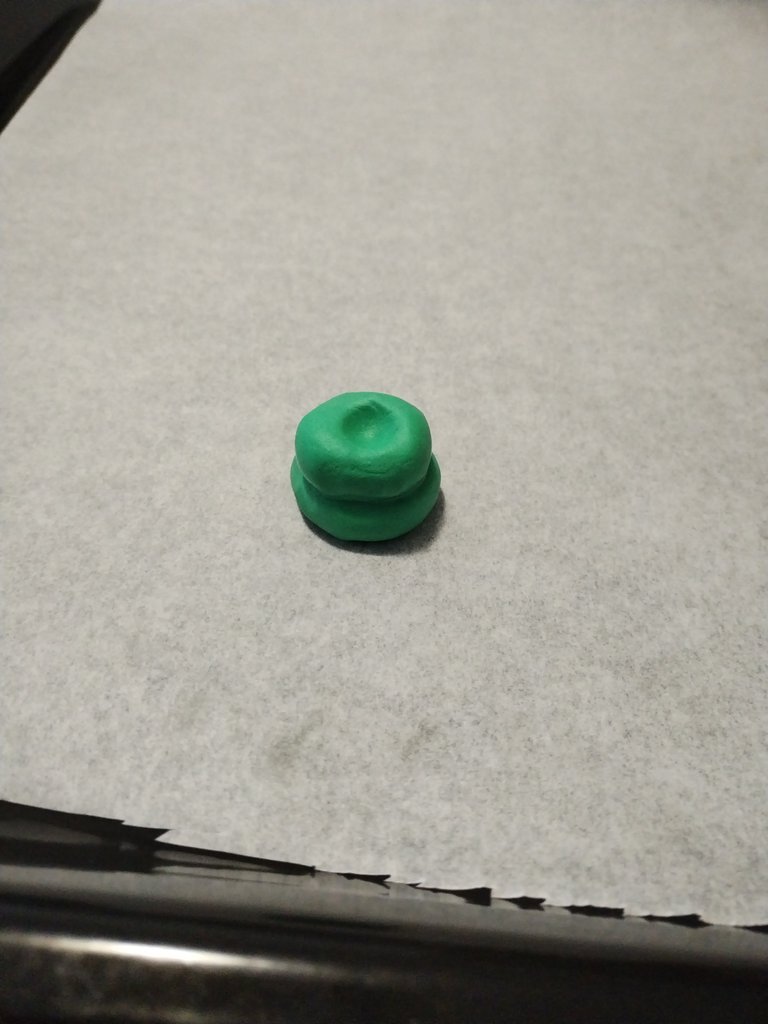
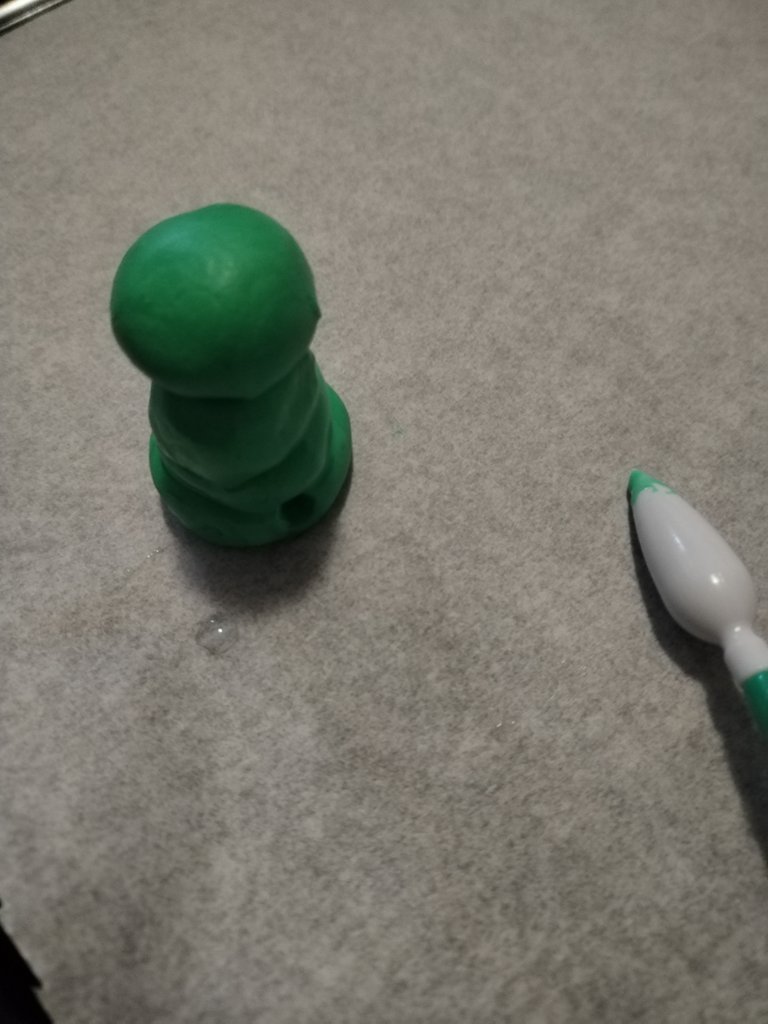
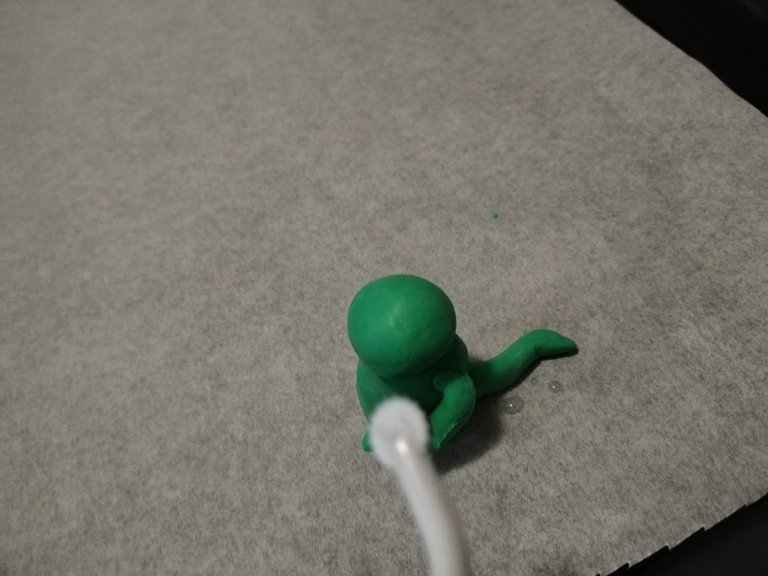
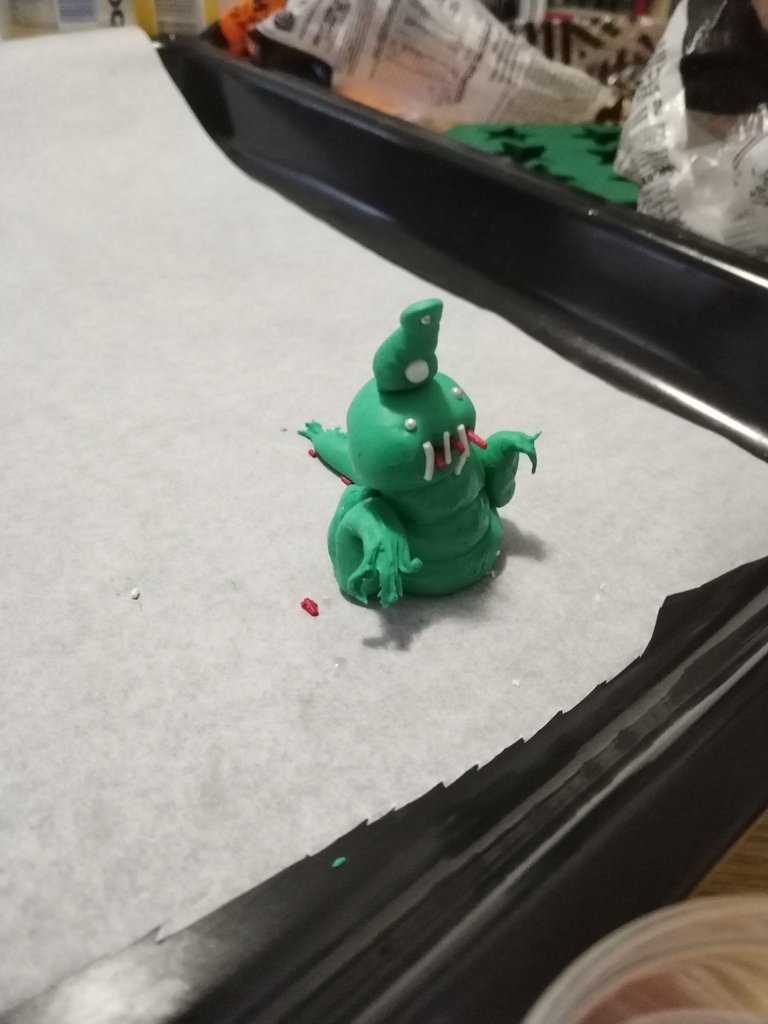
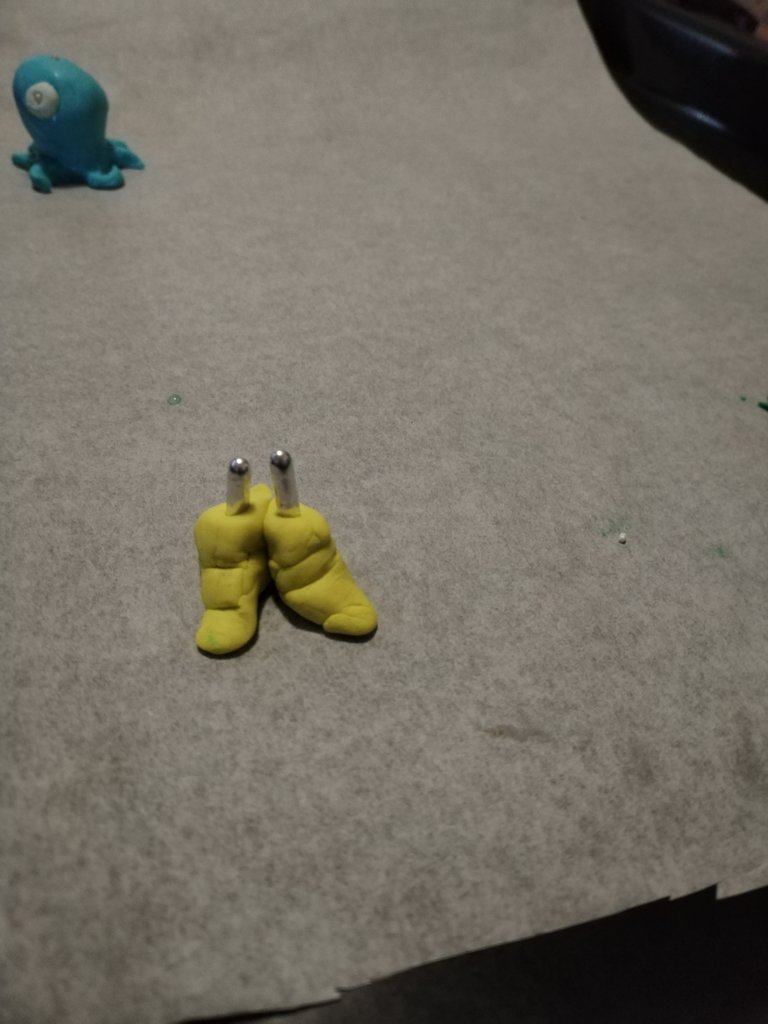
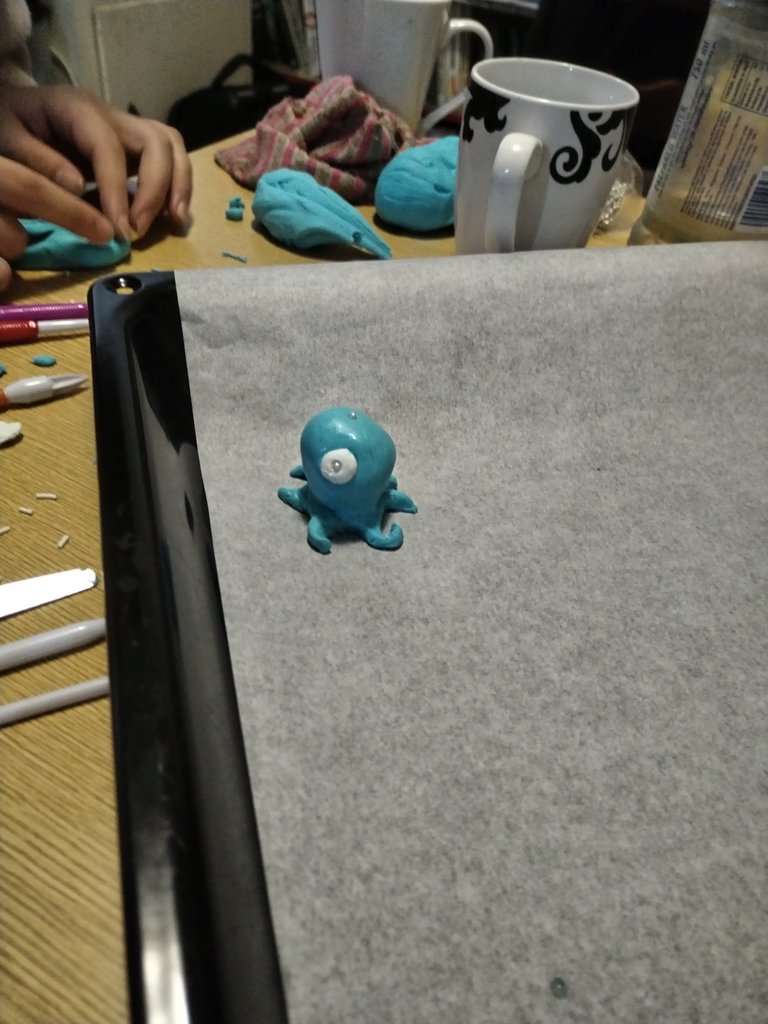
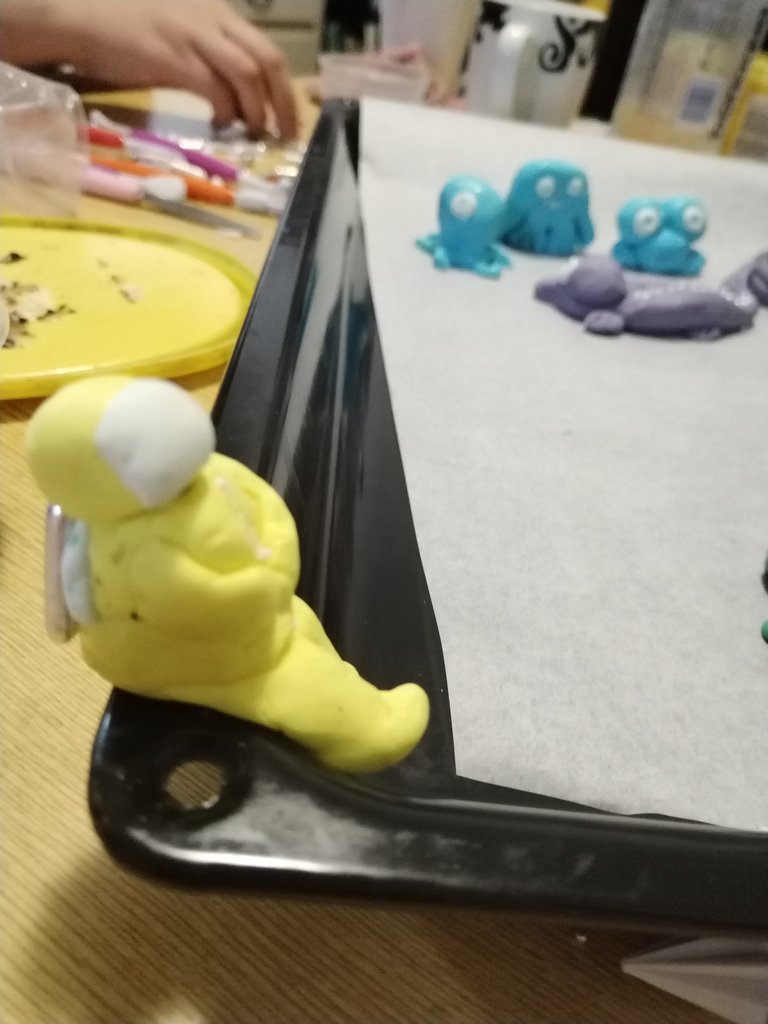
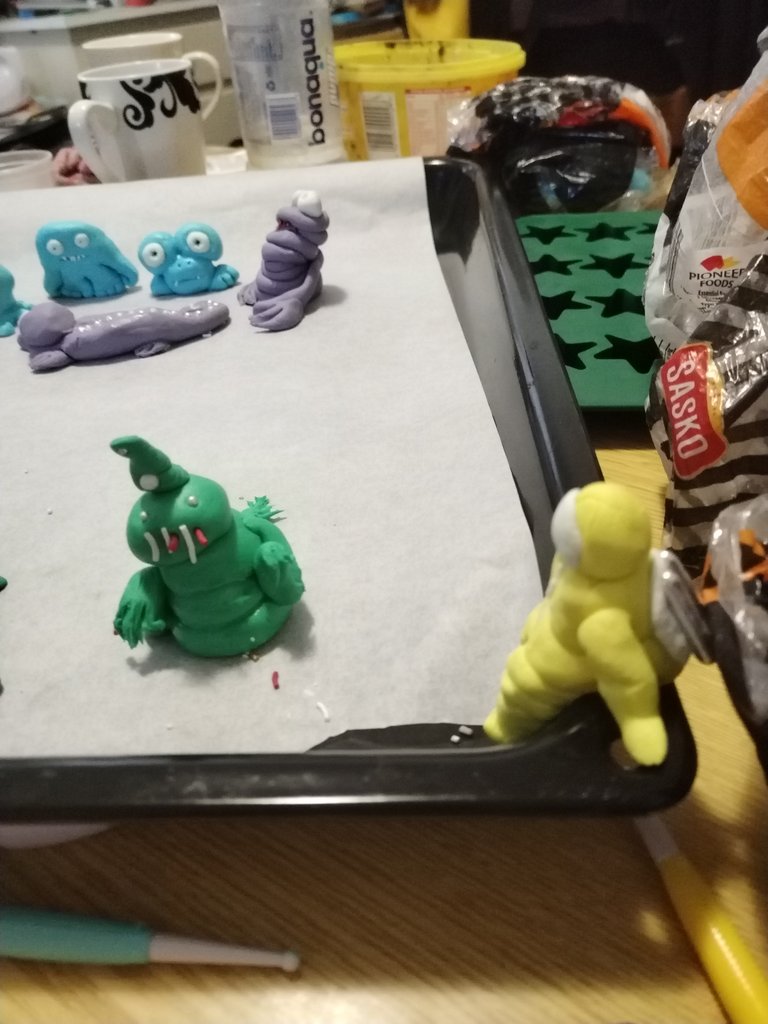
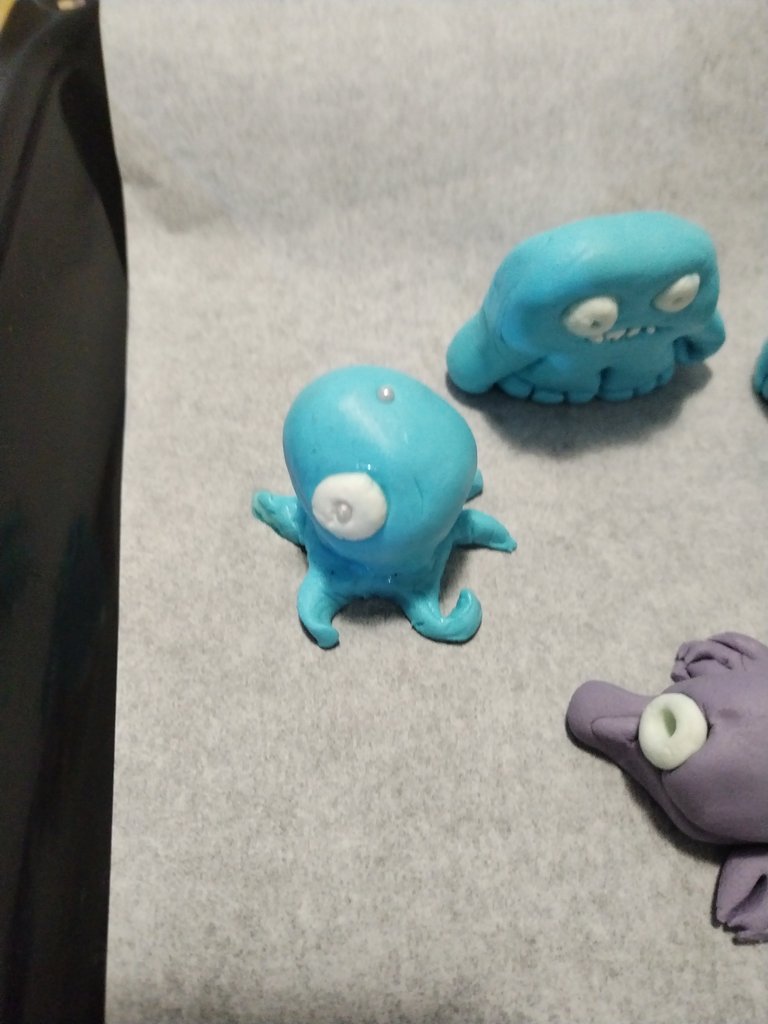
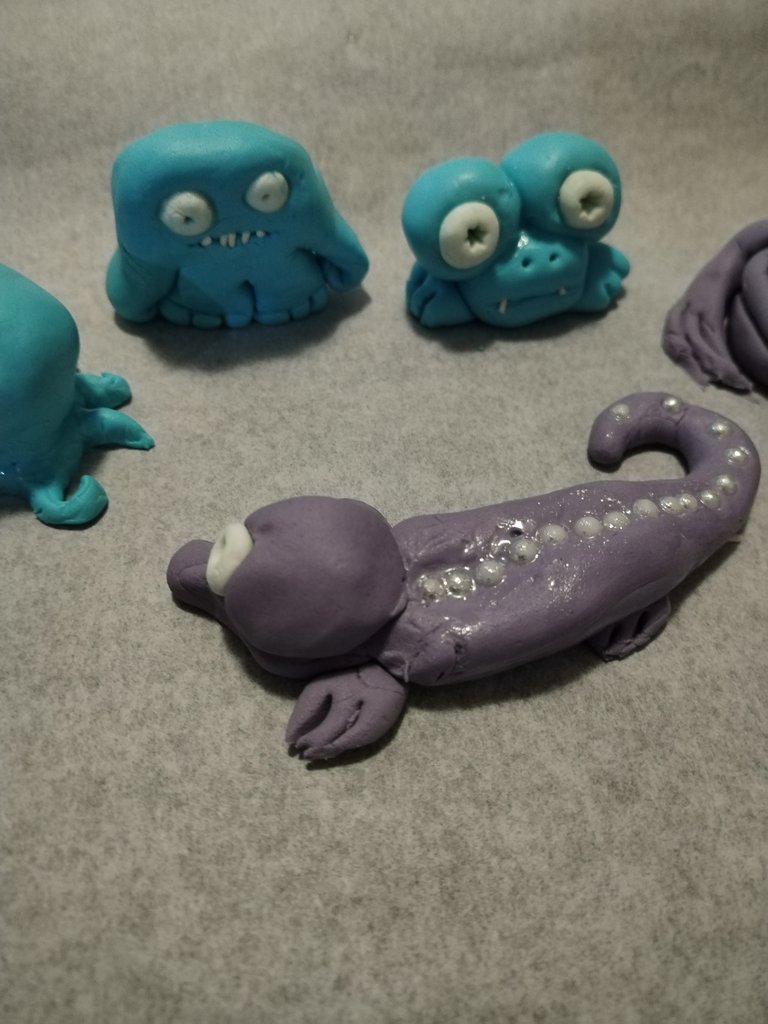
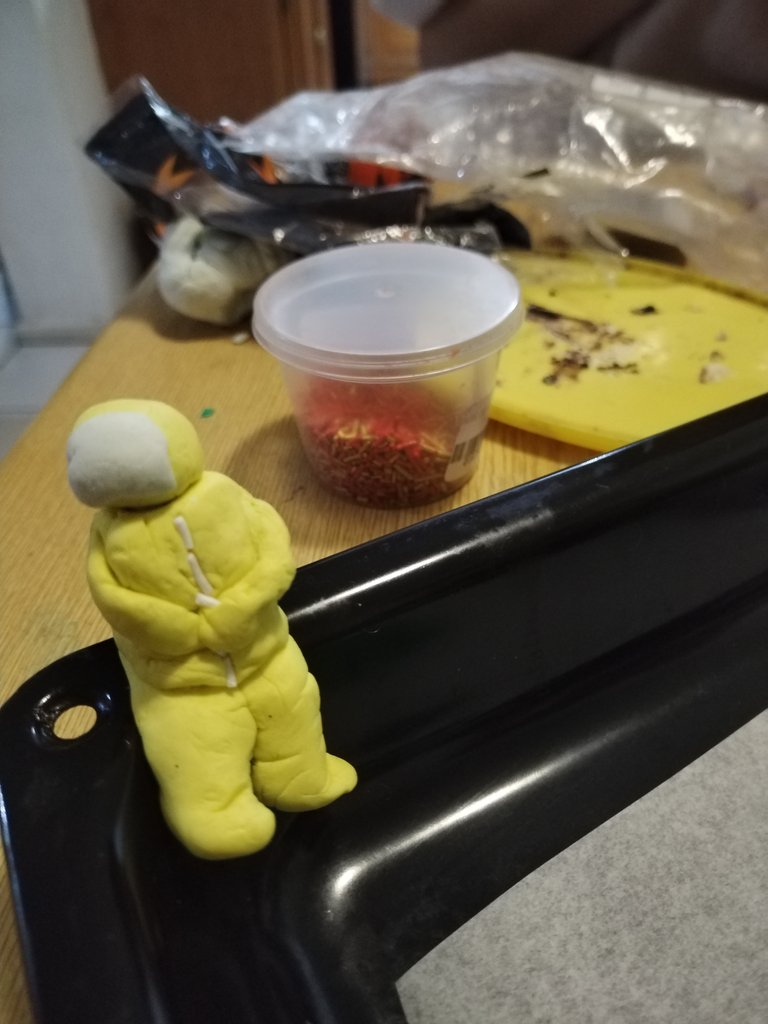
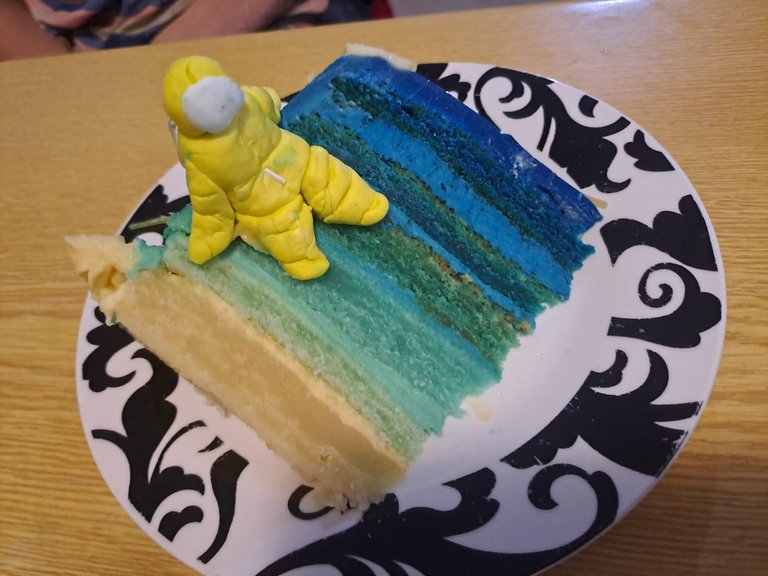
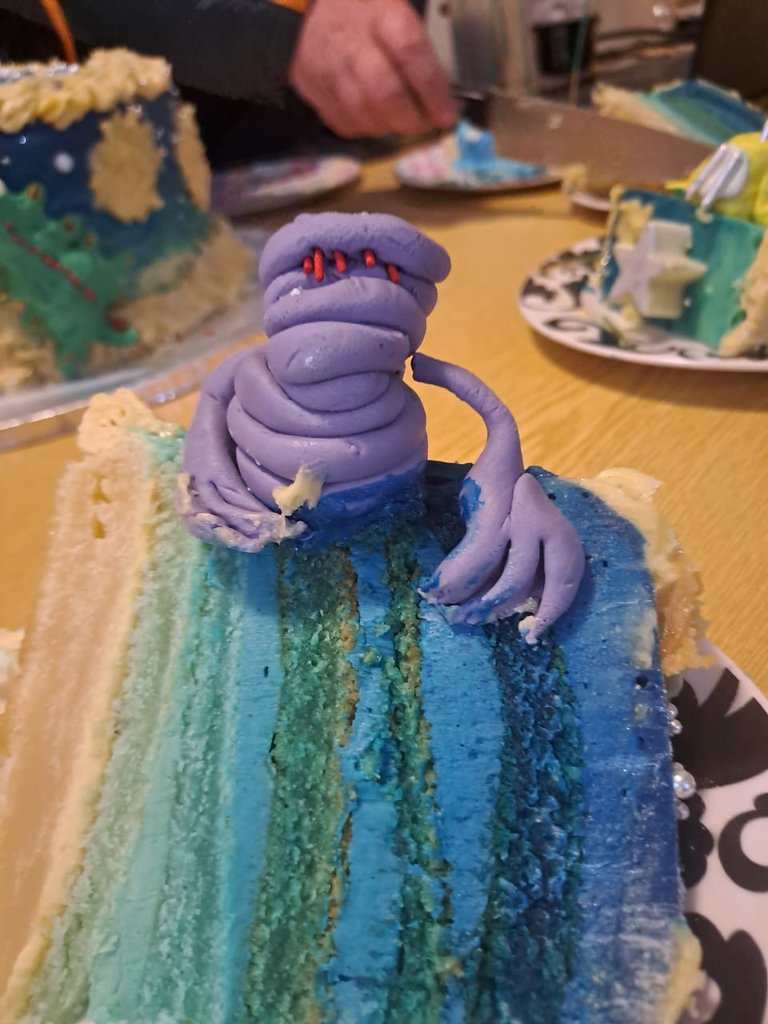
The most fun I had out of the whole cake was building the fondant aliens and astronauts! @aimelidick and I used fondant, a little water, and long pieces left over from the decorative glitter I bought for Easter and mother's day. Honestly, I didn't know whet to do with them but they made great jet packs and helped be attach legs to their torsos and heads and rewired. For smaller decorations, like the screens of the helmets, I just painted the back with a bit of water and that was sufficient to hold them on. Another trick is to make a dent in the larger piece, about the size of the appendage you want to attach, and then, once again, use water to make the fondant sticky but not wet!
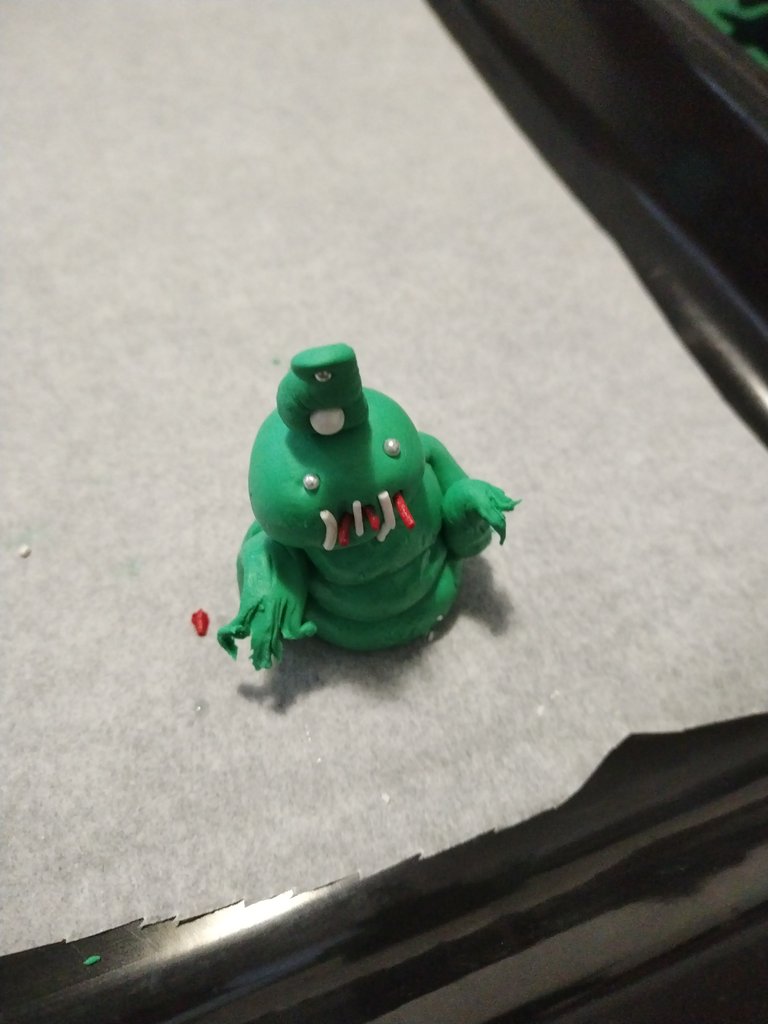
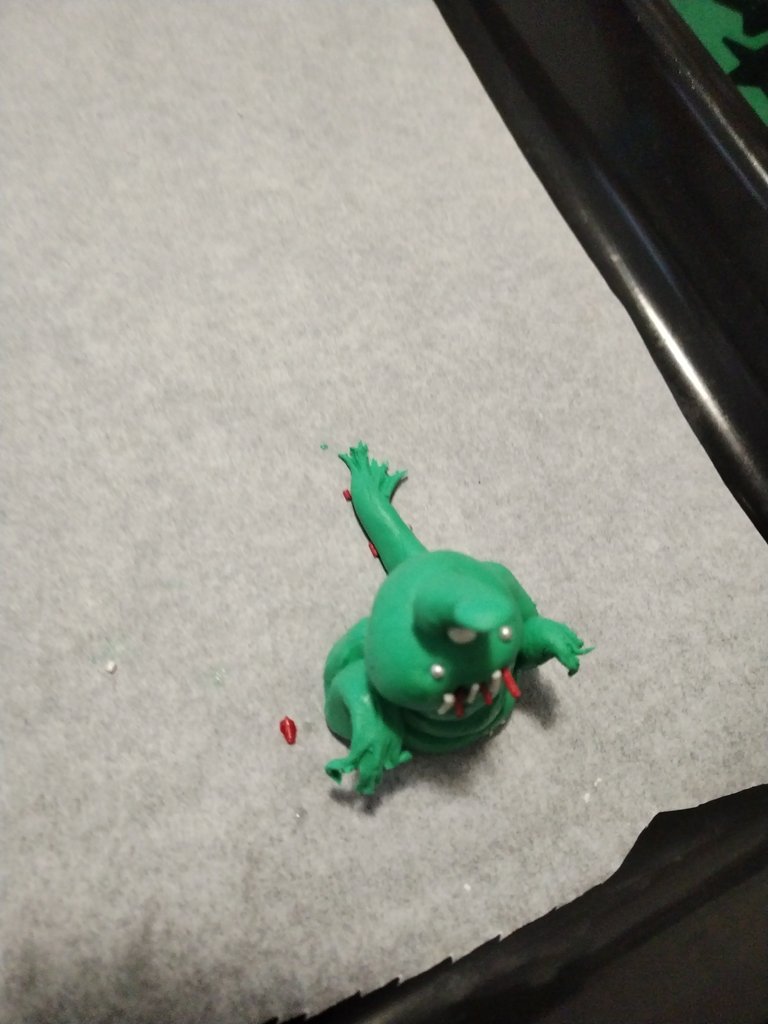
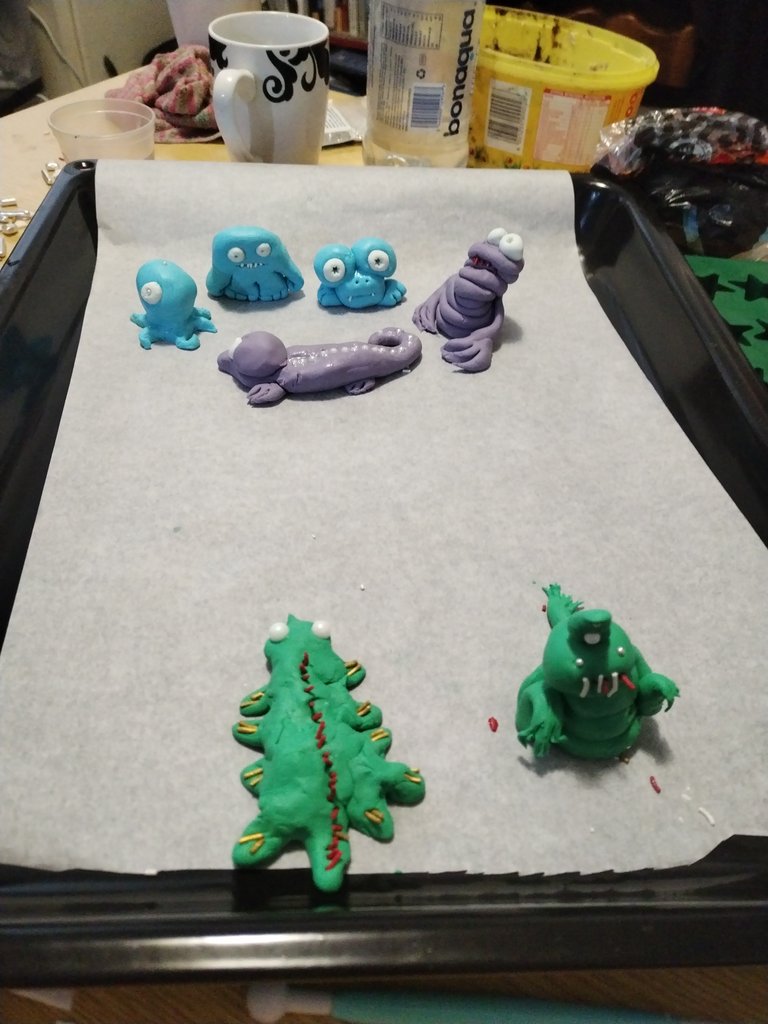
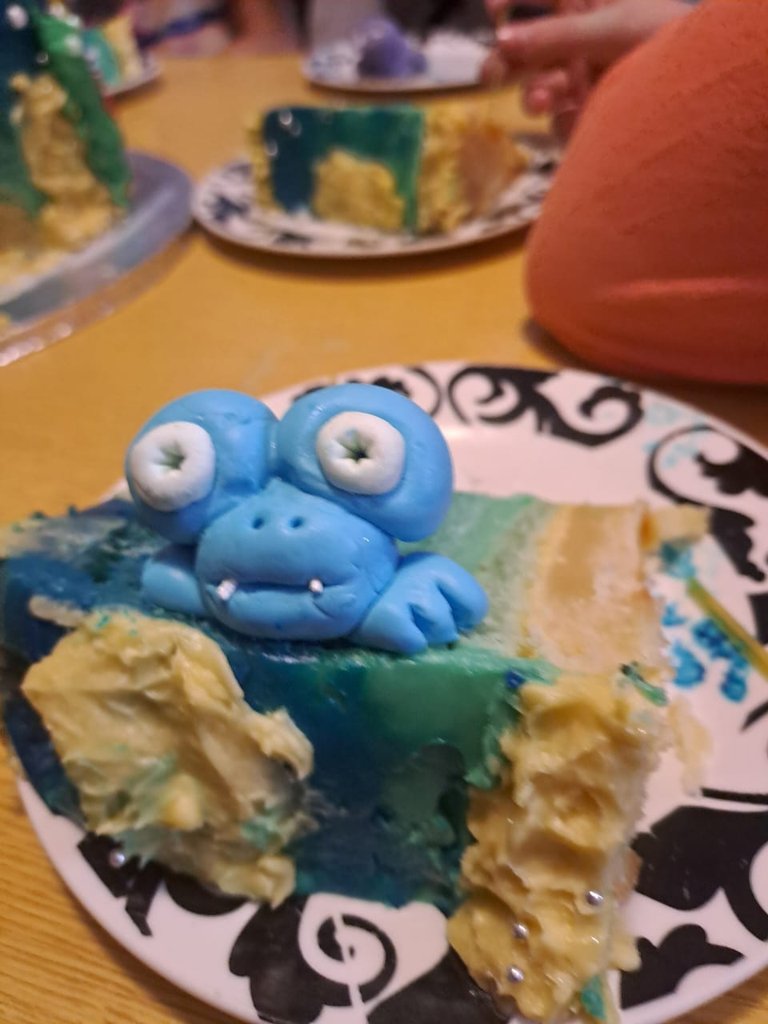
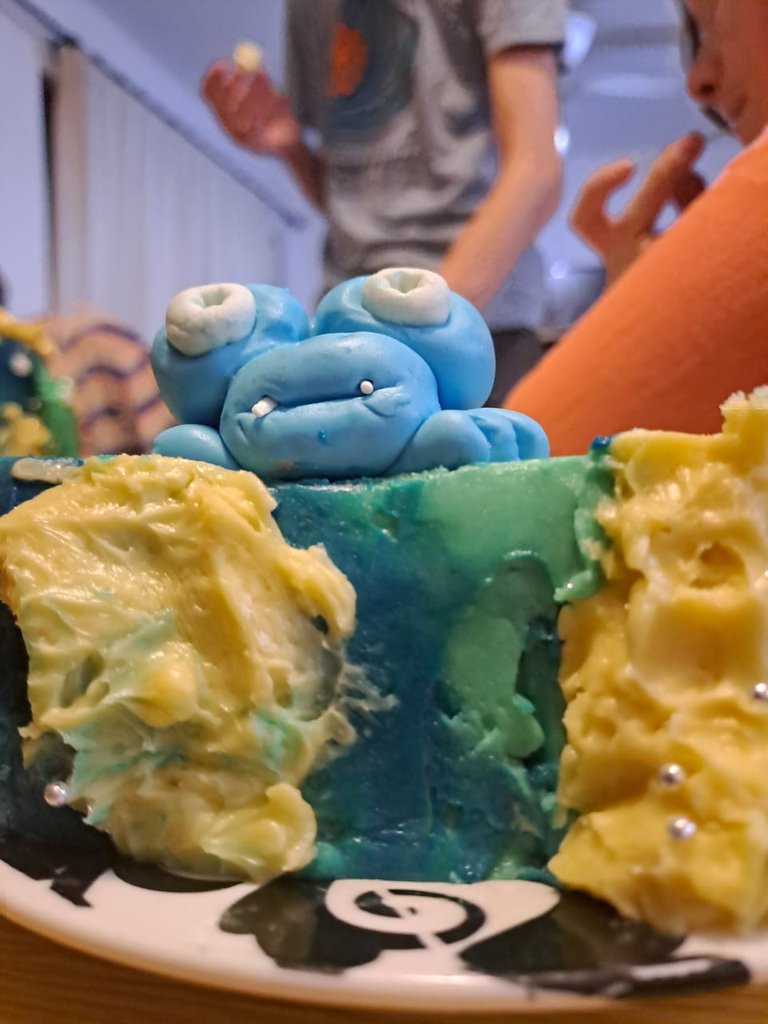
As for the aliens, we could really go wild with our imaginations and use what ever decorations I had and we could make them any colour we wanted to!
We made these figurines a few days in advance, storing them in a cool, dry place (my old oven) until the last minute. You CANNOT REFRIDGERTE FONDANT. Because we did this in advance, by the time I needed them, which was just after
adding the stars, they were nice and firm and stable.
Look how cool they turned out!


After the stars and figurines were added, @matthew-williams made us an awesome space rocket that had crashed onto the planet. That was the final
touch!