✨¡Hola amigos amantes de la comida!✨ Espero estén pasando un gran día.
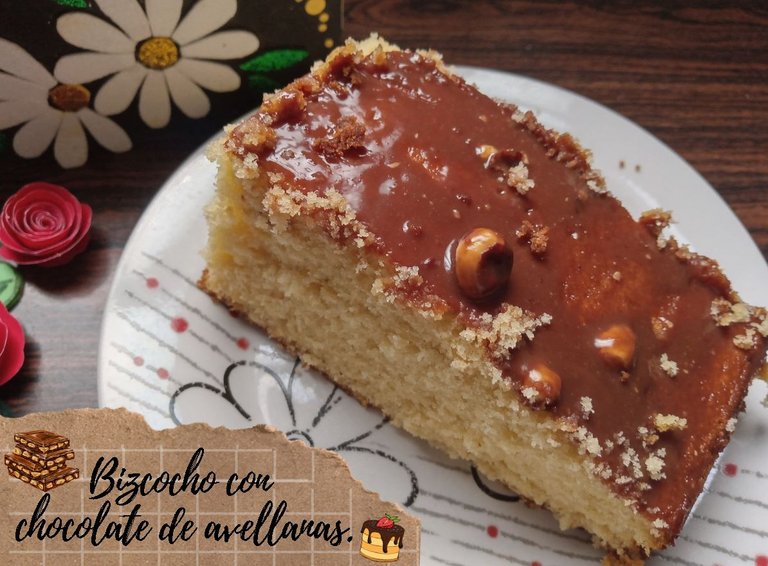
Espero que todos hayan pasado una linda semana y que pasen un fin de semana bastante descansado. En esta ocasión, les comparto una deliciosa receta de mi pastel de cumpleaños, con chocolate de avellanas. Después de un par de años complicándome para hacer un pastel bien decorado, y que algunas veces me quedara fatal y otras espectacular, esta vez me quise ir por un pastel simple, con una cubierta muy sencilla con mi chocolate favorito de avellana.
La verdad, quedó delicioso y eso es lo importante. El año que viene intentaré hacer uno más elaborado, pero este año quise algo más sencillo.
🔸A continuación, los dejo con el paso a paso:
✨¡Hello food loving friends!✨ I hope you are super well on this day.
I hope everyone had a wonderful week and a restful weekend. This time, I'm sharing a delicious recipe for my birthday cake with hazelnut chocolate. After a couple of years of struggling to make a well-decorated cake, sometimes turning out terrible and other times spectacular, this time I decided to go for a simple cake, with a very simple topping using my favorite hazelnut chocolate.
Honestly, it was delicious, and that's what matters. Next year I'll try to make a more elaborate one, but this year I wanted something simpler.
🔸Next, I leave you with the step by step:
♥️Espero les guste. ¡Comencemos!
♥️I hope you like it. Let's get started!

🍶 INGREDIENTES | 🍶 INGREDIENTS
- 1 kg de harina de trigo con leudante.
- 500 g de azúcar.
- 1 L de leche.
- 6 huevos.
- 400 g de mantequilla.
- 2 cdas de esencia de vainilla.
Para la cobertura:
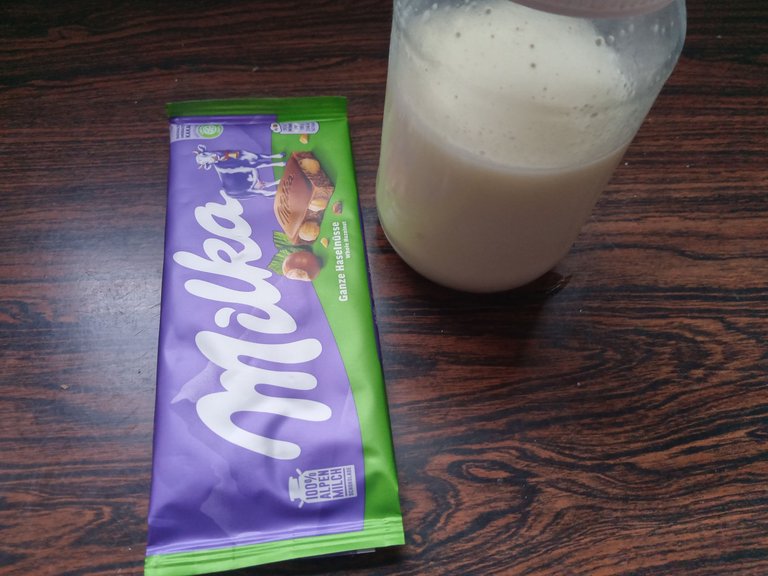
- Chocolate de avellana.
- 30 ml de leche.
- 1 kg self-rising wheat flour.
- 500 g sugar.
- 1 L milk.
- 6 eggs.
- 400 g butter.
- 2 tbsp vanilla extract.
For the topping:
- Hazelnut chocolate.
- 30 ml milk.
 |  |
|---|
✨ PREPARACIÓN | ✨ PREPARATION
✨PASO 1:
Lo primero que hice fue agregar a un recipiente hondo los 400 g de mantequilla y comencé a batir un poco con ayuda de una paleta para que se ablandara la mantequilla y seguidamente, añadí los 500 g de azúcar y ahora sí es cuando me tomo mi tiempo para batir por unos 5 minutos para que la mantequilla blanquee y se disuelva el azúcar.
✨1 STEP:
The first thing I did was add 400g of butter to a deep bowl and begin whisking a little with a paddle to soften the butter. Next, I added the 500g of sugar. Now I take my time whisking for about 5 minutes to whiten the butter and dissolve the sugar.

✨PASO 2:
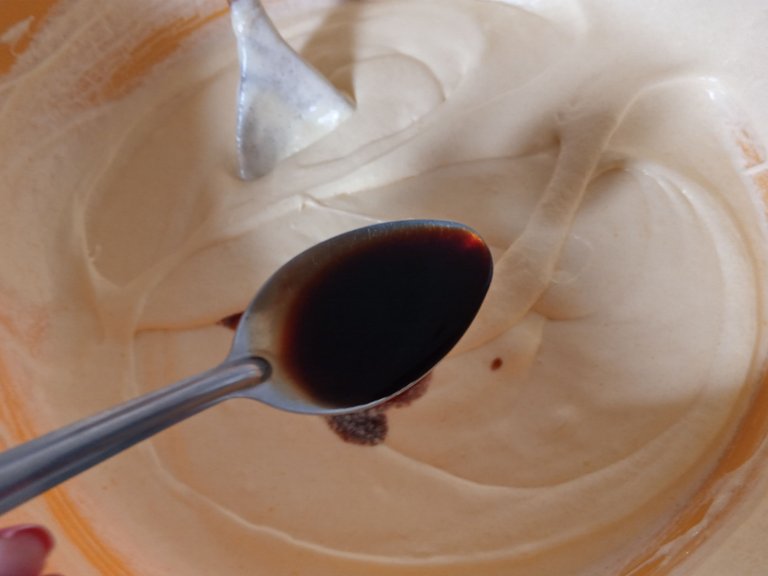
Al estar disuelto el azúcar, es momento de agregar de uno en uno los huevos, mientras sigo batiendo. Luego agregué 2 cucharadas de vainillas e incorporé nuevamente.
✨2 STEP:
Once the sugar is dissolved, it's time to add the eggs one at a time, while continuing to whisk. Then I added 2 tablespoons of vanilla extract and blended again.

✨PASO 3:
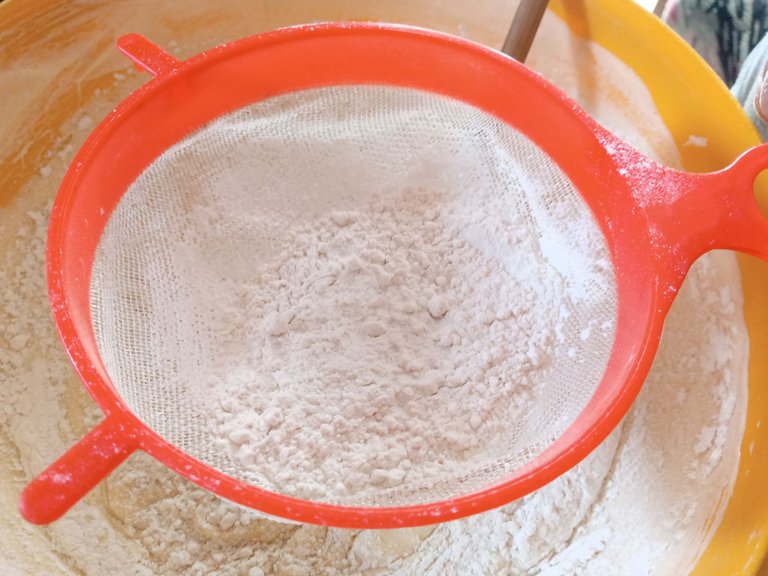
Seguidamente, comencé a agregar la harina con leudante, intercalando junto con la leche y sin mover demasiado, sino más bien con movimientos envolventes, para no perder todo el aire que conseguimos de batir al inicio la mantequilla. Además, agregué ambos ingredientes en 4 partes para no demorar mucho moviendo la mezcla.
📌Recuerden tamizar muy bien la harina, para que no se formen grumos y para evitar alguna partícula extraña.
✨3 STEP:
Next, I began adding the self-rising flour, alternating with the milk. I didn't stir too much, but rather with circular movements, so as not to lose all the air we got from whisking the butter at the beginning. I also added both ingredients in 4 parts so as not to take too long stirring the mixture.
📌Remember to sift the flour very well to prevent lumps and to avoid any foreign particles.

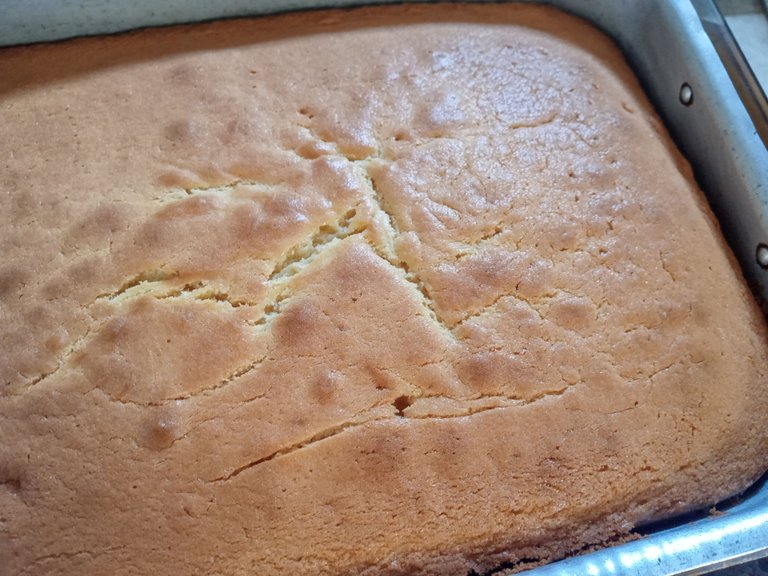
✨PASO 4:
Al estar lista la mezcla, es momento de enharinar el molde, agregué la mezcla y llevé al horno precalentado a 180 °C por 40 min o hasta que, al introducir un cuchillo, este salga limpio.
✨4 STEP:
Once the batter is ready, it's time to flour the pan. I added the mixture and baked it in a preheated oven at 180°C for 40 minutes, or until a knife inserted comes out clean.

✨PASO 5:
Apagamos el fuego, despegamos del molde, dejamos enfriar y, mientras tanto, comencé a preparar la cobertura. Agregué a una olla los 30 ml de leche y, al hervir, añadí el chocolate, que en este caso era de 100 g y, cuando estaba del todo derretido, apagué el fuego y vertí en la parte superior del bizcocho.
✨5 STEP:
Turn off the heat, remove from the pan, let it cool, and in the meantime, I started preparing the topping. I added 30 ml of milk to a saucepan and, once it was boiling, I added the chocolate, which in this case was 100 g. When it was completely melted, I turned off the heat and poured it over the top of the cake.


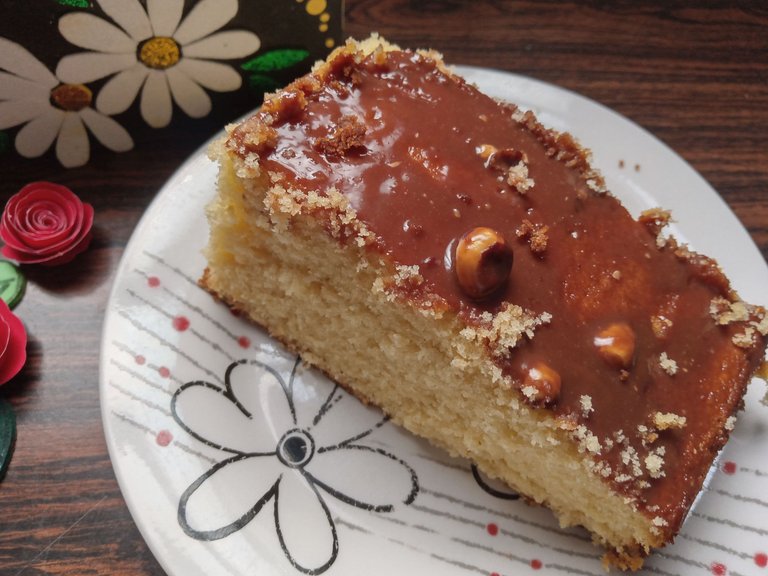
✨ Así es como preparé mi delicioso pastel de cumpleaños con cobertura de chocolate de avellana. Al principio pensé que me iba a tocar comprar otro chocolate, pero sí cubrió totalmente la superficie. ¡Quedó realmente deliciosa! Espero que les haya gustado y se animen a preparar esta deliciosa receta.
❤️Hasta la próxima publicación.
✨ This is how I made my delicious birthday cake with a hazelnut chocolate topping. At first, I thought I'd have to buy another chocolate, but it completely covered the surface. It was truly delicious! I hope you liked it and are inspired to try this delicious recipe.
❤️Until the next post.
✨RESULTADO: | ✨RESULT:

Todas las fotografías son de mi propiedad.
Separador y Fotos editadas en Canva
All photographs are my property.
Photos edited in Canva
