Hello, Hive! With all the time that I have been away from this app, new experiences and learnings were made, especially in school. The thing I love most about science includes the experiments and the endless possibilities in exploring something new.
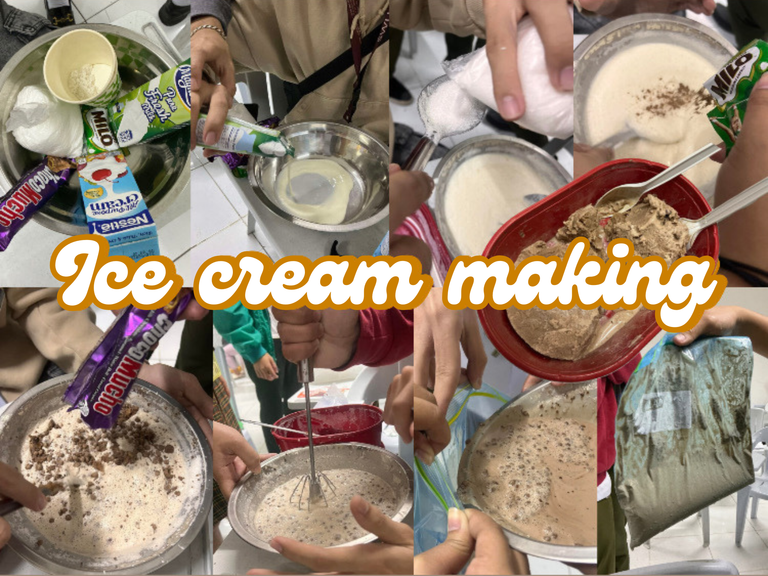
We all know that everything around us— from the air we breathe to the food we consume—has scientific explanations behind it. For this blog, I would share with you how ice cream and the process of making it are interconnected to science— specifically in the branch of general chemistry.
Our teacher in science has assigned us to make an ice cream as our task, and we were grouped, and the teacher gave us her instructions, which are to make an ice cream using a Ziploc bag only (no refrigeration) and explain the procedure and the science behind it.
The class was delighted and excited to hear that. We immediately brainstormed our ideas on what flavor we should make— and we agreed that it should be a Milo-flavored ice cream with chocolate mucho crumbles. After that, we predicted the possible costs, and we split our contributions in half. Then we bought the ingredients and materials needed for the ice cream.
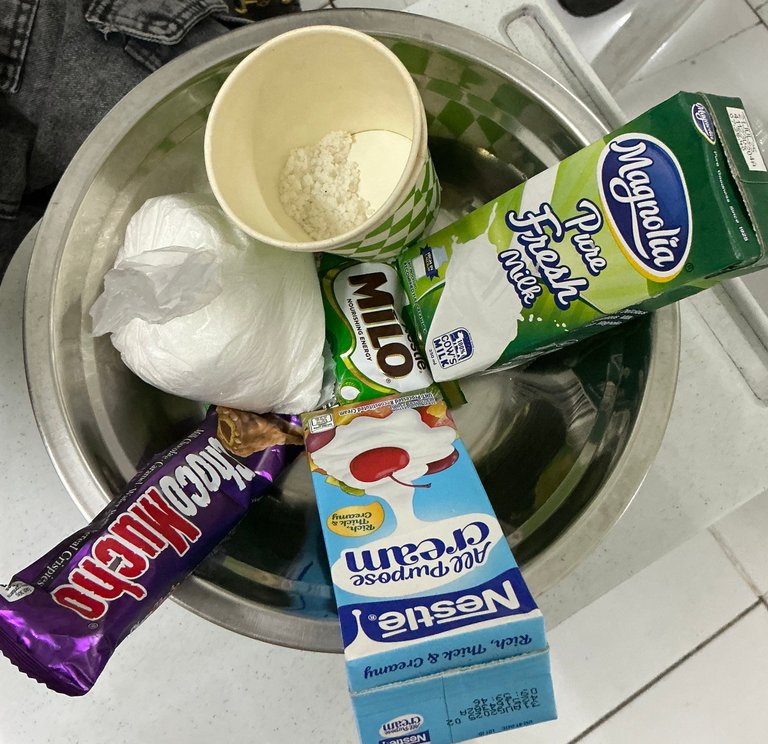
The materials used include the following products: bowl/container, ziplock bag, mixer, spoon, salt, and ice. While the materials include a 250ml all-purpose cream, 250ml fresh milk, white sugar, Milo powder, and chocolate mocha bars. After gathering the materials and ingredients for this one, we began the process of making the ice cream in a scientific way.
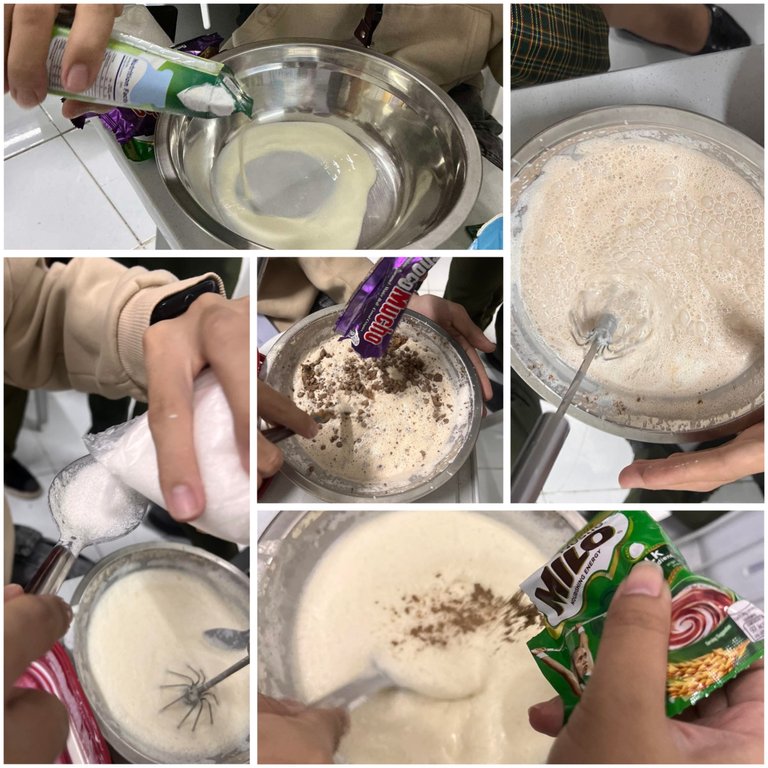
Just like the normal process of making homemade ice creams, first, we combined both the 250 ml all-purpose cream and fresh milk in a container. Then we added our chosen flavor, which is the Milo powder and the chocolate mucho crumbles. After that, we mixed and stirred it thoroughly until the mixture was all bubbly, and we achieved the thick texture of the cream.

After the mixing process, we poured the mixture in the Ziploc, and it was sealed to make sure to avoid heat from coming inside and to insulate the coldness of the ice and salt solution. The ice and salt solution was placed in a different and bigger bag, where we put the Ziploc with the mixture inside it. Then, the bag with the salt and ice solution where the Ziploc was placed was shaken to spread the coldness and harden or freeze the cream mixture.
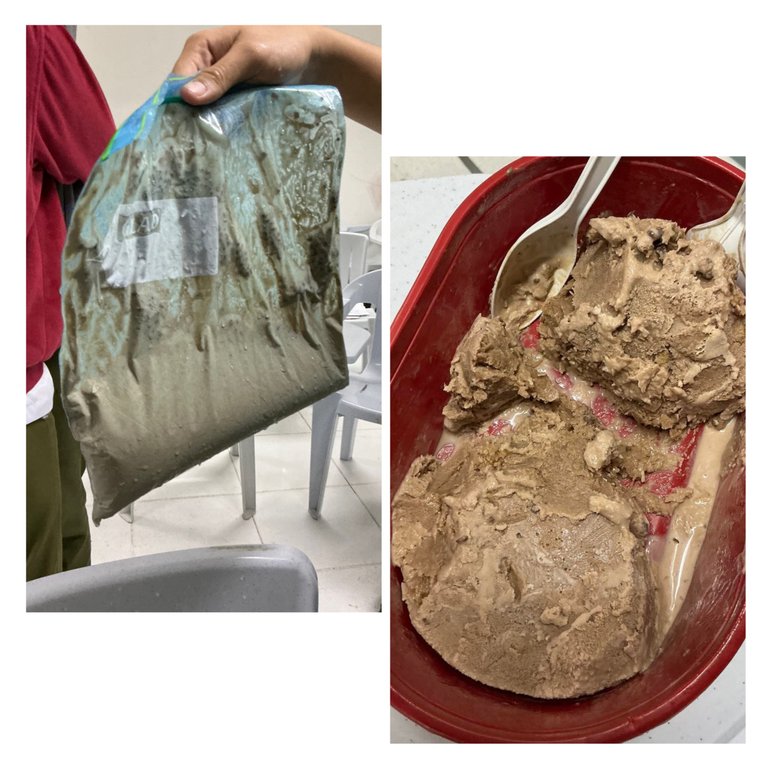
After shaking for almost 15 minutes (it was instructed to shake it for 10 minutes, but just to be sure, we did it for almost 15 minutes), we opened the Ziploc, and there it was, the ice cream with thick consistency and creamy chocolate flavor.
To conclude, this task was enjoyable, making learning so much easier and fun. In the end, not only did we taste the sweet and delicious ice cream— we also learned that a salt lowers an ice cream’s freezing point, causing it to melt, which absorbs heat, making the remaining ice and water mixture colder.
If you got this far reading, this is your sign to try this at home! No lie and biases, the Milo and Choco Mucho chocolate is a good combo!