
Hello, friends of the kitchen! It's a true pleasure to be back here and share with you tomorrow a delicious savory snack! In our culture, it's very common to see this dish at parties and gatherings, as it's perfect for sharing special moments with friends and family. Today I want to talk to you about tequeños, a delicacy that has become an icon of our celebrations. For those unfamiliar, tequeños are basically a dough made from wheat flour, filled with good cheese and fried to a perfect golden brown. This crispy exterior contrasts beautifully with the soft, melted interior, creating a culinary experience that's hard to resist. Tequeños are the quintessential savory snack that can't be missed on any occasion. From birthdays to family gatherings, they're always present, and can be found both cooked and uncooked in many stores. Their popularity is such that some even sell them from street carts, making them an accessible and beloved snack for everyone.
I remember school parties, where tequeños were the most requested appetizer. Every time there was an event. I also remember the first time I tried making tequeños as a child. As you can imagine, it didn't turn out very well; the dough kept tearing and the cheese leaking out. But, despite the failures, the experience was fun and left me motivated to learn how to perfect the recipe. Over time, I've learned how to make tequeños, and now I'm doing quite well. The surprising thing is that making tequeños is simpler than it seems. I often thought it was a complicated process, full of difficult steps, but it really isn't. You only need a few basic ingredients: wheat flour, water, a little salt, and, of course, a good cheese. I highly recommend choosing a quality cheese, as it's the star ingredient that really makes the difference in the flavor. Plus, there are many variations to explore.Some choose to add herbs or spices to the dough, while others experiment with different types of cheese, such as queso blanco, mozzarella, or even combinations of several cheeses to achieve a unique flavor. Sweet versions can also be prepared with chocolate or fruit, opening up a world of possibilities for those who want to innovate. So I invite you to join me in preparing my homemade tequeños. In this recipe, I will guide you step by step, sharing tips and tricks I have learned over the years. Together, we will discover how easy and rewarding it is to make these delicious snacks at home. There is nothing like enjoying a freshly made tequeño, crispy on the outside and full of melted cheese on the inside! I hope you will be encouraged to try this recipe and share it with your loved ones. Let's enjoy this delicious culinary experience together!
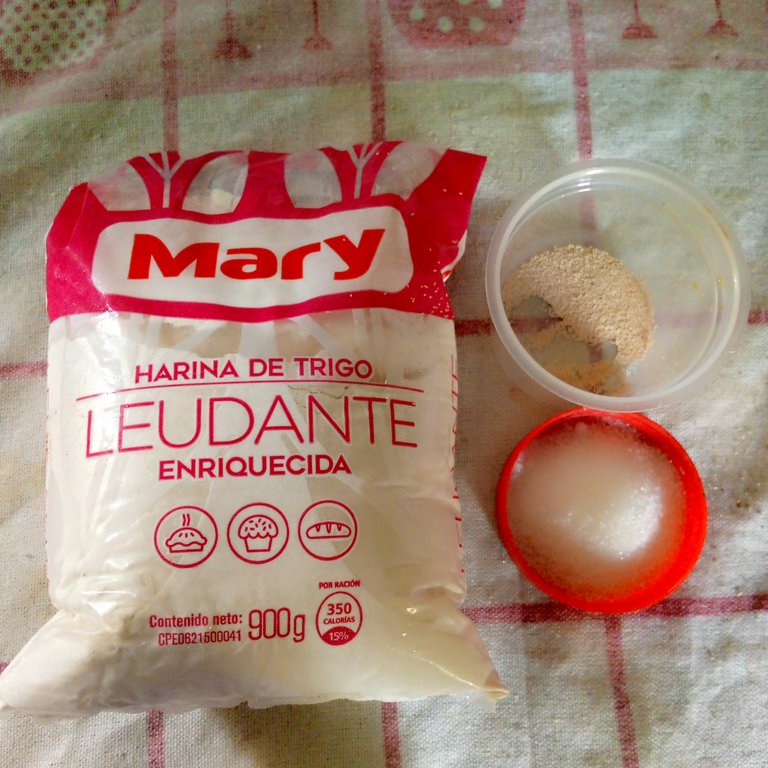
(Materiales básicos:)(Materials basics:)
- Una taza de harina de trigo
- Una cucharada de azúcar
- Media cucharada de sal
- Media cucharada de levadura en polvo
- Aguja tibia
- Queso
- Aceite
- One cup of wheat flour
- One tablespoon of sugar
- Half a tablespoon of salt
- Half a tablespoon of baking powder
- Warm skewer
- Cheese
- Oil
(Procedimiento:)(Procedure:)


Paso nro 1
Paso nro 1
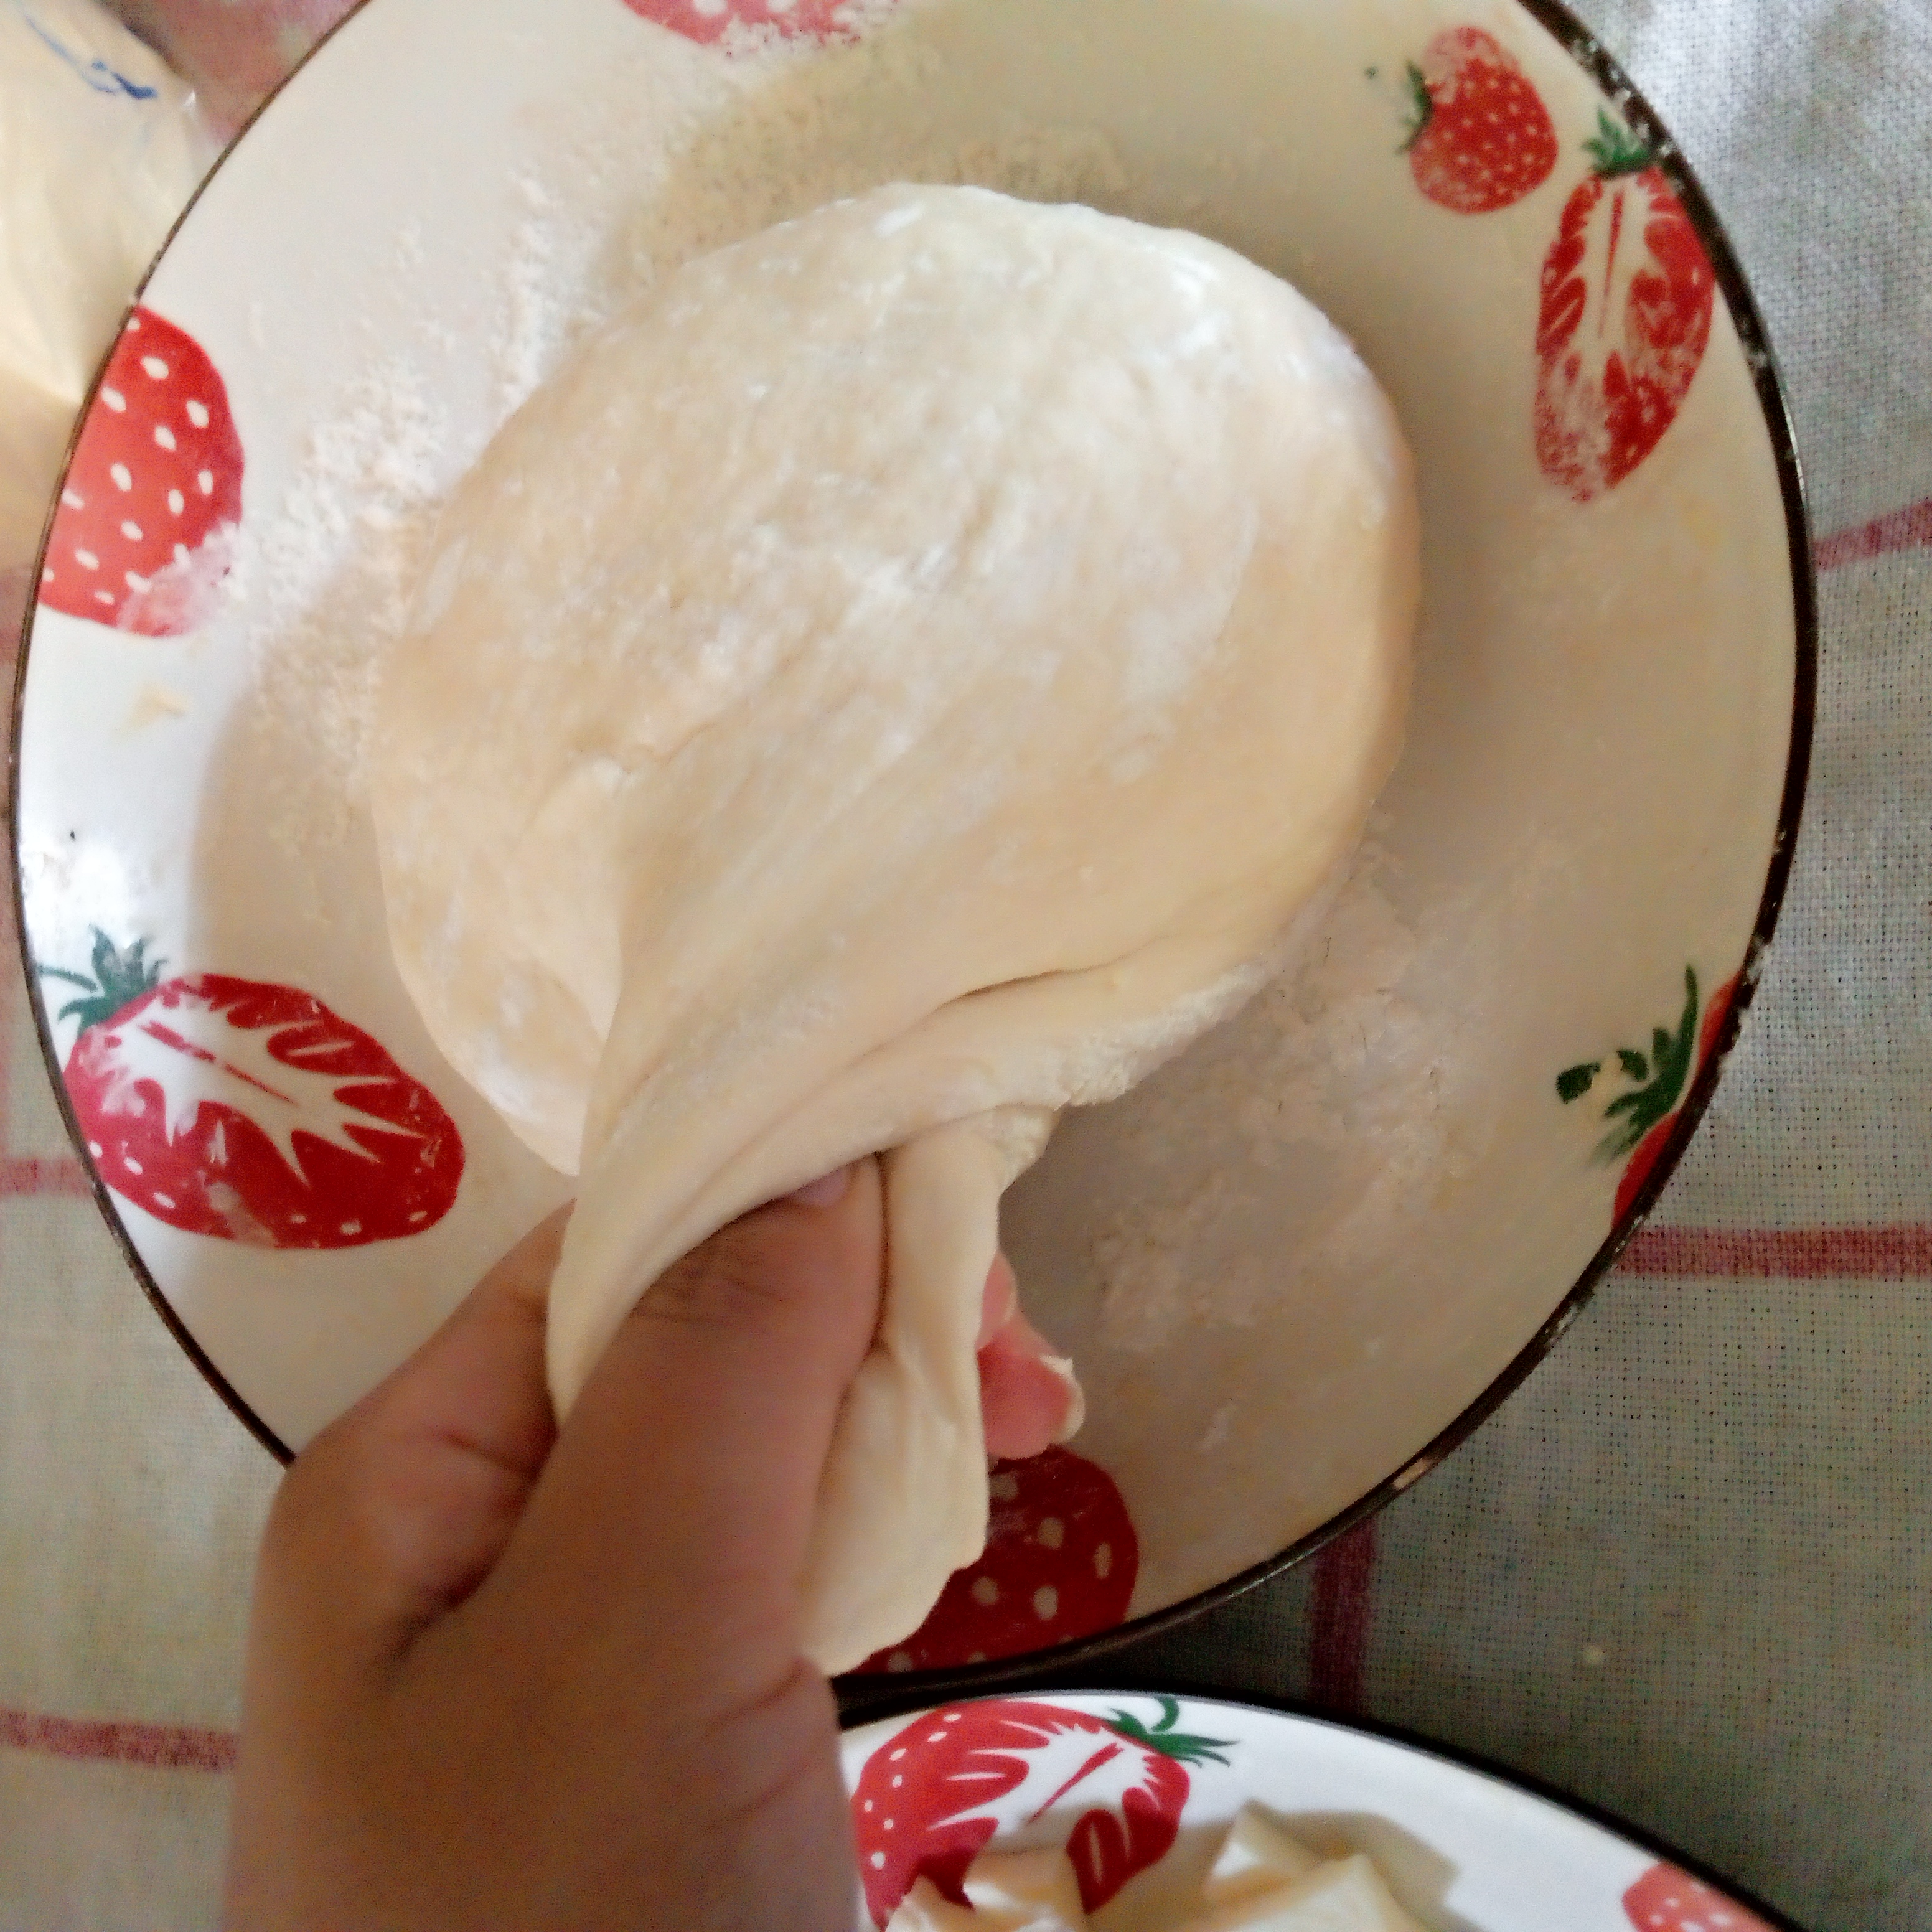
The first thing I'll do is add all the dry ingredients to a bowl. This includes the flour, sugar, salt, and yeast. It's important to mix all of these ingredients well until they're fully combined. This step is crucial because it ensures the yeast is evenly distributed throughout the dough, which contributes to our tequeños being fluffy and light. I want to mention that I'm using self-rising flour. Personally, I use it for almost all of my recipes that call for wheat flour, and so far, I haven't had any bad results. Self-rising flour has the advantage of including leavening agents, which helps the dough rise and achieve a softer, fluffier texture. However, if you don't have self-rising flour on hand, don't worry; all-purpose flour works perfectly too. You'll just need to add a little baking powder if you want a similar result.


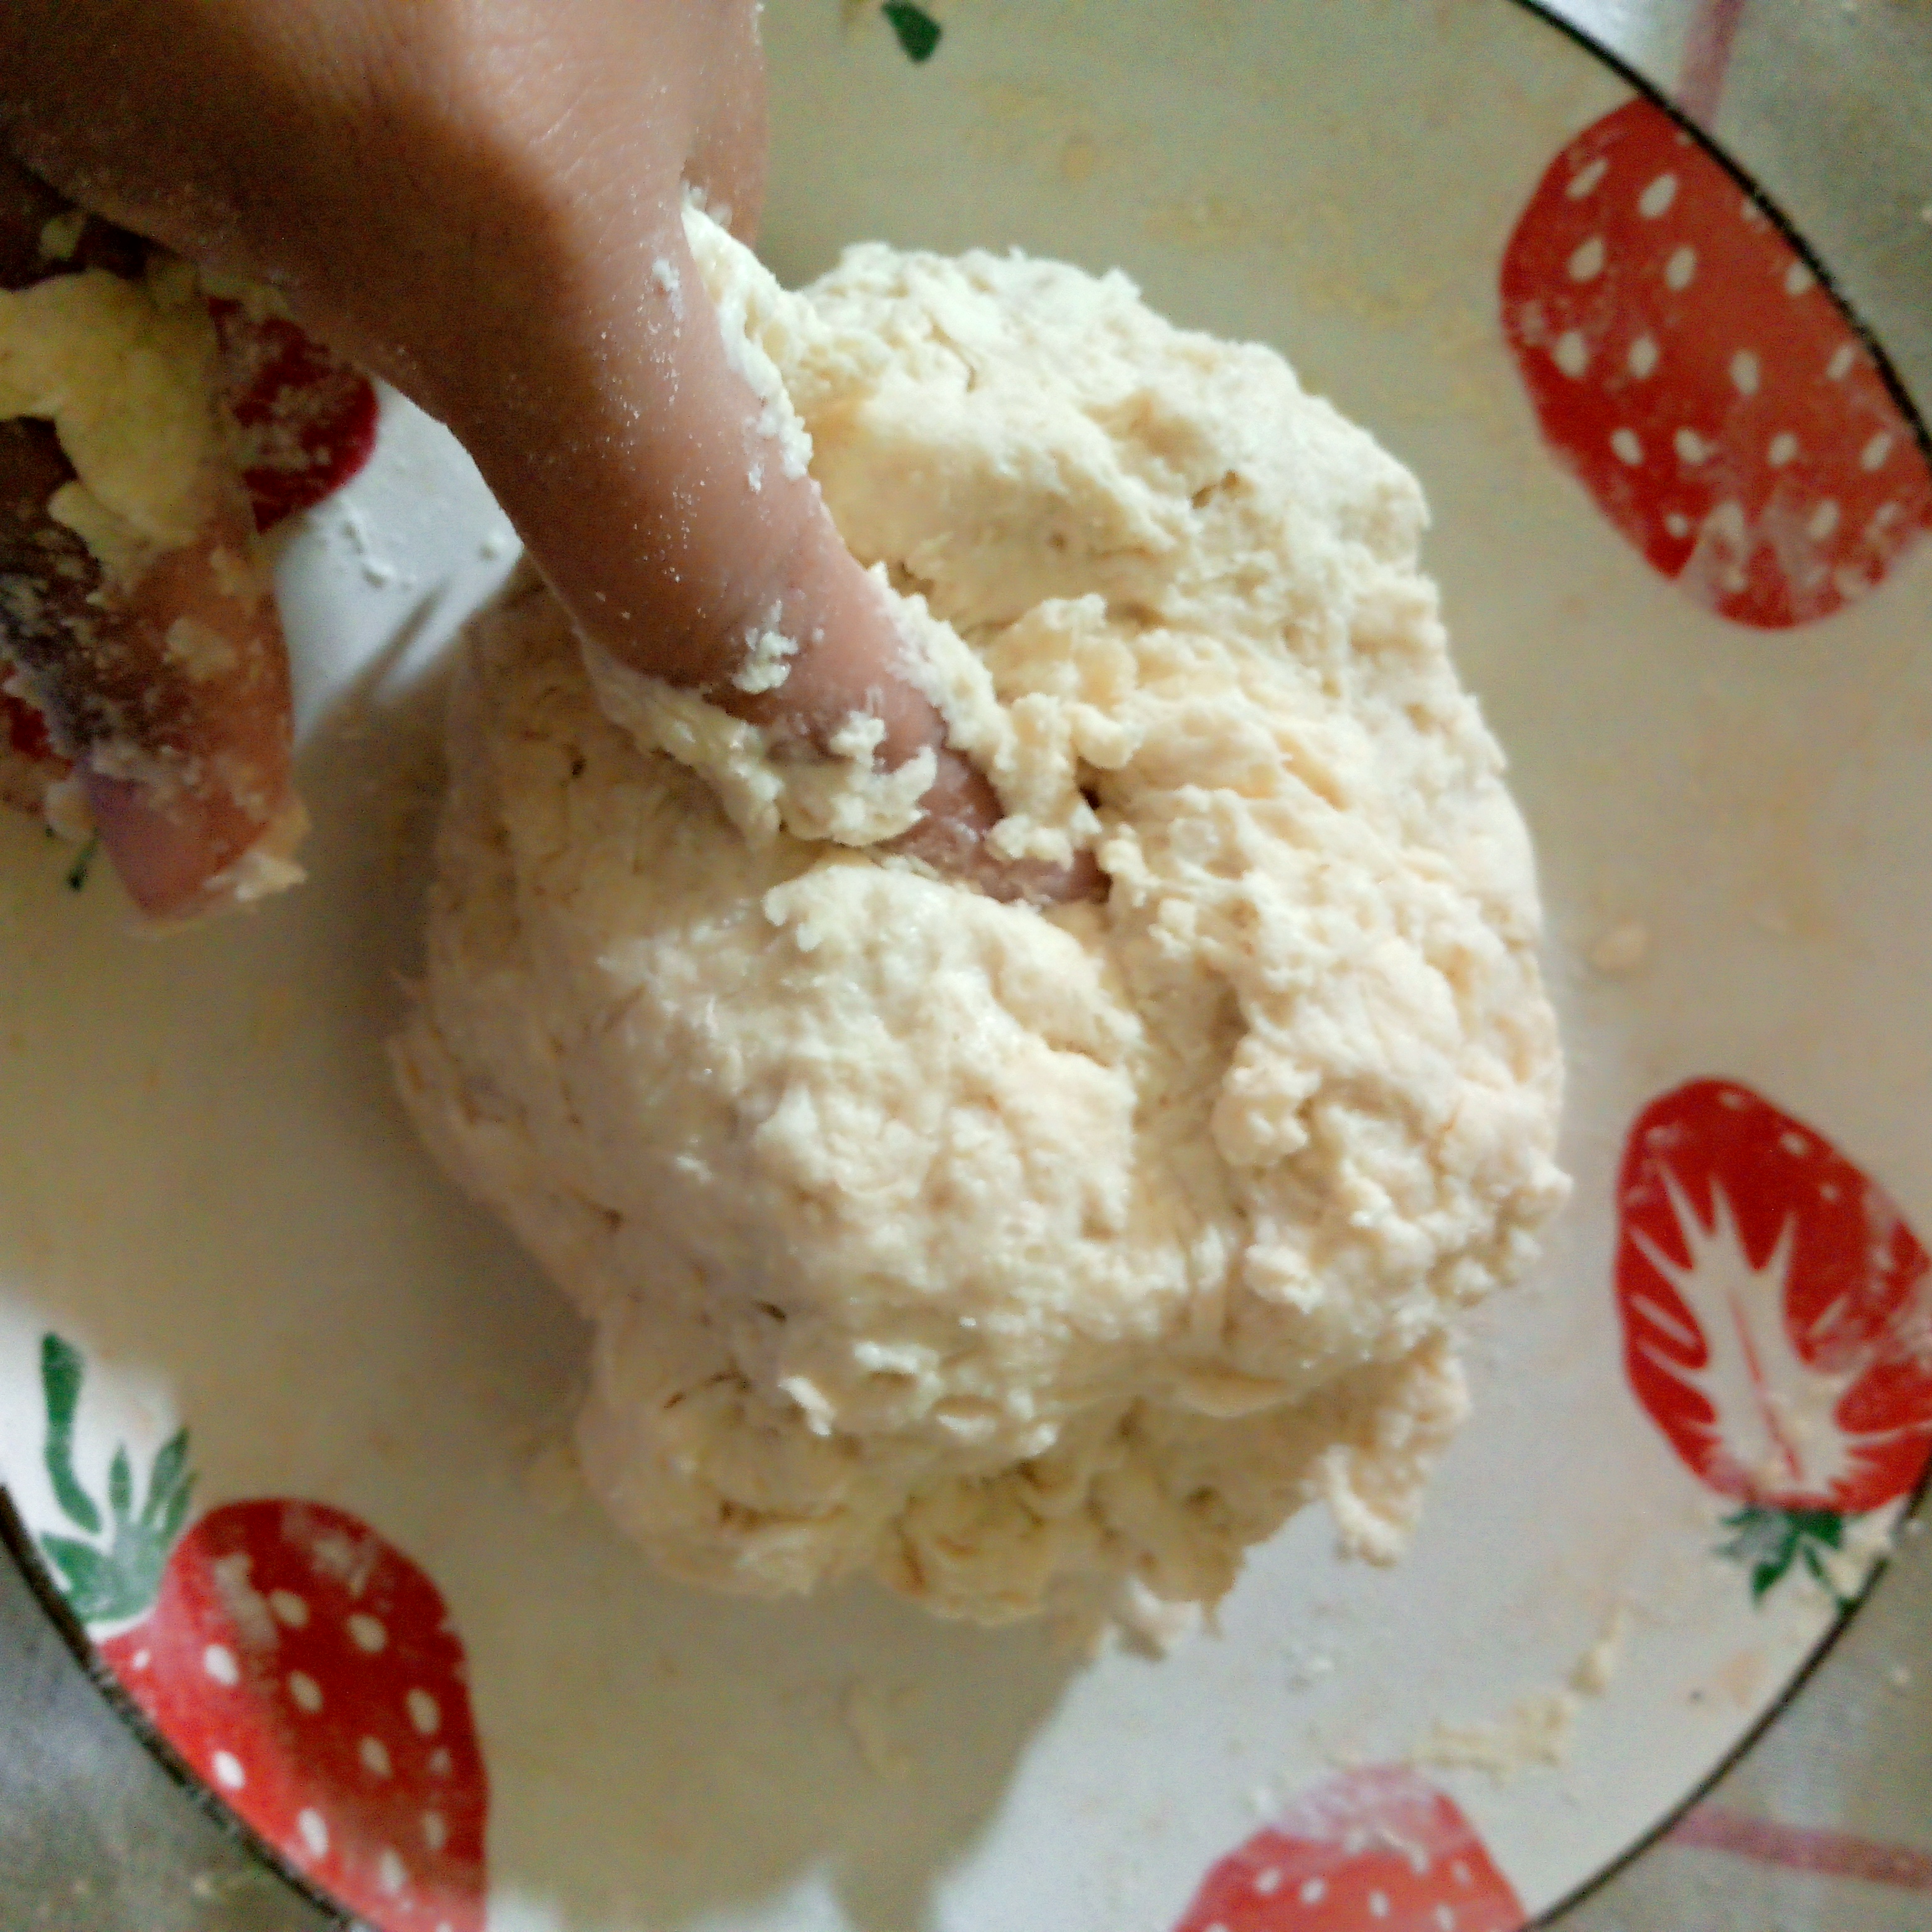
Paso nro 2
Paso nro 2
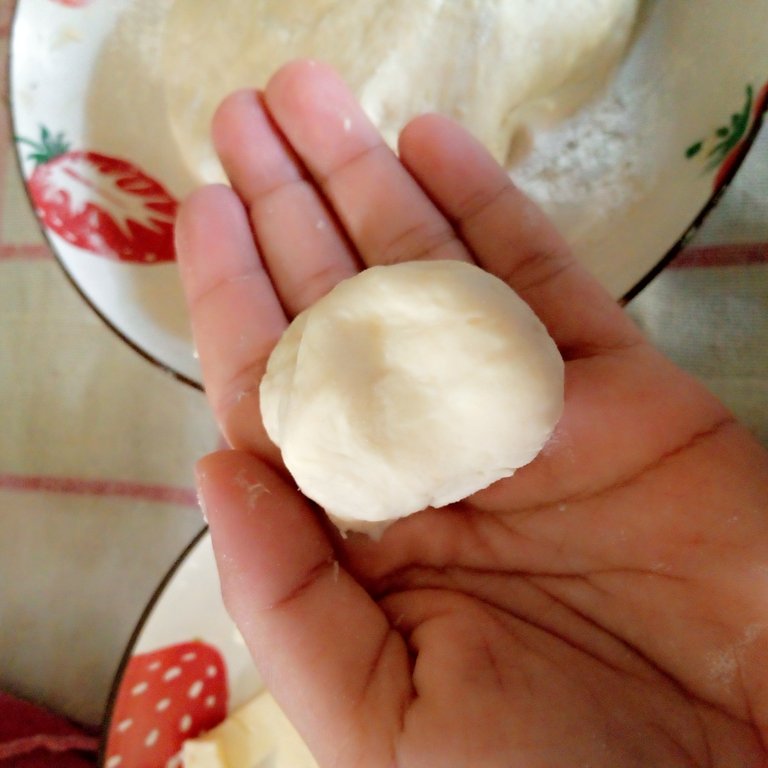
Once the dry ingredients are well mixed, it's time to make a well in the center of the mixture. This is where I'll add the wet ingredients, which usually include water and a little oil. This step is crucial, as moisture is needed to activate the yeast and form a cohesive dough. As I incorporate the wet ingredients, I'll begin mixing with my hands or a wooden spoon until a soft, manageable dough forms. If the dough is too sticky, you can add a little more flour, but it's important not to overdo it, as a dough that's too dry can result in tough tequeños. After kneading the mixture for a few minutes, I'll let the dough rest, covered with a clean cloth. This rest will allow the yeast to do its work, which will cause the dough to rise and become even fluffier.
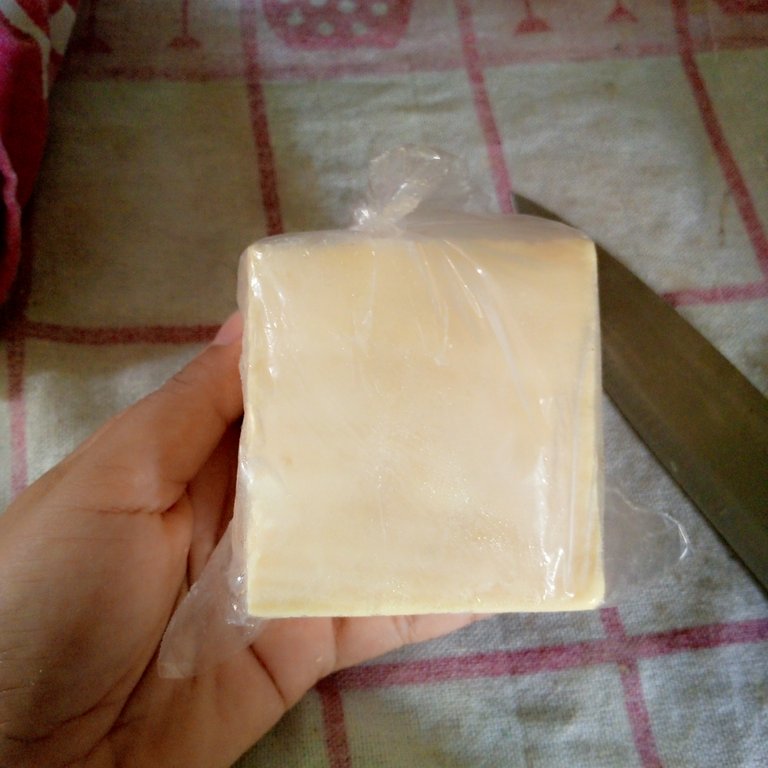


Paso nro 3
Paso nro 3
While the dough rests, I can take advantage of the opportunity to prepare the cheese filling. It's recommended to use a good cheese that melts well, such as queso fresco, mozzarella, or any other cheese you like. You can cut it into strips or cubes, depending on your preference.


Paso nro 4
Paso nro 4
Once the dough has rested and risen in size, I'm ready to form the tequeños. I'll roll out the dough and then wrap it around the cheese, making sure to seal the edges well so the cheese doesn't escape during frying. Finally, I'll heat the oil in a deep frying pan and, once it's hot, add the tequeños. I'll fry them until golden brown and crispy. And just like that, I'll have some delicious homemade tequeños ready to enjoy!
(Resultado final:)(Bottom line:)
Okay, after a while, the tequeños are ready! Now it's time to try them. I hope you enjoyed this preparation of these delicious tequeños. See you next time, and I hope to bring you a new preparation that you'll also enjoy.


Las fotos de este blog son de mi propiedad|Las imágenes son editadas en canva|Fotografías tomadas en mi celular infinix Smart 7|El contenido está traducido en el traductor de Firefox.