
[Esp]
Saludos querida comunidad.
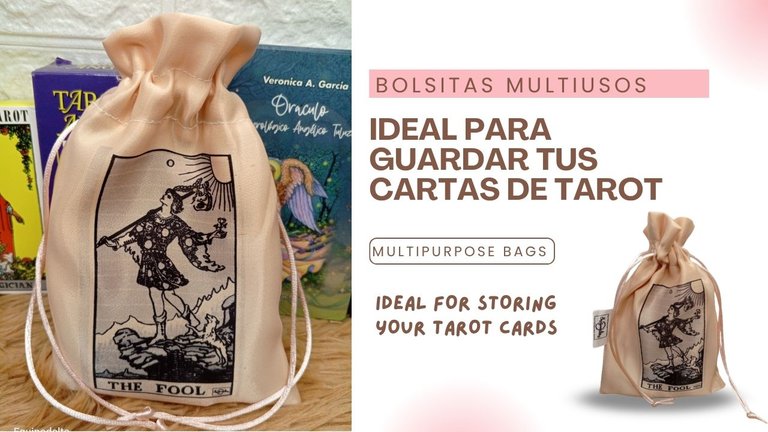
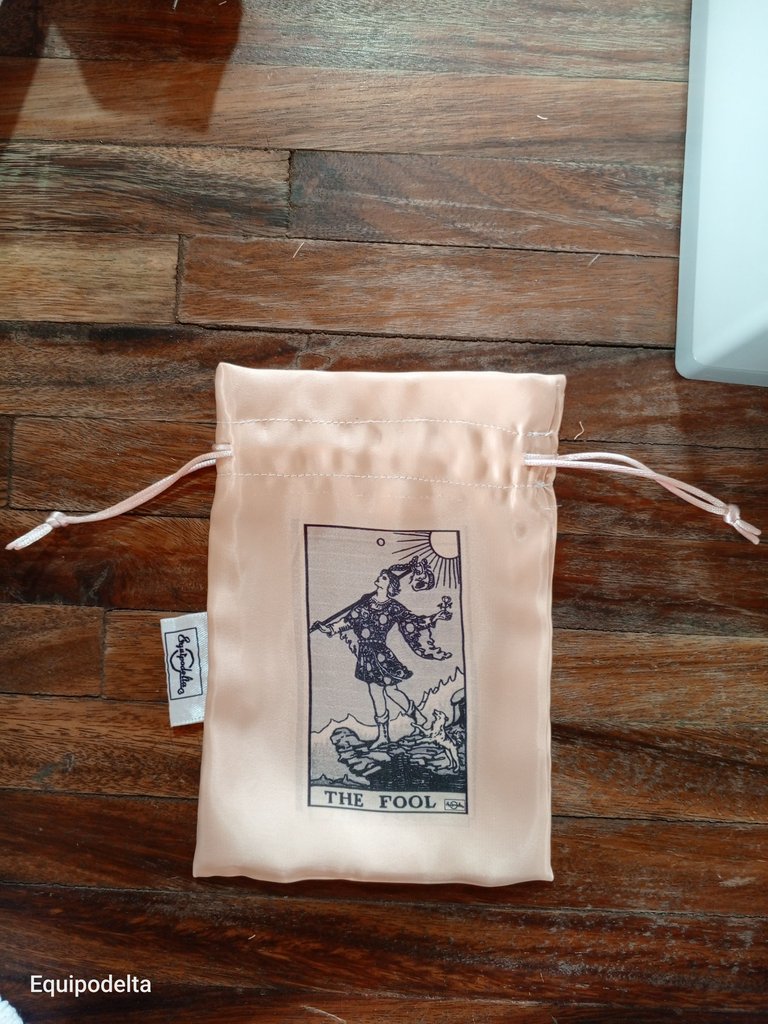
El tarotista actual que se proyecta en las redes sociales debe procurar ser lo más aestetic posible, hay algunos que realizan sus tiradas de tarot en estilo ASMR lo cual es genial, muchos procuran armar un buen escenario, pero si le agregas ese toque especial, de sacar tus barajas de tarot o tu mazo de tarot en una bolsita personalizada como la que te enseño hacer hoy, es otro nivel.
Tuve dos días sin servicio de internet por el resto de la tarde, afortunadamente se solventó.
Quería hacerles un video pero quedó muy accidentado, me costó mucho tomar fotografías del paso a paso, sin embargo, aquí te lo muestro y espero que te guste.
Son multiusos, la impresión es lo que puede cambiar además del tamaño, recuerda usar imágenes libre derechos de autor, como siempre al final dejo la referencia.
! [English version]
Greetings dear community.
The current tarot reader that is projected on social networks should try to be as aestetic as possible, there are some who perform their tarot spreads in ASMR style which is great, many try to put together a good scenario, but if you add that special touch, to take out your tarot decks or your tarot deck in a personalized bag like the one I teach you to do today, it's another level.
I had two days without internet service for the rest of the afternoon, fortunately it was solved.
I wanted to make a video for you but it was very rough, I had a hard time taking pictures of the step by step, however, here I show it to you and I hope you like it.
They are multipurpose, the print is what can change besides the size, remember to use royalty free images, as always at the end I leave the reference.
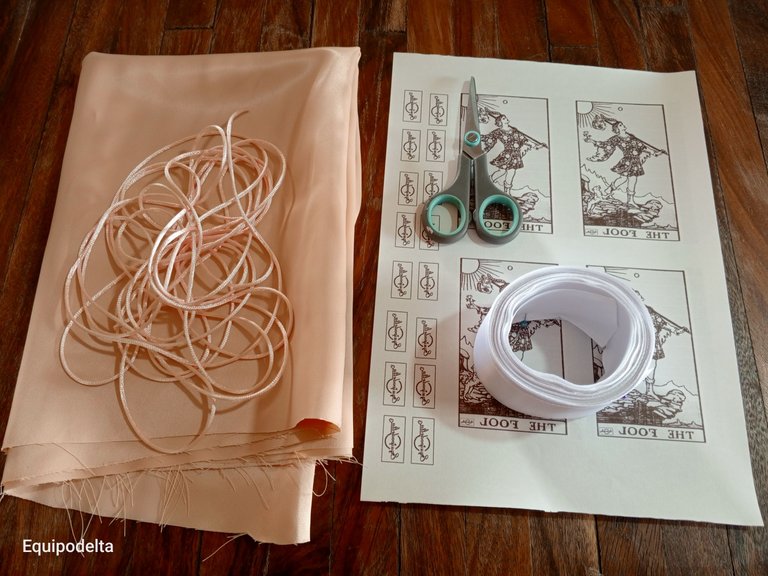
Materiales / Materials
| Spanish | English | |
| Cordón cola de ratón | Mouse tail cord | |
| Tela seda | Tela seda | |
| Tijera, hilo | Scissors, thread | |
| Maquina de coser | Sewing machine | |
| Cinta de raso N° 9 | Satin ribbon N° 9 | |
| Equipo para sublimar | Sublimation equipment | |
| Imágenes libre derechos e impresiones | Royalty free images and prints |
Paso a paso / Step by Step
Step 1️⃣/ Paso 1️⃣
 |  | |
 |  |
[Esp]
Recorta la tela del tamaño deseado, yo tomé la medida de mi maso de cartas edición de bolsillo y corté la tela.
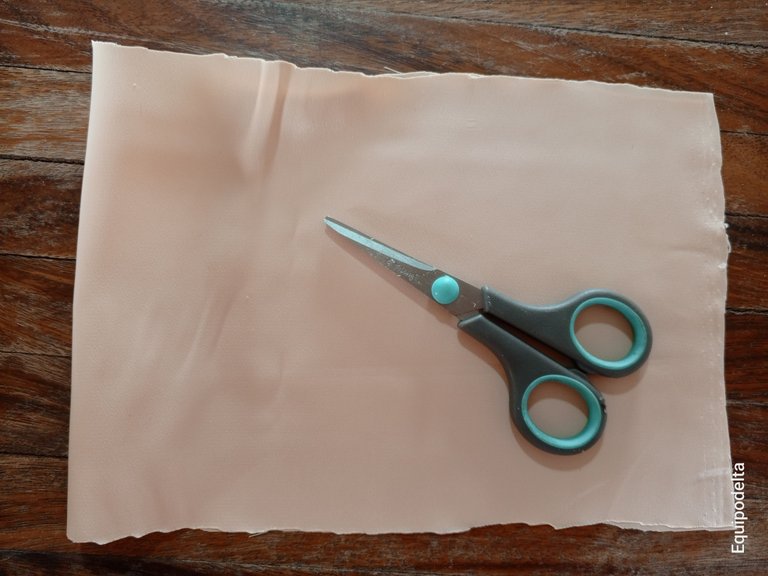
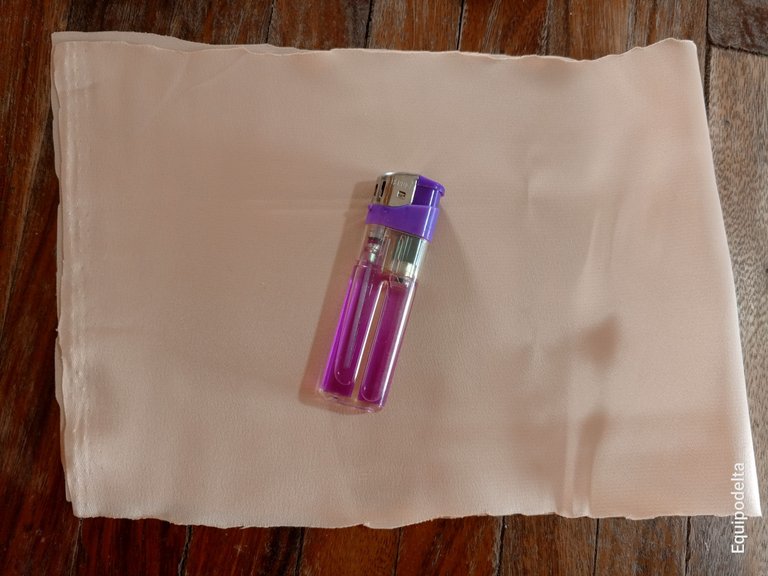
Recomiendo pasar el fuego de un yesquero por la orilla de la tela para sellar mejor los hilitos.
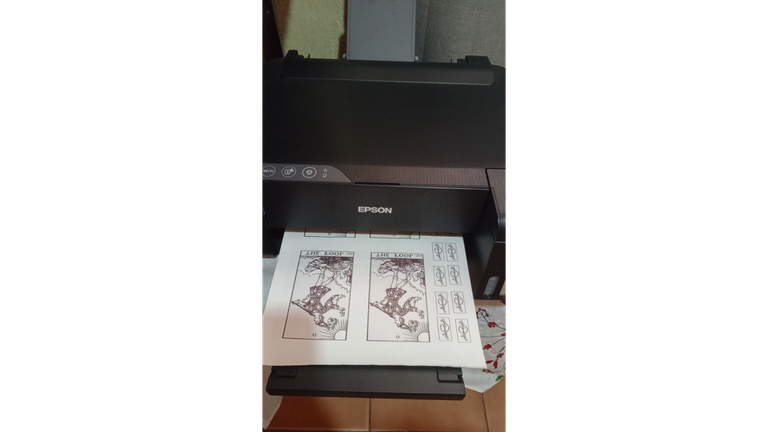
Imprime los diseños, recordando que es necesario una impresora apropiada con las tintas apropiadas para sublimar y el papel adecuado para sublimar.
Las imágenes las puedes conseguir libre derechos en los distintos banco de imágenes disponibles. Imprime ajustando el tamaño adecuado y recorta las imágenes.
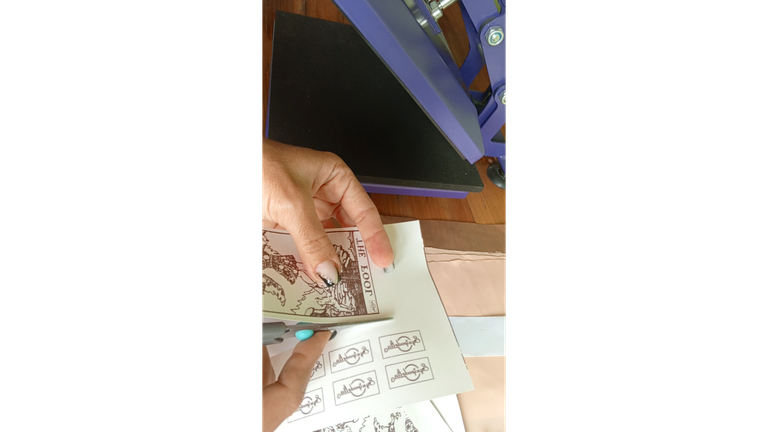
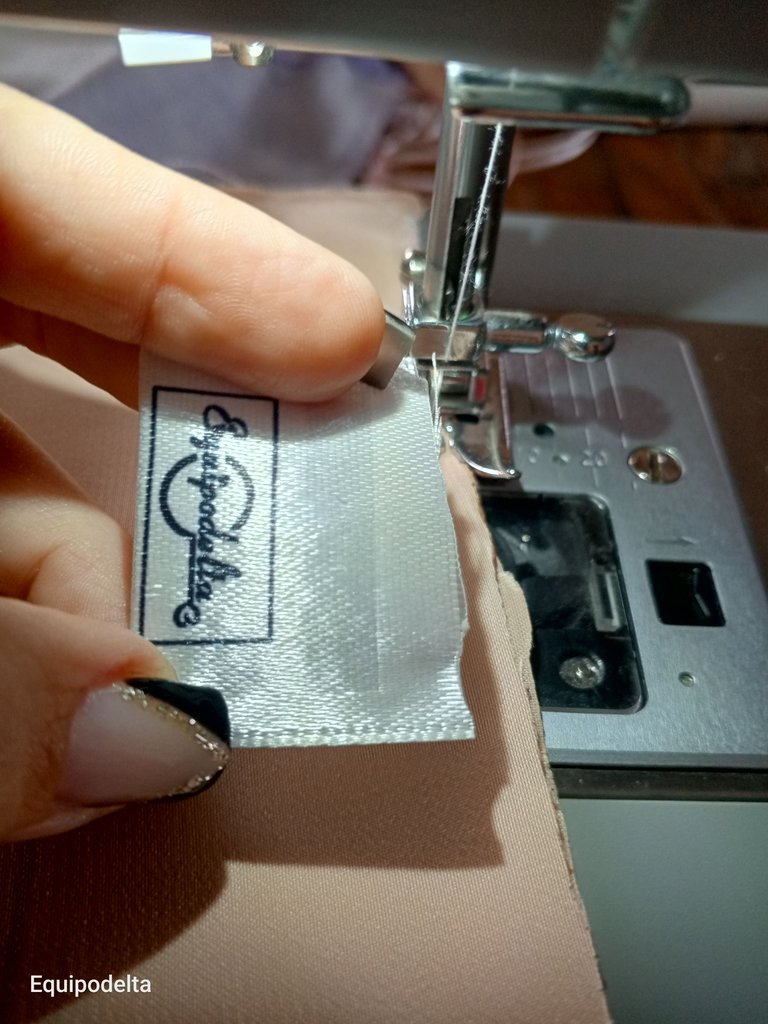
Voy a sublimar mis logos, así que los recorto y los coloco en la cinta de raso aprovechando colocar varios.
! [English version]
Cut the fabric to the desired size, I took the size of my pocket edition card maso and cut the fabric.
I recommend passing the fire of a tinderbox along the edge of the fabric to better seal the threads.
Print the designs, remembering that you need an appropriate printer with the right inks for sublimation and the right paper for sublimation.
The images can be obtained royalty free from the various image banks available. Print them at the right size and cut out the images.
I am going to sublimate my logos, so I cut them out and place them on the satin ribbon, taking advantage of placing several of them.
Step 2️⃣/ paso 2️⃣
 |  | |
 |  |
[Esp]
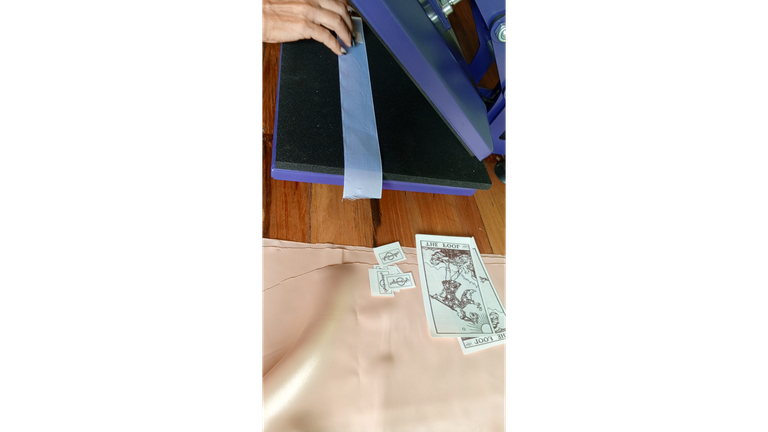
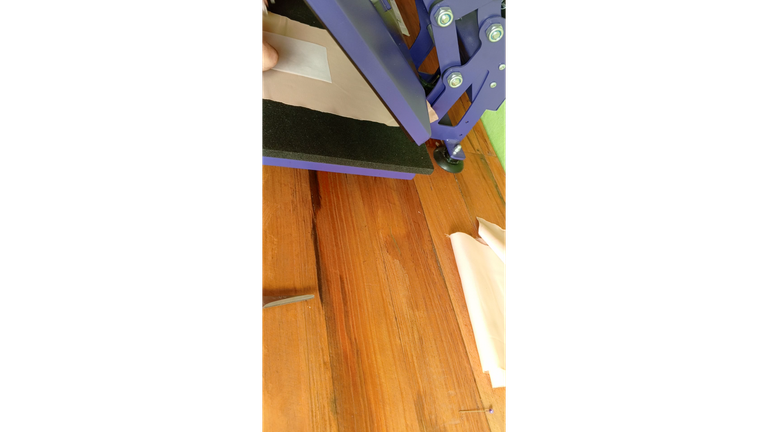
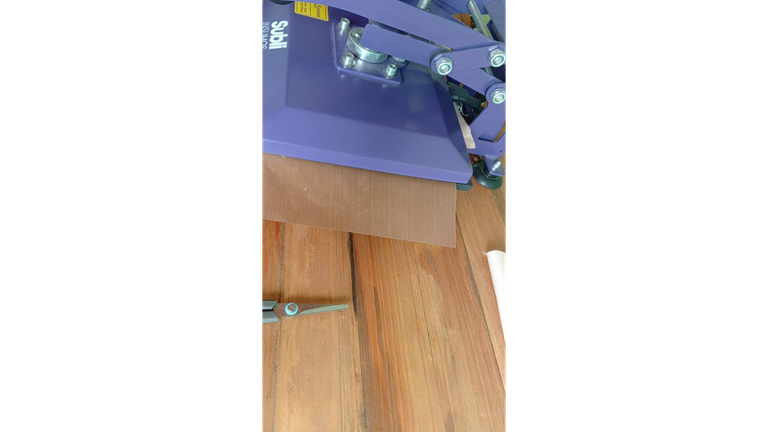
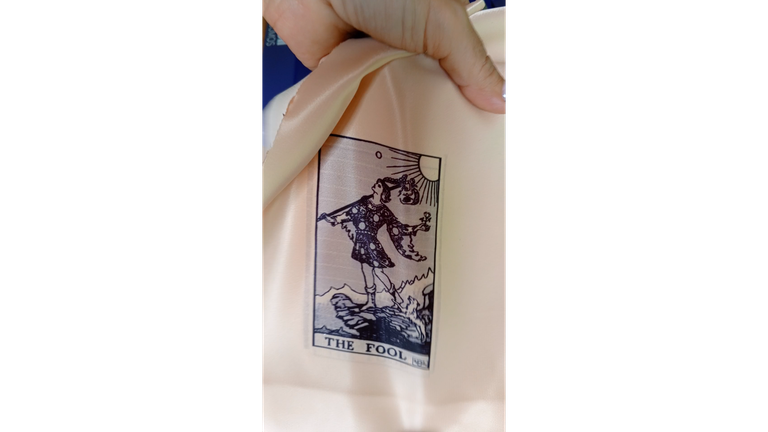
Calienta la plancha para sublimar, esta tela es delicada asi que la colocaré a 350°F
Una vez alcance la temperatura, coloca con cuidado no quemarte la tela y el diseño boca abajo, baja la plancha y lo dejamos por un período de 50 segundos.
Luego con mucho cuidado no quemarte abre la plancha y retira el diseño.
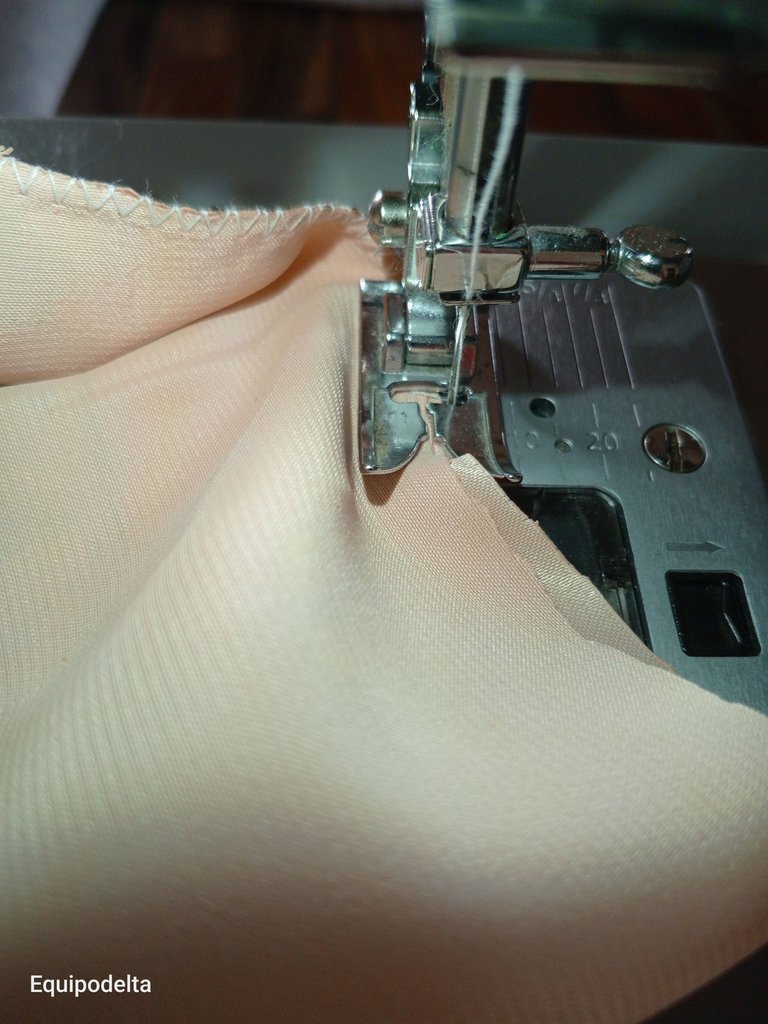
Doblamos por la mitad la tela y unimos con costura, primero con zig zag.
! [English version]
Heat the sublimation iron, this fabric is delicate so I will set it at 350°F.
Once the temperature is reached, carefully place the fabric and the design face down, lower the iron and leave it for a period of 50 seconds.
Then carefully open the iron and remove the design.
Fold the fabric in half and join it with a zig zag stitch.
Step 3️⃣/ paso 3️⃣
 |  | |
 |  |
[Esp]
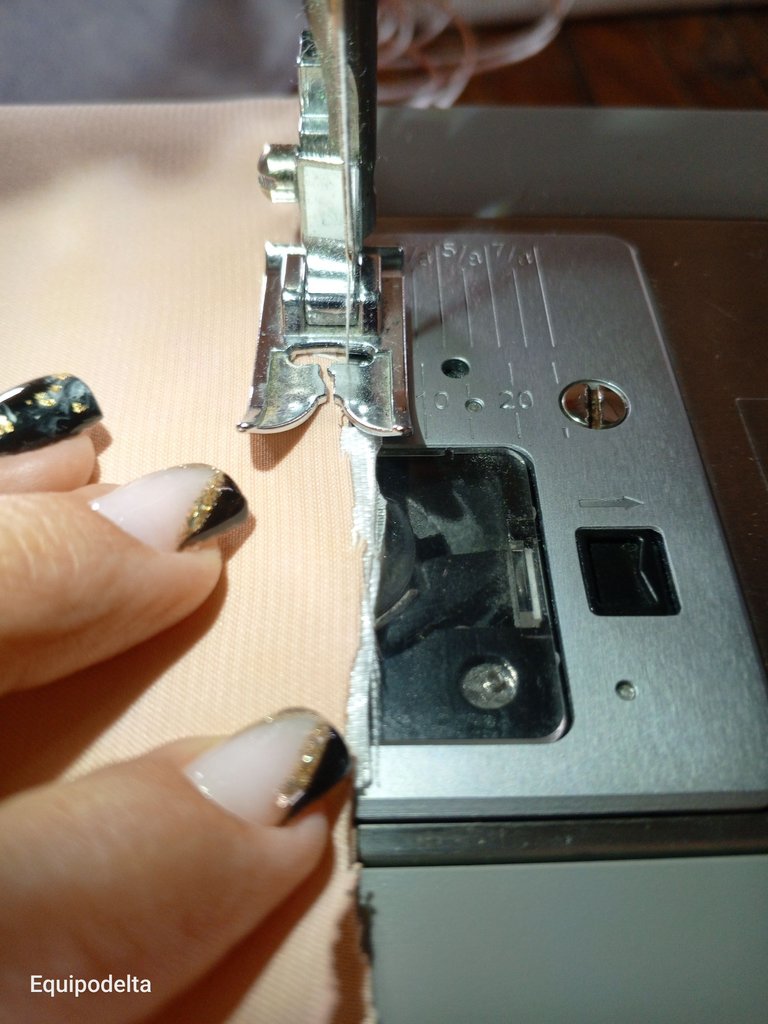
Tomamos nuestro logo, lo colocamos dentro de la bolsita y seguimos cosiendo con zig zag cerrando los laterales, luego cosemos una recta.
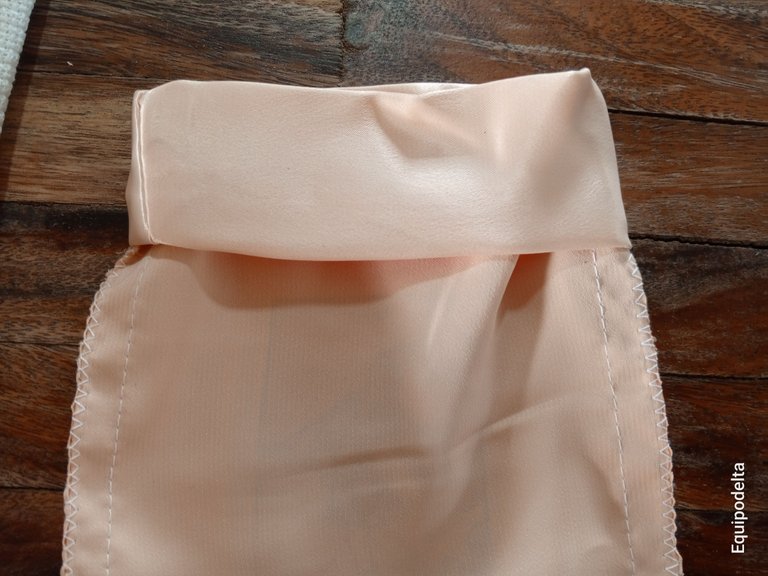
Doblamos la tela en la parte superior para hacer los canales donde pasará el cordón. Recomiendo planchar y bastear. Luego cosemos una recta al rededor de la abertura.
! [English version]
We take our logo, place it inside the bag and continue sewing with zig zag sewing closing the sides, then we sew a straight line.
Fold the fabric at the top to make the channels where the cord will go through. I recommend ironing and baste. Then we sew a straight stitch around the opening.
Step 4️⃣/ paso 4️⃣
 |  |
 |  |
[Esp]
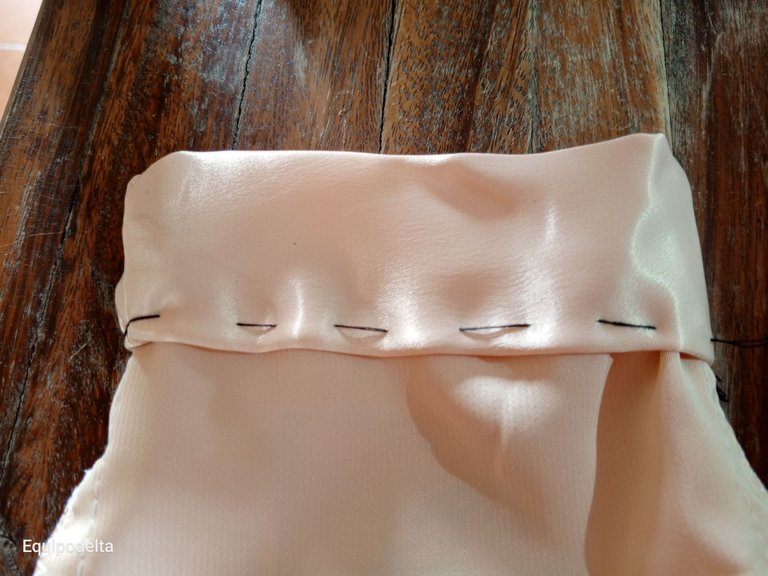
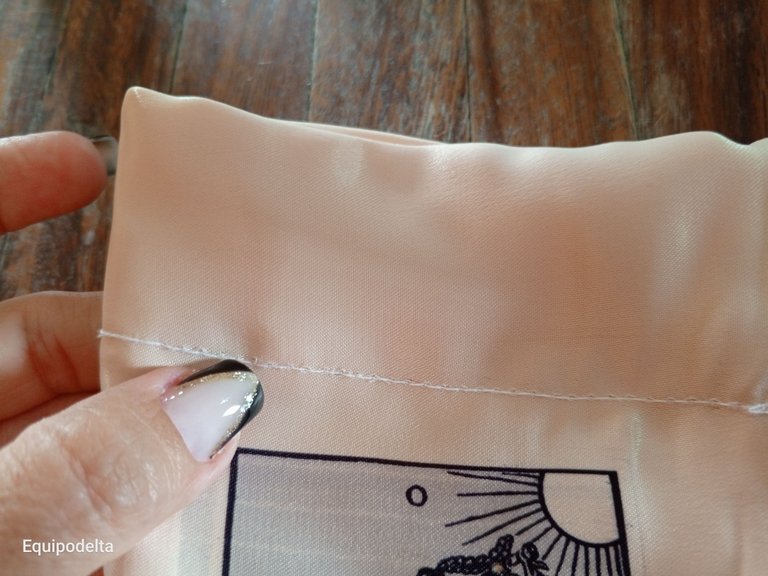
Una vez pasamos la rpimera recta en la parte superior, medimos dos centímetros de separación y cosemos otra recta, con esto hacemos un espacio para que pase el cordón.
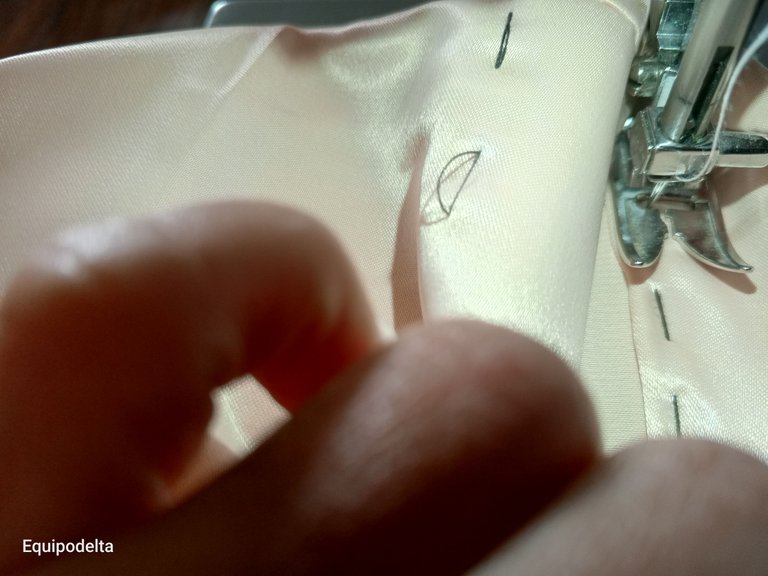
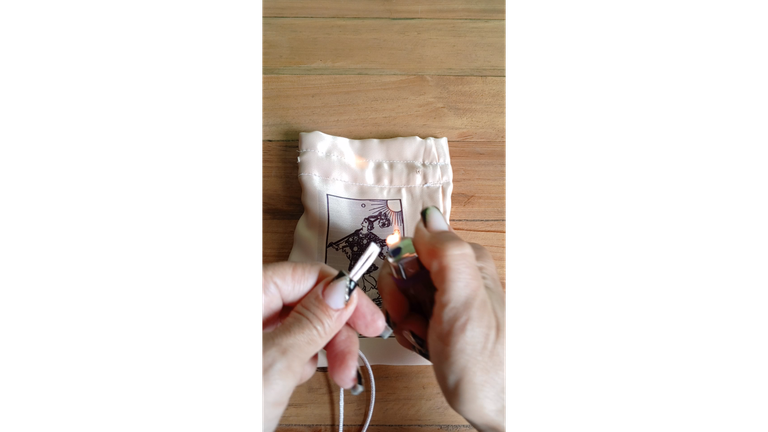
Abrimos dos aberturas de cada lado de la bolsa, las aberturas deben ser pequeñas para que solo pase el cordón.
Corta un trozo dos trozos de cordón del tamaño necesario para dar dos vueltas a la bolsa, ambos deben tener la misma medida.
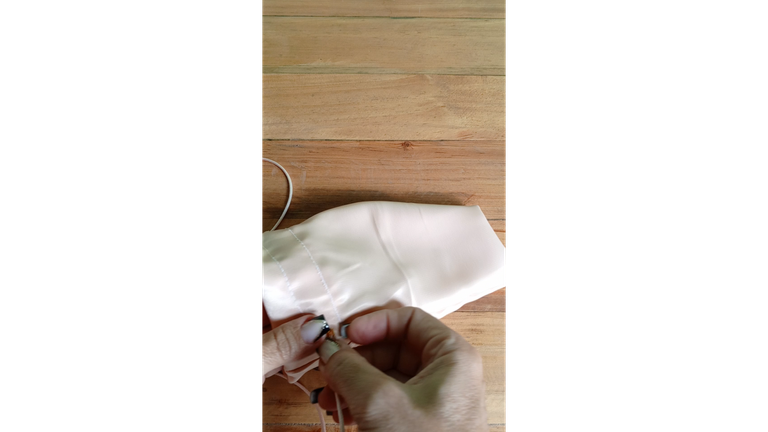
Introduce un cordón por un orificio da la vuelta a la bolsa y debe salir por el mismo lado pero por el otro orificio, repite este procedimiento con el lado contrario.
! [English version]
Once we pass the first straight line at the top, we measure two centimeters of separation and sew another straight line, with this we make a space for the cord to pass through.
We open two openings on each side of the bag, the openings should be small so that only the cord can pass through.
Cut a piece two pieces of cord of the size necessary to give two turns to the bag, both must have the same size.
Insert a cord through one hole, turn the bag upside down and it should come out on the same side but through the other hole, repeat this procedure with the opposite side.
Step 5️⃣/ paso 5️⃣
 |  |  |
[Esp]
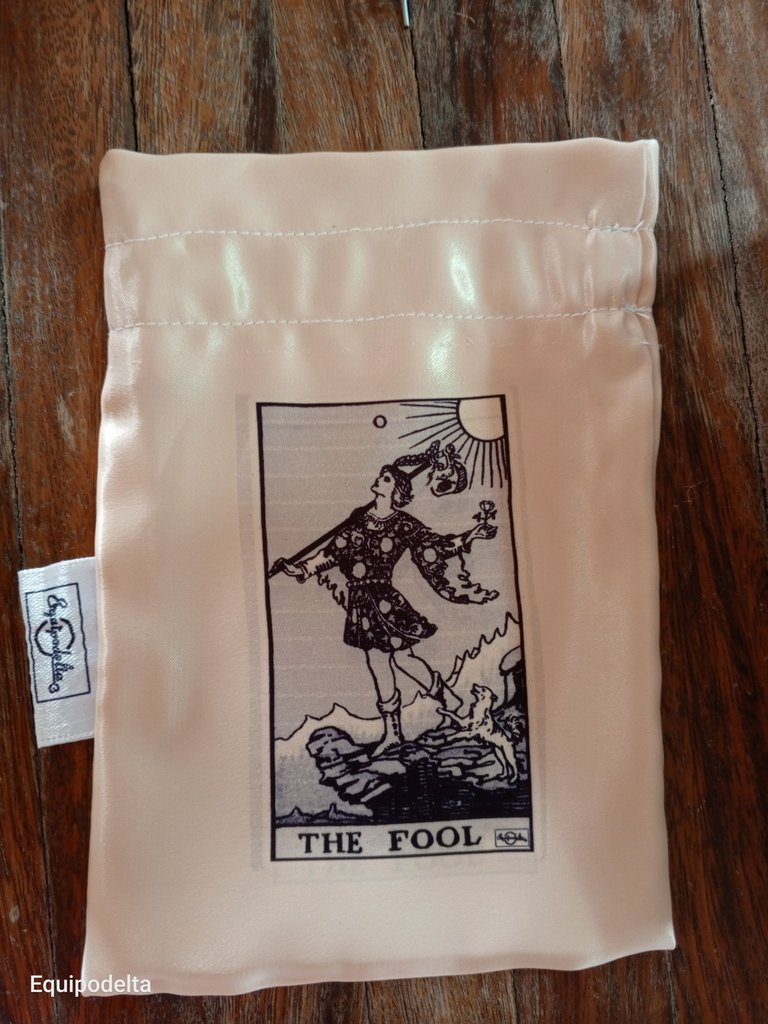
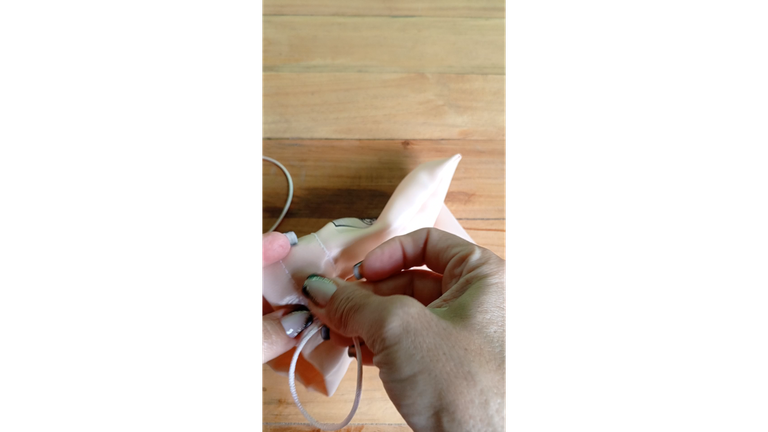
Debes anudar cada cordón, esto te permitirá apretar la bolsita y cerrarla con mucha facilidad, es muy práctica, tambien la podrás abrir con mucha facilidad.
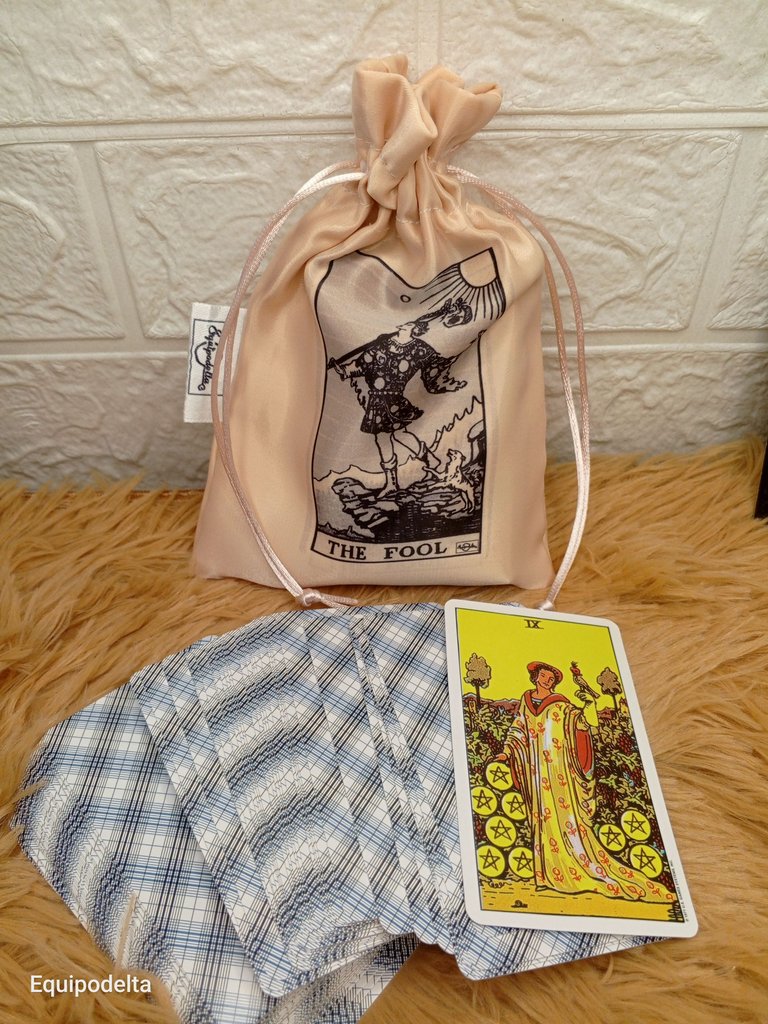
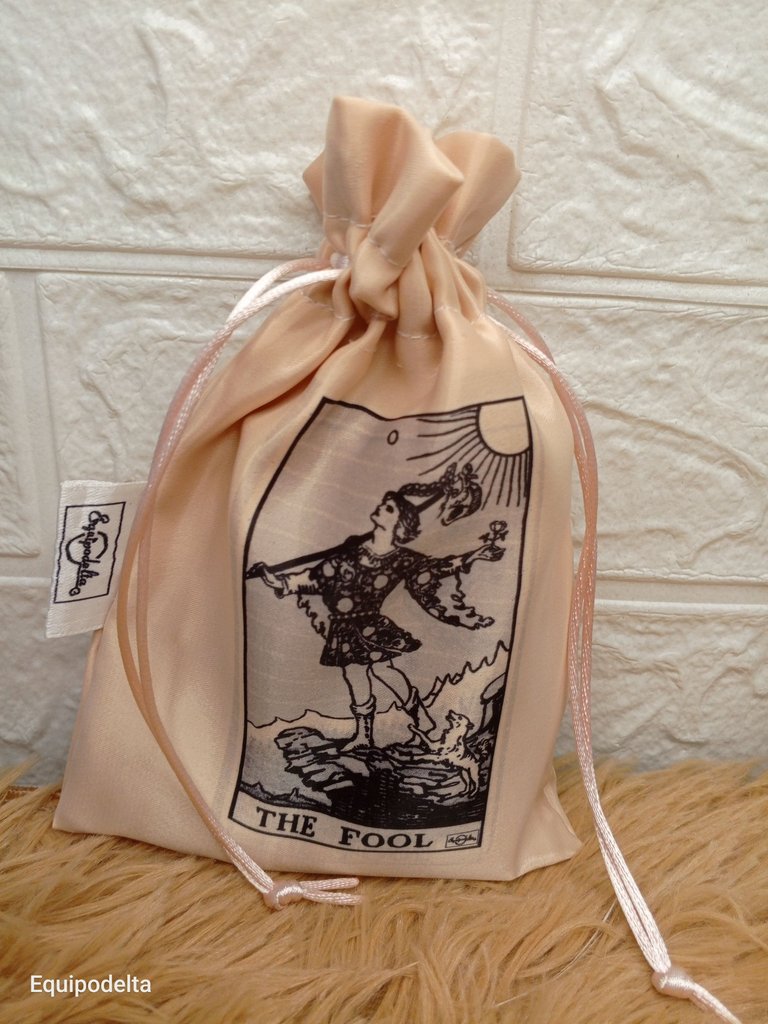
Tenemos una hermosa presentación para tus mazos de tarot, pero recuerda que puedes tomar la idea y ajustarla a tu necesidad.
Espero les guste.
! [English version]
You must knot each string, this will allow you to tighten the bag and close it very easily, it is very practical, you can also open it very easily.
We have a beautiful presentation for your tarot decks, but remember that you can take the idea and adjust it to your needs.
I hope you like it.


Créditos / Credits
💜💜💜
![]() 👉
👉  👉
👉 ![]() 👉
👉 ![]() 👉
👉 
Here / Bríndame un café

Posted Using INLEO